
With a Timely account, you can not only change the language of your public calendar, but also change the default translation of specific words on the Public View of your own event calendar. You can do that directly from your Timely dashboard without any coding required. In this post you will learn how to add custom translations to your calendar.
1. Download the Calendar Language File
Before adding a custom translations to your public calendar, you need to download the calendar language file.
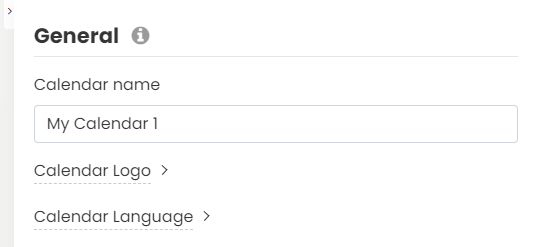
First, login into your Timely account, and go to Settings in the main left menu. Then click on the Calendar language drop-down menu in the right column.
Open the Custom translations settings, and click the Add language on the drop-down menu.
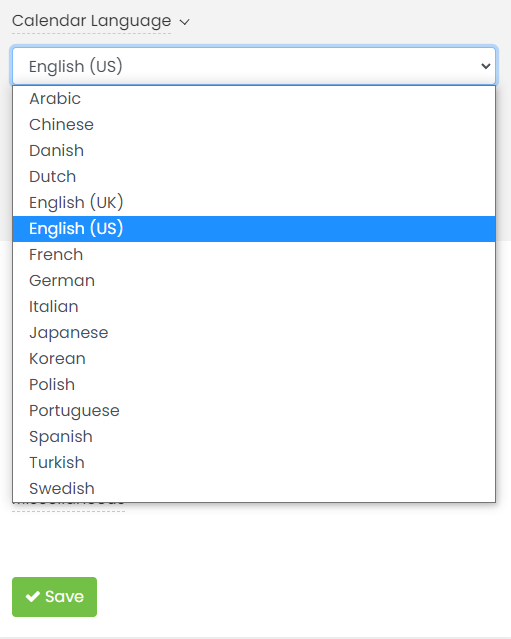
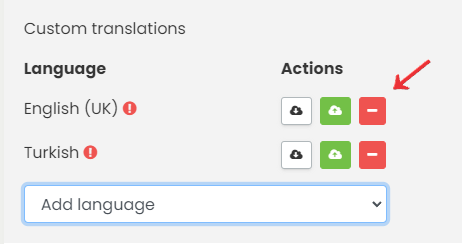
Select one of several already added languages. Under Actions, three icons will appear: (1) white download icon; (2) green upload icon; and (3) red delete icon.

After that, click the white icon to download the language file in CSV format. You can open the file with Notepad++ or a similar tool. You can also use Excel to open the file. Keep in mind that Excel sometimes change the format when saving, making it impossible to upload the file.
2. Editing the Language File with your Custom Translations
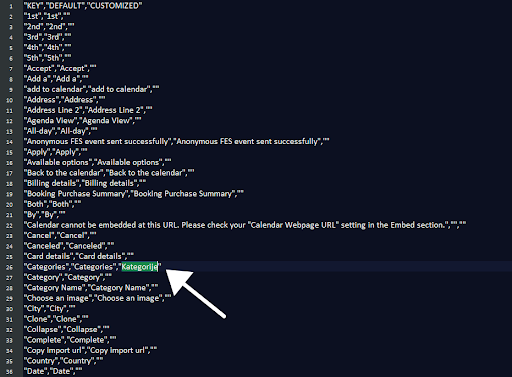
When you open the language file, you will see a list with all the words available in your public calendar. Search the word you want to customize the translation. When you find it, you will see that there are two words in quotes.
Then, add your custom translation as a third word after the two existing ones. The third custom translated word must also be in quotes. See the example in the image below:
Repeat the same procedure for all the words you want to customize the translation. Next, save the file.
3. Upload your Custom Translations
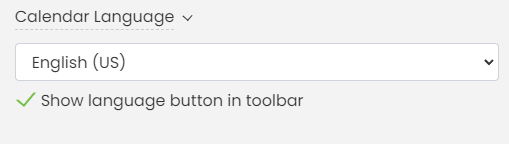
After saving your changes, upload the new language file to your calendar using the green icon. A small green check icon next to the language title will indicate if you have imported the file correctly.

To see the changes on your calendar, don’t forget to set the default language in the settings.
Important: If you were previously using Relabeling, and want to use custom translations instead, please delete all labels to avoid overlapping.
4. Deleting a Custom Translation
In addition to downloading and uploading custom translations, you can also delete custom translations files from your Timely dashboard. You may want to delete a custom translation in case it is no longer updated or was uploaded by mistake, for example.
To delete a custom translation, just click on the red action button next to the language. The file will be deleted immediately.
For more user guidance, please go to our Help Center. If you have any questions or need additional assistance, do not hesitate to contact us. Alternatively, you can open a support ticket from your Timely account’s dashboard.