
Aggiungere immagini alle tue offerte di attrezzature e servizi aiuta i tuoi clienti a capire rapidamente quali risorse sono disponibili al momento della prenotazione dei tuoi spazi. Le immagini aiutano a vedere più facilmente cosa è incluso, a scegliere le opzioni giuste e a sentirsi sicuri della propria scelta. In questa guida, imparerai come aggiungere immagini alle risorse e gestirle nel tuo Timely galleria di immagini.
1. Perché dovresti aggiungere immagini alle risorse
Aggiungere immagini a risorse che i clienti possono prenotare insieme a sedi e spazi offre diversi vantaggi:
- Processo decisionale più rapido: I clienti possono riconoscere facilmente l'articolo giusto, come diversi tipi di tavolo, microfoni o sedie, senza basarsi solo sul testo.
- Esperienza di prenotazione migliorata: Immagini chiare aiutano i clienti a capire meglio cosa è disponibile quando prenotano un posto, riducendo le domande incessanti.
- Trasparenza: Mostrare esattamente come si presenta una risorsa crea fiducia e aiuta i clienti a sapere cosa riceveranno.
- Aumento delle prenotazioni: Immagini di alta qualità rendono gli annunci più accattivanti, incoraggiando i clienti ad aggiungere risorse alle loro prenotazioni.
Che si tratti di apparecchiature audiovisive, mobili o altri componenti aggiuntivi, allegare immagini alle risorse rende l'esperienza di prenotazione più fluida e accattivante.
2. Come aggiungere un'immagine in evidenza alle risorse
Per aggiungere un'immagine in evidenza a una risorsa nel tuo Timely account, attenersi alla seguente procedura:
- Accedi al tuo Timely cruscotto.
- Dal menu a sinistra, seleziona RisorseSe hai già creato le tue risorse, vedrai un elenco con tutti i tuoi elementi.
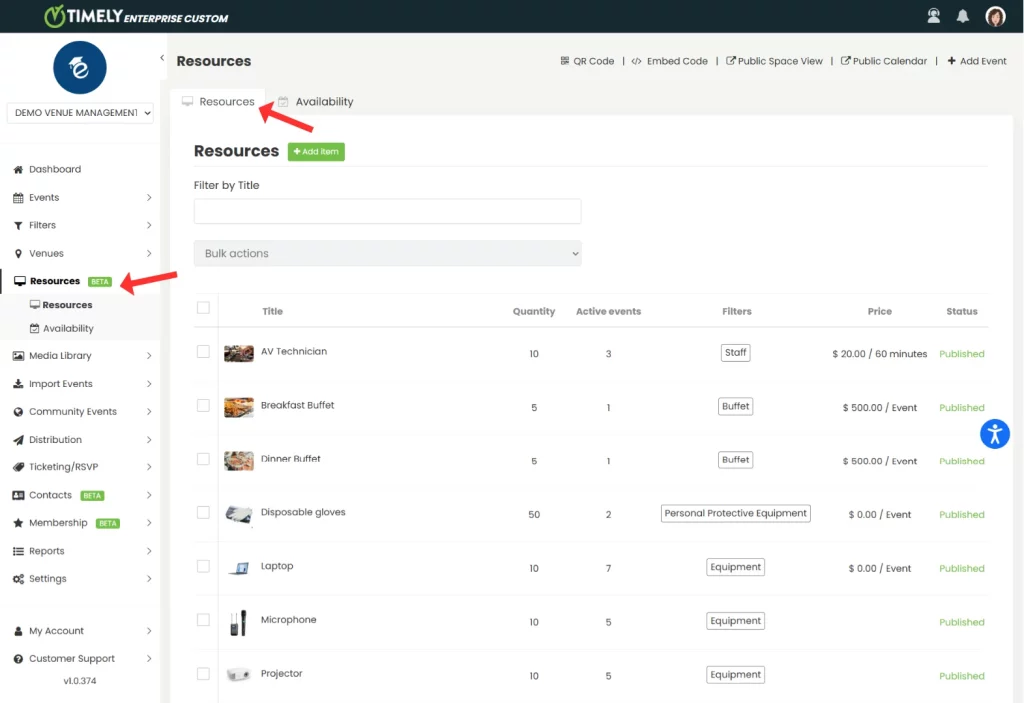
- Per creare una nuova risorsa, fare clic sul pulsante verde + Aggiungi articolo pulsante nella parte superiore dello schermo. Per modificare una risorsa esistente, passa il mouse sopra il nome e clicca sull'icona della matita.

- Sul lato destro dello schermo, il Dettagli risorsa apparirà il pannello. Scorrere fino a Immagine .
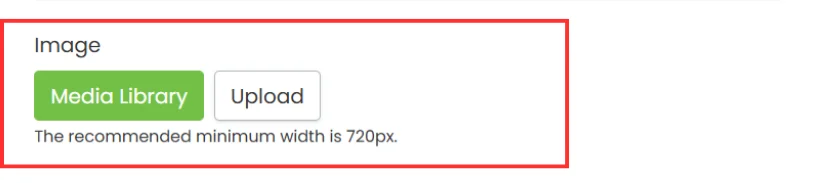
- Vedrai due pulsanti:
- Libreria multimediale: Utilizzalo per selezionare un'immagine precedentemente caricata sul tuo account.
- Caricare: Utilizzalo per caricare una nuova immagine dal tuo computer.
- Dopo aver scelto un'immagine, verrà visualizzata un'anteprima.
- entra testo alternativo descrivendo l'immagine (ad esempio, "Microfono cablato nero" o "tavolo rettangolare") per la conformità all'accessibilità e fare clic Salva.

- Una volta terminata la modifica della risorsa, fare clic su Pubblica per salvare le modifiche. Puoi anche cliccare Salva come bozza se non sei ancora pronto per pubblicare.
Suggerimento: La larghezza minima consigliata dell'immagine è 720px per la migliore qualità. Per ulteriori suggerimenti, segui il nostro Migliori pratiche per le immagini.
3. Come aggiungere immagini alle risorse Dettagli
Se desideri illustrare la descrizione della tua risorsa con immagini, quando crei o modifichi una risorsa, vai a Descrizione sezione e fare clic sul Inserisci/modifica immagine icona. Apparirà una finestra pop-up che ti permetterà di scegliere un'immagine dal tuo computer. Quindi, aggiungi una descrizione dell'immagine e clicca su OK.
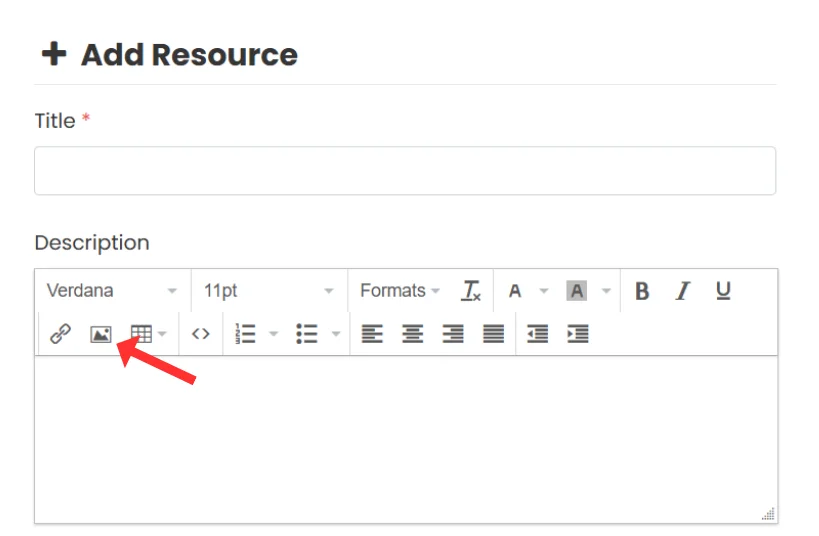
E non dimenticare di cliccare Pubblica per salvare le modifiche.
Hai bisogno di ulteriore aiuto?
Per ulteriori indicazioni e supporto, visitare il nostro Centro Assistenza. Inoltre, se hai domande o hai bisogno di assistenza, non esitare a contattare il nostro team di assistenza clienti aprendo un ticket di supporto dal tuo Timely dashboard dell'account.
Inoltre, nel caso in cui si necessiti di ulteriore assistenza nell'implementazione e nell'utilizzo Timely sistema di gestione del locale, siamo lieti di assistervi. Esplora tutto il servizi professionali offriamo, e sentiti libero di contattaci oggi stesso!