
Integrating your Timely Event Management Software with MailChimp allows you to send event newsletters, event updates, and collect email addresses from users interested in your events. Learn all the steps in this user guide.
1. Create a MailChimp Account
If you want to send automated event related newsletters to your audience, first you will need to have an account with MailChimp. They have free accounts, and you only start paying once you exceed certain thresholds of mails sent and subscribers.
Make sure you complete the full account information including address. This will appear at the bottom of your emails, and most countries’ anti-spam laws require it to be complete.
MailChimp works with Lists and Campaigns. If these are new concepts to you, start by reviewing MailChimp documentation of how to setup your lists and campaigns. To start, you can make one new list called “test” and add your own email address to the list.
2. Connect your Timely Account to your MailChimp Account
Once you have created your MailChimp account, you will need to authorize Timely to connect to your account by following these steps:
- Login into your Timely account.
- Go to the Distribution menu, and then MailChimp Settings.
- Click on the Connect to MailChimp button.
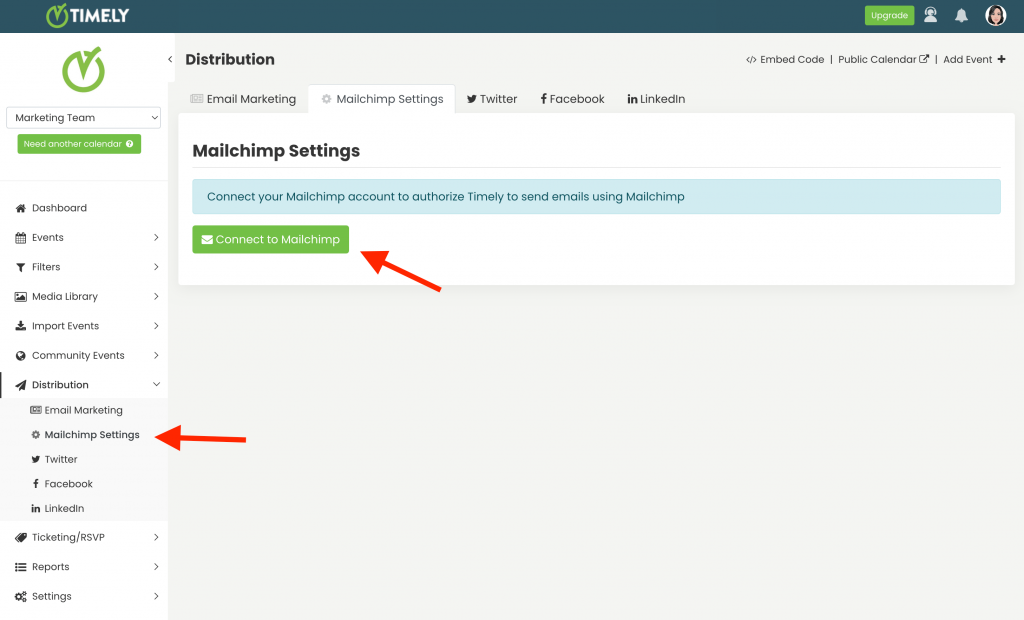
- Then, sign into your MailChimp account and click Allow.
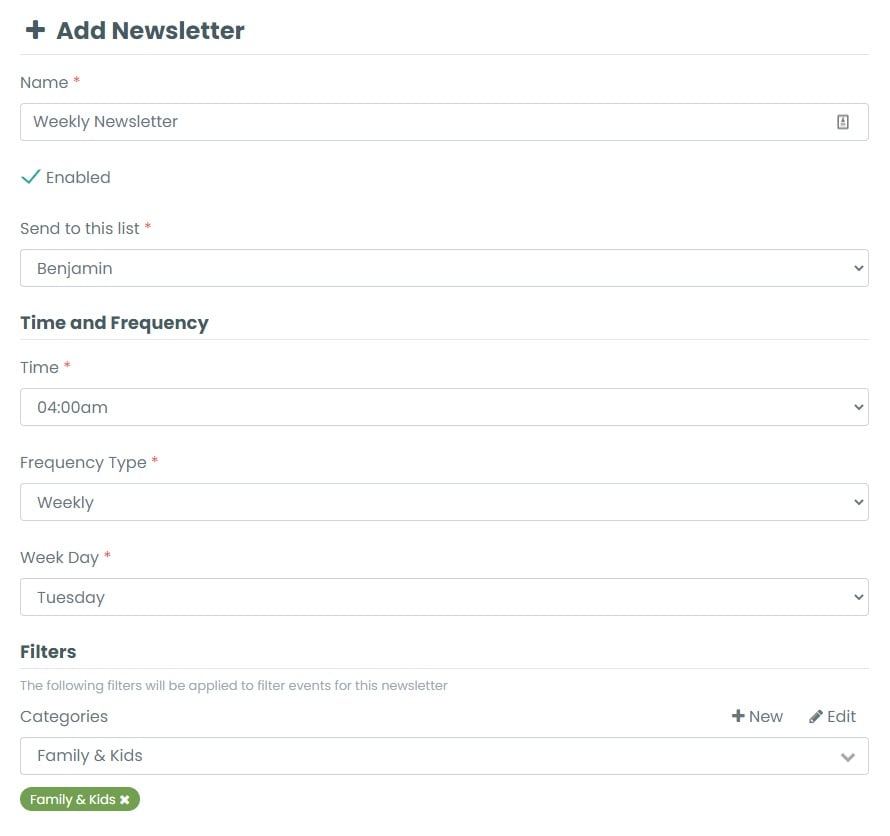
3. Setting up an Event Newsletter
Newsletters are emails that you send regularly to your audience with a list of your upcoming events. You can create an event newsletter within your Timely calendar by following the steps below:
- Select either Newsletter or Single Email.
- Choose the list you would like the event newsletter or email to be sent out to.
- Choose the Frequency either daily, weekly or monthly, and set the time the event newsletter will be sent out at.
- You can filter the events which will be sent out in your newsletter by selecting from your categories, tags, organizers and venues.
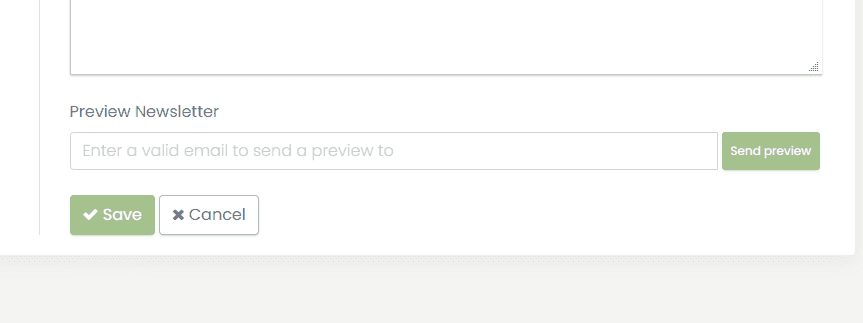
- Create the email subject.
- Add in the content of the email.
- Click “Save” and you are all set!
4. Preview your Event Newsletters
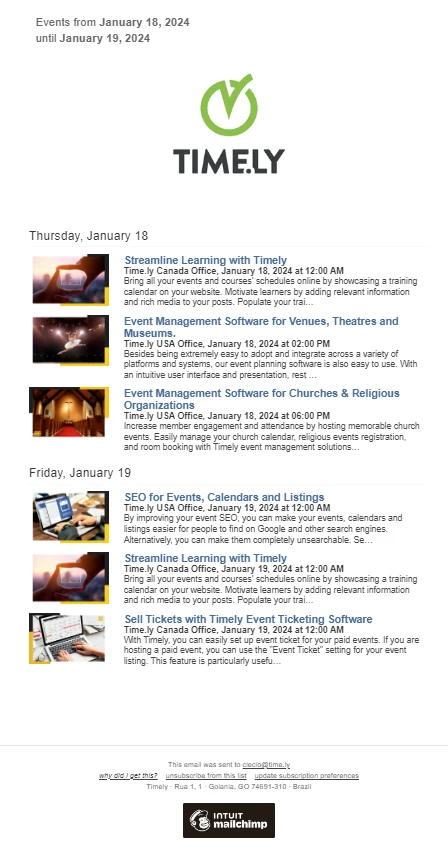
If you want to preview what the event newsletter looks like before your subscribers receive it, just enter your email address and click “send preview”.
You will then receive an automated email containing a preview of your event newsletter.
For more user guidance, please go to our Help Center. If you have any questions, do not hesitate to contact us. Alternatively, you can open a support ticket from your Timely account’s dashboard.