
With Timely venue management software, you can easily set up a space booking request submission form integrated with your online space catalog or schedule. This allows you to receive space booking requests from your community and efficiently manage and automate the approval process. In this post, you’ll discover the step-by-step process for approving and managing space booking requesters.
1. What Is a Space Booking Submitter?
A space booking submitter is an individual or organization that submits requests to book spaces using the public interface of your Timely venue management platform. These submitters can be internal staff, external partners, or community members who need to reserve a space for meetings, events, or activities.
2. Approving New Space Requesters
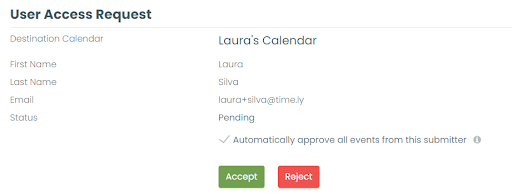
When a new submitter user signs up to request a space booking, you will receive an automated email notification.
You can then log in to your Timely account and decide whether to approve or reject the new space booking requester. Additionally, you have the option to automatically approve all space booking requests from a particular user.
3. Managing Space Booking Requesters
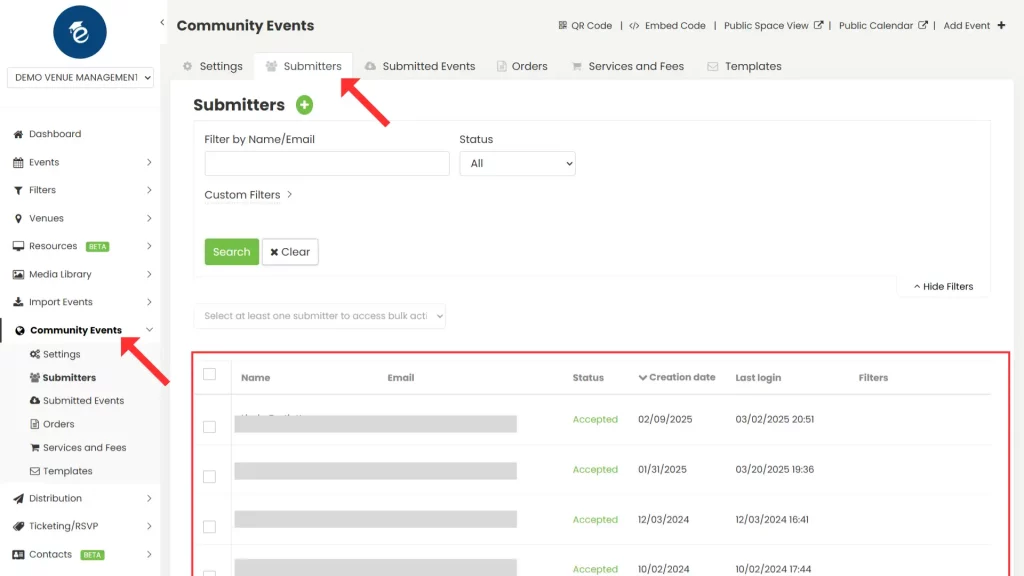
To manage submitters, go to your Timely account, click on the Community Events menu, and then on the Submitters tab. There, you will find information about all your submitters and be able to edit details for each of them, individually.
3.1. Adding a New Submitter
To add a new submitter manually, navigate to the Community Events menu, click on Submitters, and then press the green “+” button.

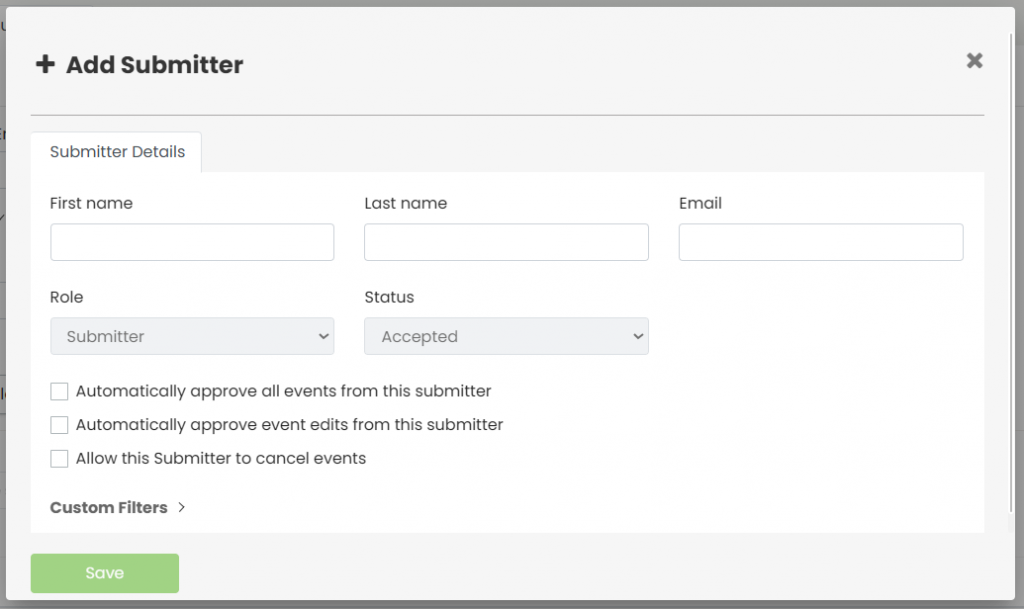
A new window will open where you can enter the first name, last name, and email of the submitter. You can also assign their role and status, and enable options such as automatic approval of their events or permission to cancel events.
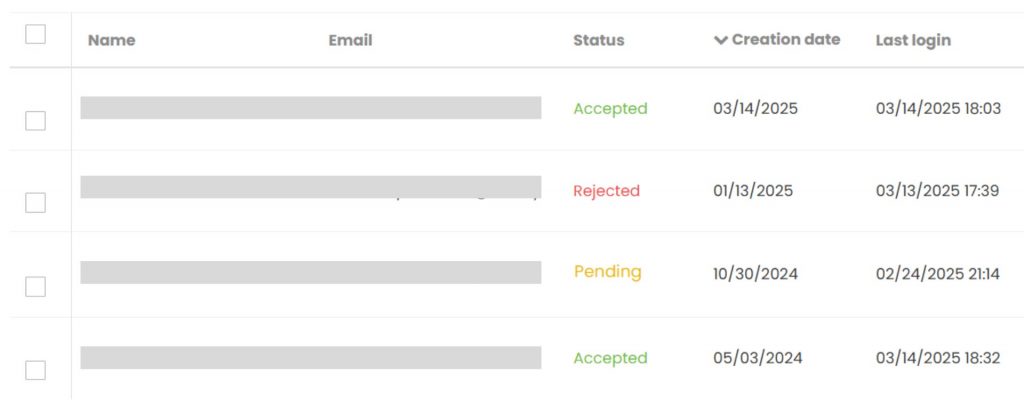
3.2. Finding Space Booking Submitters
You can filter your list of space booking requesters by their names, email addresses, or statuses. The available statuses include:
- Accepted
- Pending
- Rejected
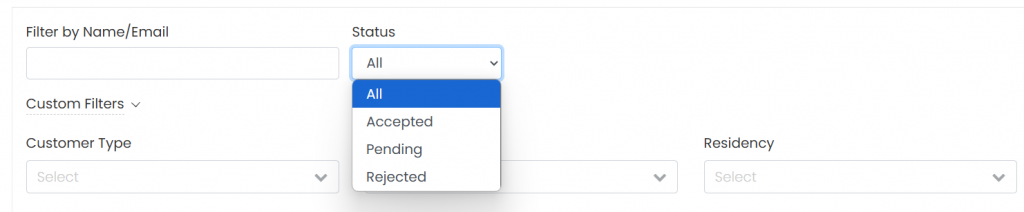
Simply click on your desired status, and the list will be filtered accordingly.
3.3. Editing Individual Space Requesters’ Information
If you need to update information about any submitter, hover your cursor over their name, and then click on the Edit option.

A panel will appear on the right side of the screen. You’ll be able to view the requester’s First Name, Last Name, and Email, but you won’t be able to change this information; only the requester can make these adjustments.
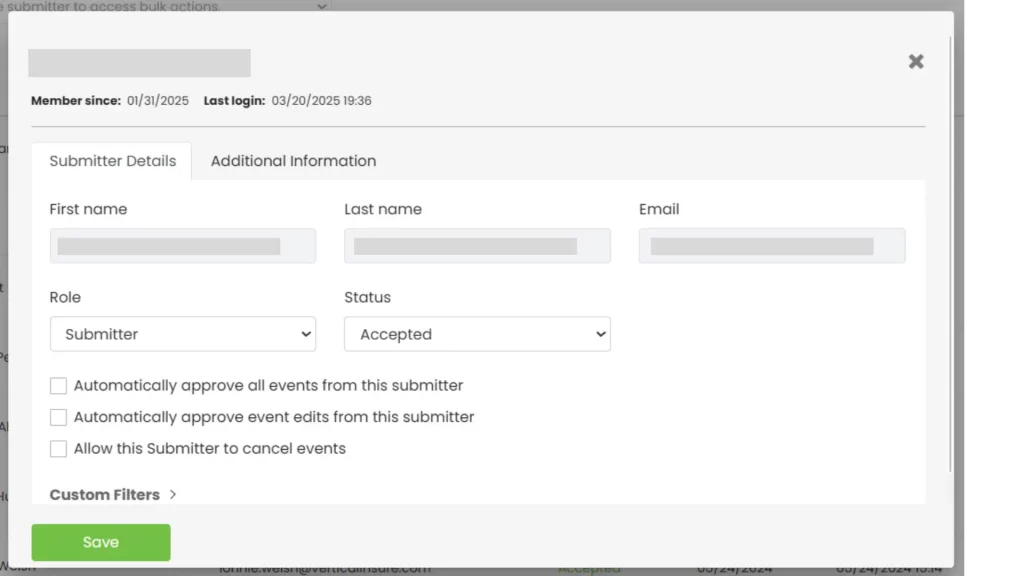
However, you can modify the following fields:
a) Role / Permissions:
- Author
- Editor
- Administrator
- Space Administrator
- Submitter
- Attendant
Be cautious when altering permissions, as you have the power to upgrade a submitter to an administrator of your Timely account with full permissions.
b) Status
- Approved
- Rejected
The “Pending” status is only applicable when the requester creates an account and you need to decide whether to approve or reject this requester.
c) Automatically Approve All Space Bookings from this Submitter
You can choose to automatically approve space booking requests submitted by trusted users. To enable this setting, simply check the appropriate box in the submitter’s profile and click ‘Save’.
Please note that this option is only available to you if the “Automatically approve new events submitted” box in the Community Events Settings is unchecked.
d) Automatically Approve Event Edits from this Submitter
This feature is only available if the Contacts Management module is enabled. When this option is checked, any future edits submitted by this individual—to events they originally submitted—will be automatically approved and published without requiring manual moderation.
e) Allow this Submitter to Cancel Events
This feature is only available if the Contacts Management module is enabled. When this option is enabled, the selected submitter will be able to cancel their own events directly, when they are logged to their “My Events” area of the public calendar interface.
f) Additional Information
This section requires the Contacts Management module to be enabled and the creation of custom fields for submitters. These custom fields are managed in the Contacts menu settings.
Once configured, the Additional Information area allows you to collect and store more context about the submitter, beyond the standard name and email address included in a submitter account. For example, you may wish to request:
- Phone – Add the requester’s contact phone number.
- Faculty/Student/Member Status – Indicate whether the requester is affiliated with your organization (e.g., as a faculty member or student) by selecting Yes or No.
These fields are fully customizable, so you can tailor the information collected to suit your organization’s needs.
3.4. Deleting Individual Space Requesters
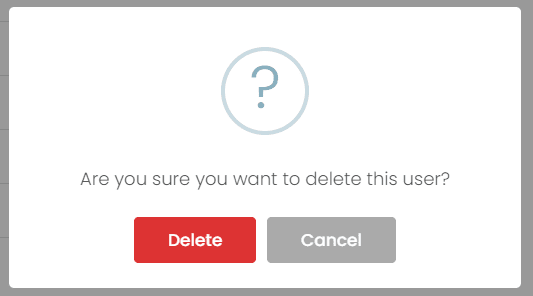
To delete a specific space booking requester, hover your cursor over the requester’s name, and then click on the Delete option (trash can icon).

A pop-up will appear to confirm your decision. Click the Delete button to confirm, or the Cancel button to return to the list of space booking requesters.
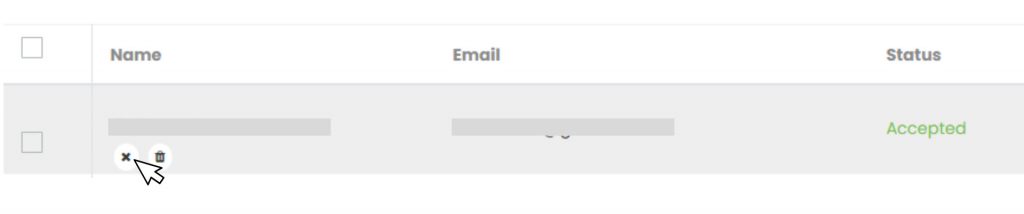
3.5. Rejecting Individual Space Requesters
If you do not wish to allow a requester to submit events, you can change their status to Rejected. This will prevent them from submitting or editing any events in the system.
To do this, go to the Submitters tab, hover on the submitter’s name, and click on reject (X icon). Rejected submitters will remain in your list for reference, but will no longer have access to submit or manage events.
By following these steps, you can efficiently manage space booking submitters, ensuring a smooth and organized process for receiving and processing space booking requests from your community. Timely makes this process hassle-free, empowering you to maintain a well-structured spaces view and events calendar.
3.6 Performing Bulk Actions on Space Requesters
In addition to managing individual submitters, you can also execute bulk actions, including permanent deletion.
How to bulk manage submitters:
- On the left side menu, go to Contacts > Submitters or Community Events > Submitters.
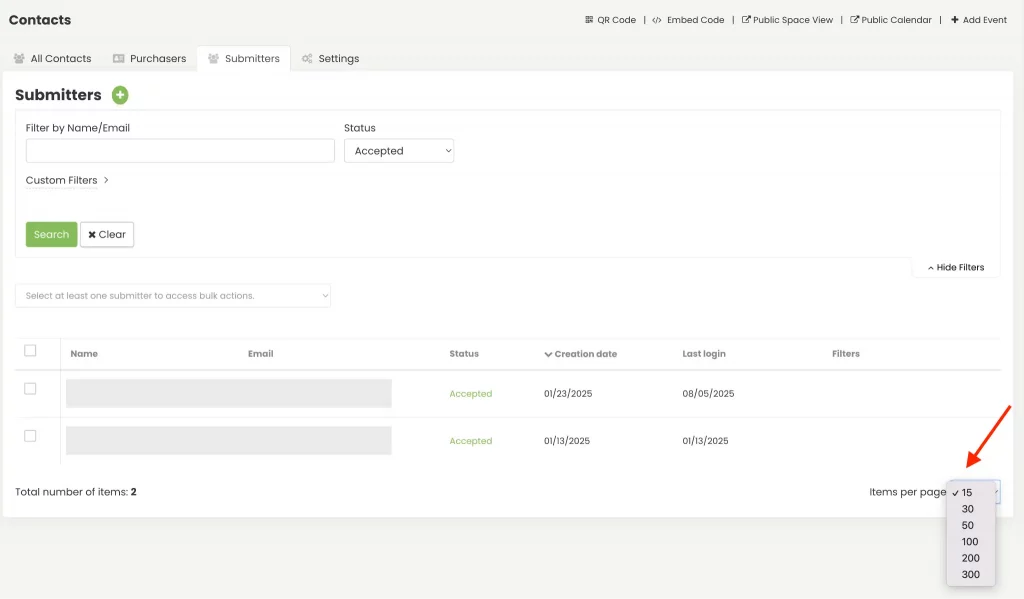
- Select one or more submitters using the checkboxes on the left, or check the first box to select all submitters currently displayed in the page.
Tip: To select more submitters at once, adjust the items-per-page setting at the bottom of the screen. You can display anywhere from 15 to 300 items per page.
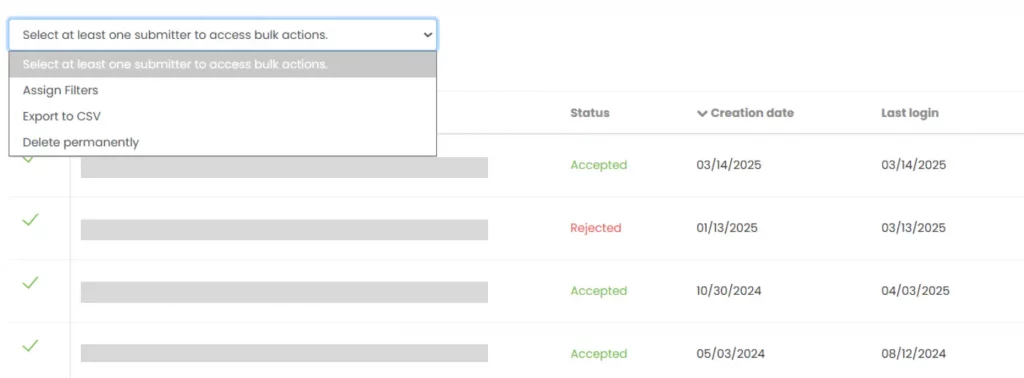
- Next, open the Bulk Actions dropdown at the top of the list. The available options are: Assign Filters, Export to CSV, and Delete Permanently.
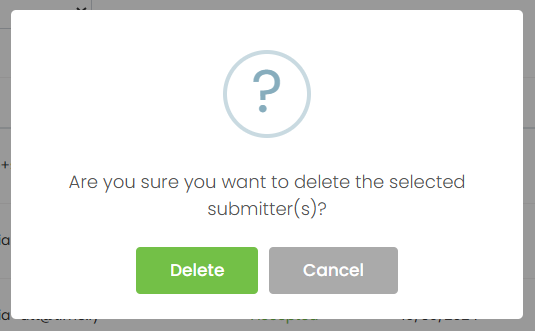
- Select your preferred option. A confirmation message will appear based on the action chosen. For example, “Are you sure you want to delete the selected submitters?” when choosing Delete permanently.
- Confirm to proceed, or Cancel to keep the current settings.
By following these steps, you can efficiently manage space booking submitters, ensuring a smooth and organized process for receiving and processing space booking requests from your community.
Need Additional Help?
For further guidance and support, please visit our Help Center. If you have any inquiries or need assistance, don’t hesitate to contact our customer success team by opening a support ticket from your Timely account’s dashboard.
Moreover, in case you require additional assistance in implementing and using Timely venue management system, we are happy to assist. Explore all the professional services we can offer you, and get in touch with us today!