As you navigate the world of space bookings, having a versatile venue management tool is essential. Timely offers a user-friendly interface that allows you to not only create event spaces, but also edit, clone, and delete spaces with ease. These features empower you to customize your spaces and streamline your venue management efforts.
1. Benefits of Making Changes to Spaces
Updating your space listings grants you the flexibility to adapt your venues to changing needs. Whether you need to adjust space details, update availability configurations, duplicate spaces, or remove them, making changes to your listings ensures your spaces are always up-to-date and accurately represent your offerings.
2. How to Edit Event Spaces
To edit spaces, simply follow these steps:
- Log in to your Timely account.
- On the left-side menu click on Venues.
- Then access the Spaces tab. There, you’ll see a list of the spaces you’ve created.
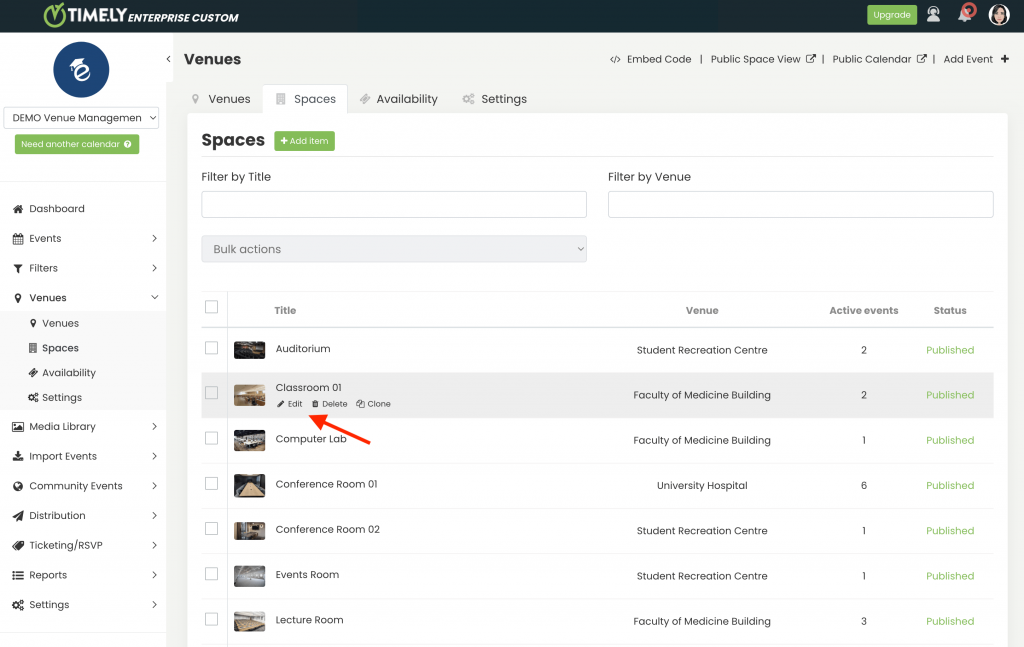
- Hover your mouse pointer over a space to reveal more options.

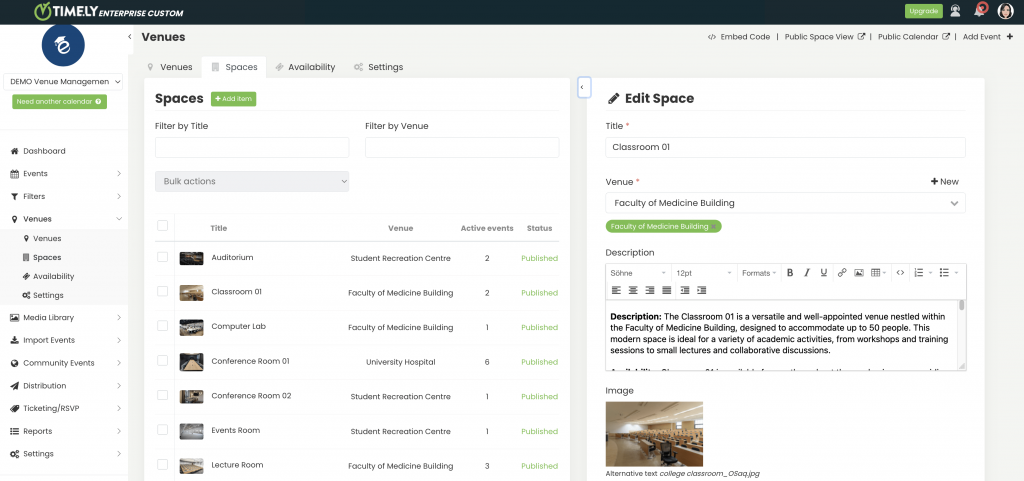
- Click on Edit to update the space details. A new section will open on the screen allowing you to make changes to your event space listing. There, you will be able to edit the title, related venue, description, image, availability and much more.

3. How to Clone Spaces
With Timely, you can also clone event spaces saving you time when adding bookable spaces to the platform. To clone a space, follow these steps:
- Log in to your Timely account.
- On the left-side menu click on Venues.
- Then access the Spaces tab. There, you’ll see a list of the spaces you’ve created.
- Select a previously created space to use as a template. Then, hover the mouse pointer to reveal more options.
- Next, select Clone. The system will create a copy of the selected space with the same details as the original space, including availability configurations and block availability settings.
- After making the desired edits, remember to click Save.
4. How to Delete Event Spaces
To delete event spaces, follow these instructions:
- Log in to your Timely account.
- On the left-side menu click on Venues.
- Next, access the Spaces tab. There, you’ll see a list of the spaces you’ve created.
- Select the space that you wish to delete. Then, hover the mouse pointer to reveal more options and click Delete.
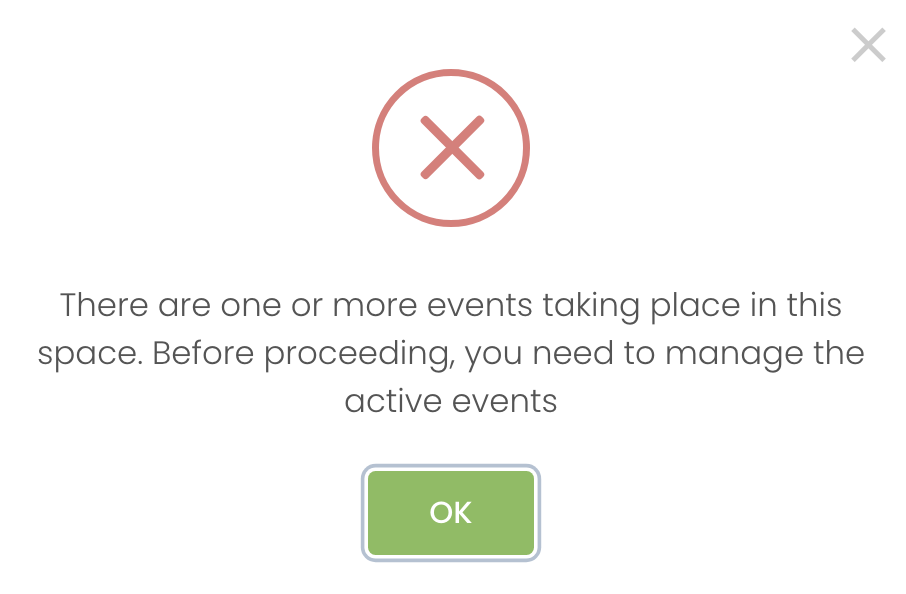
- If you have any active events happening on that particular space, the system will show a warning and will prevent you from deleting the space before you properly manage the events assigning them to another space.

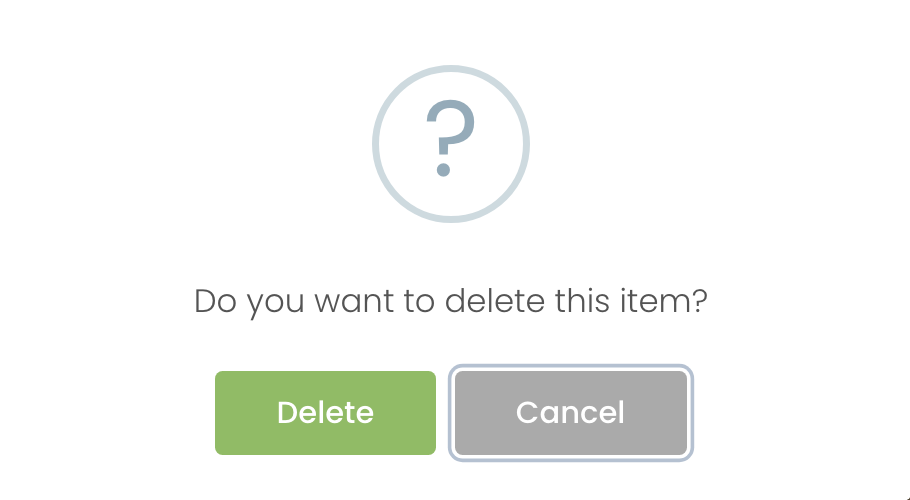
- If there are no active events linked to that space, the system will show a pop-up asking for confirmation. Simply click on Delete to confirm.

Managing your spaces effectively contributes to the overall success of your space planning. With Timely’s intuitive interface, editing, cloning, and deleting spaces become simple tasks that enhance your venue management strategy. By customizing your spaces, you ensure they accurately reflect your offerings and cater to your needs.
Need Additional Help?
For further guidance and support, please visit our Help Center. If you have any inquiries or need assistance, don’t hesitate to contact our customer success team by opening a support ticket from your Timely account’s dashboard.
In case you require additional assistance in implementing and using Timely venue management system, we are pleased to assist. Explore all the professional and managed event services we can offer you, and get in touch with us today!