
Timely’s Resources module stores every equipment or service you allocate to events. Keeping those details current, editing descriptions, duplicating similar items, or retiring old stock, streamlines daily operations. This post explains how to edit, clone and delete resources step by step.
1. Benefits of Managing and Updating Resources
Managing resources effectively provides several key benefits:
- Save time by quickly duplicating similar resources.
- Simplify management through bulk actions for multiple resources simultaneously.
- Generate additional revenue by keeping paid resources clearly priced and updated.
Learn more about how to create new event resources for space reservations.
2. How to Locate Resources
Managing resources effectively keeps your event operations running smoothly:
- Log in to your Timely dashboard.
- From the left-hand menu, select Resources.
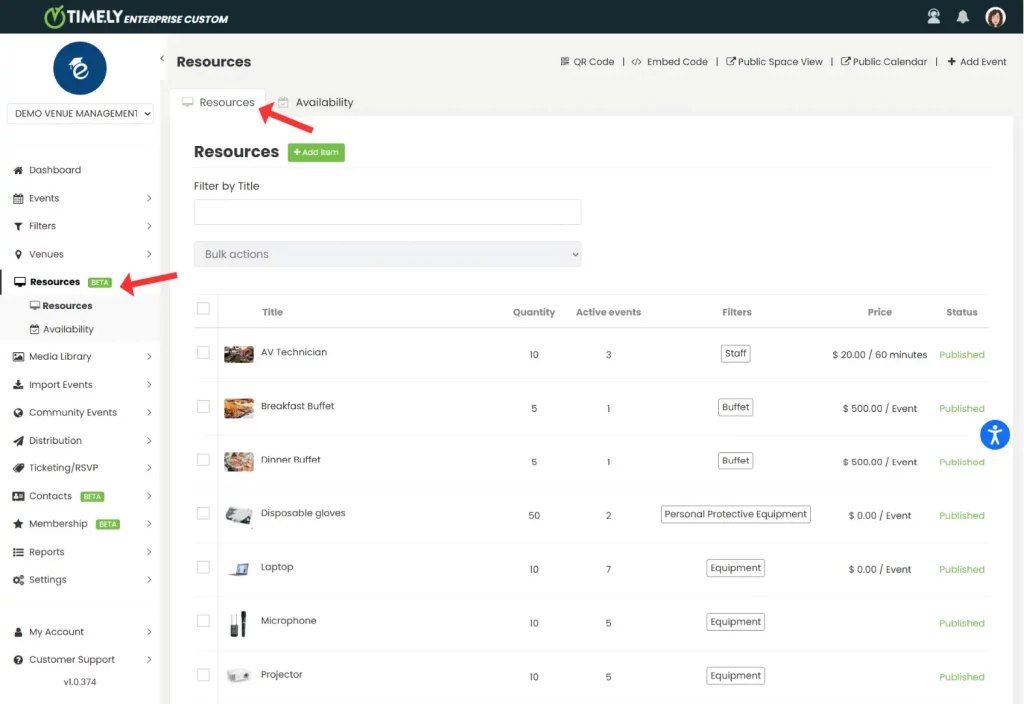
- From the Resources page, review the list of all your resources, with their:
- total quantity,
- the number of active events they are allocated to currently,
- their assigned filters,
- price,
- and status.
- Use the search bar to locate specific resources by title.
3. How to Edit Resources
Keeping resource information accurate ensures seamless event management:
- Locate the resource you want to edit.
- Click on the resource’s name or the pencil icon.

- Update the details as necessary (name, quantity, filters, pricing, etc.).
- Click Publish to save your changes.
4. How to Clone Resources
Duplicating resources saves time, especially when adding similar items:
- Locate the resource you wish to clone.
- Click the Clone icon (two overlapping squares) below the resource name.
- Adjust any details that differ from the original.

- Click Publish to finalize the new resource.
5. How to Delete Resources
Removing unnecessary resources keeps your inventory clear and relevant:
- Find the resource you want to delete.
- Click the trashcan icon next to the resource.
- Confirm the deletion to permanently remove the resource.

- Confirm the deletion to permanently remove the resource.
Note: Deleting a resource is permanent and cannot be undone.
6. Resource Bulk Actions
The Bulk Actions dropdown lets you efficiently manage multiple resources at once:
- Select the resources you wish to manage by checking their boxes.

- Choose an action such as Delete Permanently from the Bulk Actions dropdown.
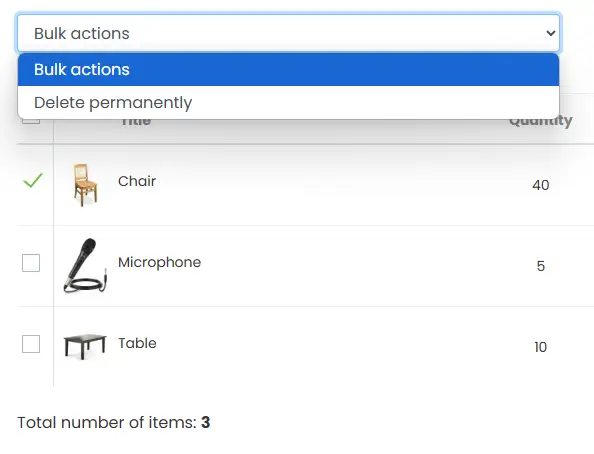
- Confirm your choice to execute the bulk action.
Bulk actions significantly simplify inventory management, especially when updating or cleaning up large numbers of resources.
Need Additional Help?
For further guidance and support, please visit our Help Center. Additionally, if you have any inquiries or need assistance, don’t hesitate to contact our customer success team by opening a support ticket from your Timely account’s dashboard.
Moreover, in case you require additional assistance in implementing and using the Timely venue management system, we are happy to assist. Explore all the professional services we offer, and feel free to get in touch with us today!