
With Timely venue management software, you can effortlessly collect paid space and resource booking inquiries from your community, improving internal processes, saving time and operational costs, while maximizing your space utilization and profitability. In this guide, we’ll walk you through the steps submitters need to follow to submit paid space and resource booking requests to you.
1. Receiving Paid Space and Resource Booking Requests
For security purposes, booking requesters must create an account with Timely in order to submit paid space and resource booking requests to you. This submitter account creation and sign-in process not only safeguards your account from spammers but also ensures the security of Timely’s software against potential hackers.
New submitters will receive an email from us, requesting them to verify their email address in order to activate their account. If the submitter already has a Timely account, they can simply sign in to the application using their credentials.
Moreover, when a new submitter signs up, our system will automatically email all your system users with an approval role, informing them of the new submitter. This email will contain a link that allows you to approve or reject the new submitter, unless you’ve chosen to automatically approve all submitters. For detailed instructions, please refer to the post on “How to Approve and Manage Space Booking Requesters.”
2. Submitting Paid Space and Resource Booking Requests through the Booking Form
2.1 Space Public View Login
When visitors access your dedicated web page for space bookings powered by Timely, they will see all available spaces displayed either in a gallery or schedule view. In the gallery view, each space is accompanied by an image, along with its price — whether charged per event or per time interval, if applicable.

After using the filters to select their desired space, submitters can learn more about each bookable space by clicking on the respective space image. There, they will be able to see the space’s address, description, and any other information you’ve added to the space details.

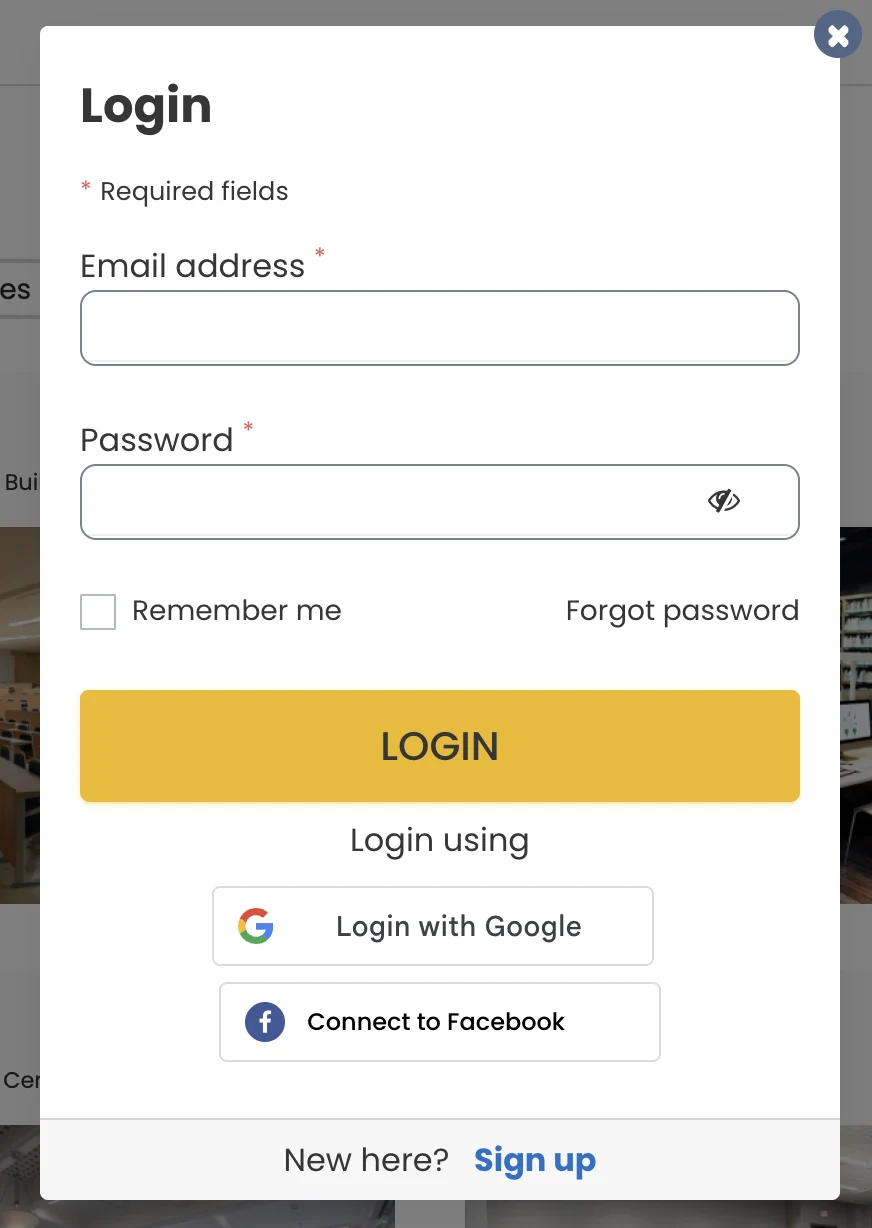
Then, they just need to press the Book button again.To book a space, requesters must first click the Sign In button. A pop-up window will then appear, prompting them to either sign in with their credentials or create a new account.
2.2 Space and Resource Booking Form
After successfully sign-in, the Booking Form will appear on the screen. The submitters will then be able to add the information about the event they intend to hold on the designated space and answer your custom in-take questionnaire.

TIP: Use the Resources module to offer equipment and services alongside your space bookings. This ensures all necessary materials are included in booking request and creates additional revenue opportunities. Learn how to create event resources for space reservations.
Once the submitter has filled in all the required space and resource booking details, they can click the Submit Booking Request button. If all necessary information has been provided and any applicable payment has been completed, the Timely system will process the submission and display a confirmation thank-you message on the screen. Simultaneously, the system will send an email to the submitter, confirming that their space and resource booking request has been successfully submitted.
For detailed instructions on how to manage booking requests, please refer to the post on How to Accept, Reject, or Edit Space Booking Requests.
2.3 Automated Email Notifications for Paid Space and Resource Booking Requests
If all necessary information is provided, the Timely system will receive the submission and display a thank-you message on the screen. Simultaneously, the system will email the submitter, confirming that their space booking request has been successfully submitted.
Additionally, the platform will send an automated email to all account system users with an approval role, notifying them about the new booking request. In the notification email, you’ll find a link to either approve or reject the new booking request, unless you’ve opted for automatic approval of all submitted booking requests. For detailed instructions, please refer to the post on “How to Accept, Reject, or Edit Space Booking Requests.”
Receiving space and resource bookings from your community has never been easier with Timely!
3. Using the Public My Bookings Area
If the Contacts module is enabled for the Timely account, requesters will see the My Bookings area in the public view header when they are logged in. The My Bookings section lets them review their booking requests at any time. If administrators enable specific permissions, submitters will also be able to edit or request edits to their bookings, and/or cancel them.
How to get there:
- Sign in on the Public Space View using your credentials, then click My Bookings in the header.

What submitters can do in the My Bookings area:
- View an overview of their space and resource booking requests — see each request with its current status (e.g., Pending, Confirmed, Rejected, Canceled, etc.) plus date/time, Venue, Space and Resource(s).
- Edit or request edits to existing bookings (if allowed) — open a booking, click Edit, update details (e.g., time, notes, selected Space and/or Resources), then click Submit. Changes may require organizer approval.
- Cancel bookings (if allowed) — open each booking and click Cancel to withdraw their request.

Note: Available actions in My Bookings depend on organizer permissions defined by system administrators., and the Contacts module must be enabled for the calendar.
For details on enabling submitter permissions in My Bookings, see How to Set Up the Space Booking Form for universal settings, or How to Approve and Manage Space Booking Requesters for individual settings.
Need Additional Help?
For further guidance and support, please visit our Help Center. If you have any inquiries or need assistance, don’t hesitate to contact our customer success team by opening a support ticket from your Timely account’s dashboard.
Moreover, in case you require additional assistance in implementing and using Timely venue management system, we are happy to assist. Explore all the professional services we can offer you, and get in touch with us today!