Timely Event Management Software Quick Start Guide
Create and Activate your Account
To start your experience with Timely event management software, the first thing you need to do after setting up your subscription plan is to create and activate your account.
Account owners will receive their account credentials directly from us by email. For security and privacy reasons, all the other users will have to be added by the account owner.
Open our welcome email and follow the instructions to activate your account. You will then be able to login into the platform, and unlock all the features Timely has to offer!
Set Up and Customize your Events Calendar
Once you are logged in, set up your calendar general settings by personalizing your calendar name, language, date and time format, and other items.
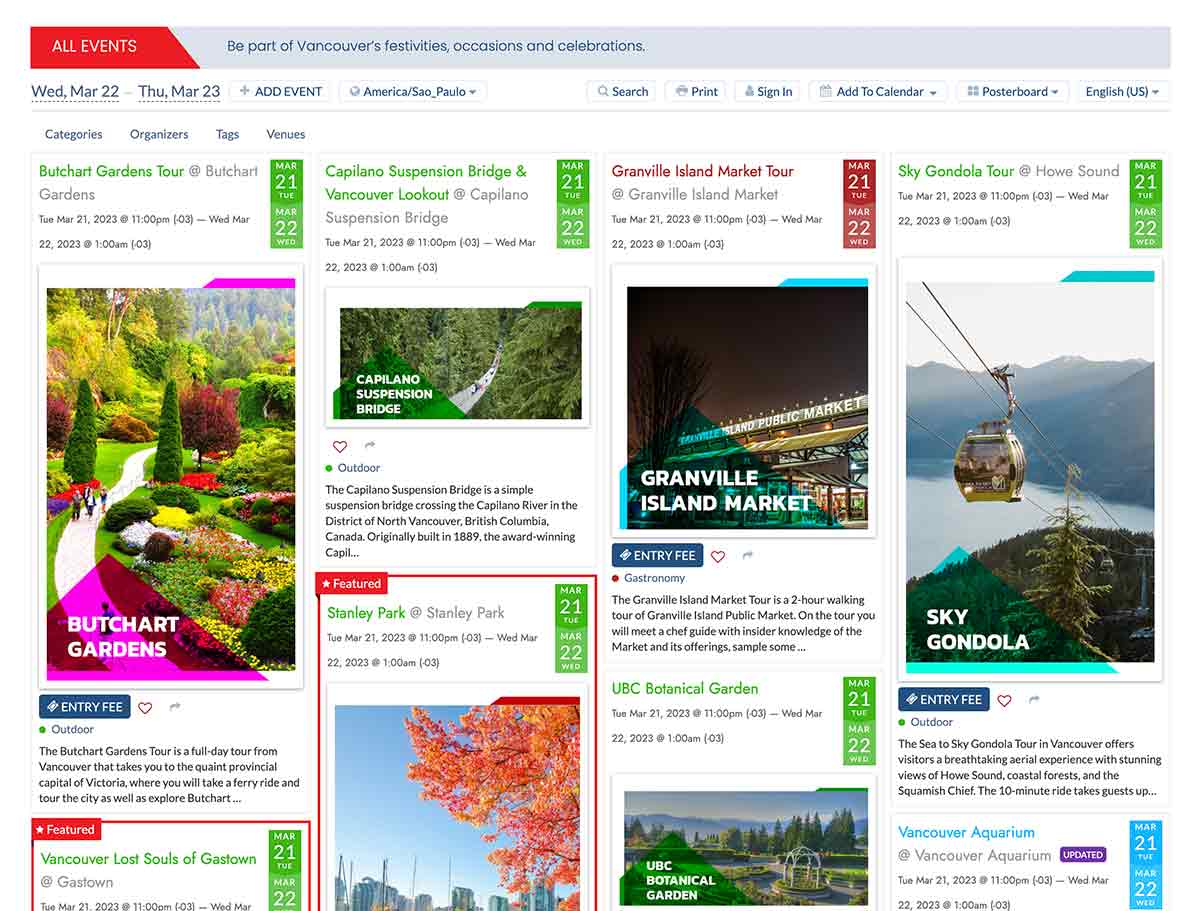
Next, use the design settings to easily create a beautiful calendar that matches your brand. Choose among several calendar views and event page layouts, select a preset theme or create your own.
If you are looking for customizability, use these settings to your benefit. Event management software doesn’t get any more customizable than Timely!
Create and Publish an Event
Now that your events calendar is ready to go, it’s time to create your first event, whether it’s an in-person, virtual or hybrid.
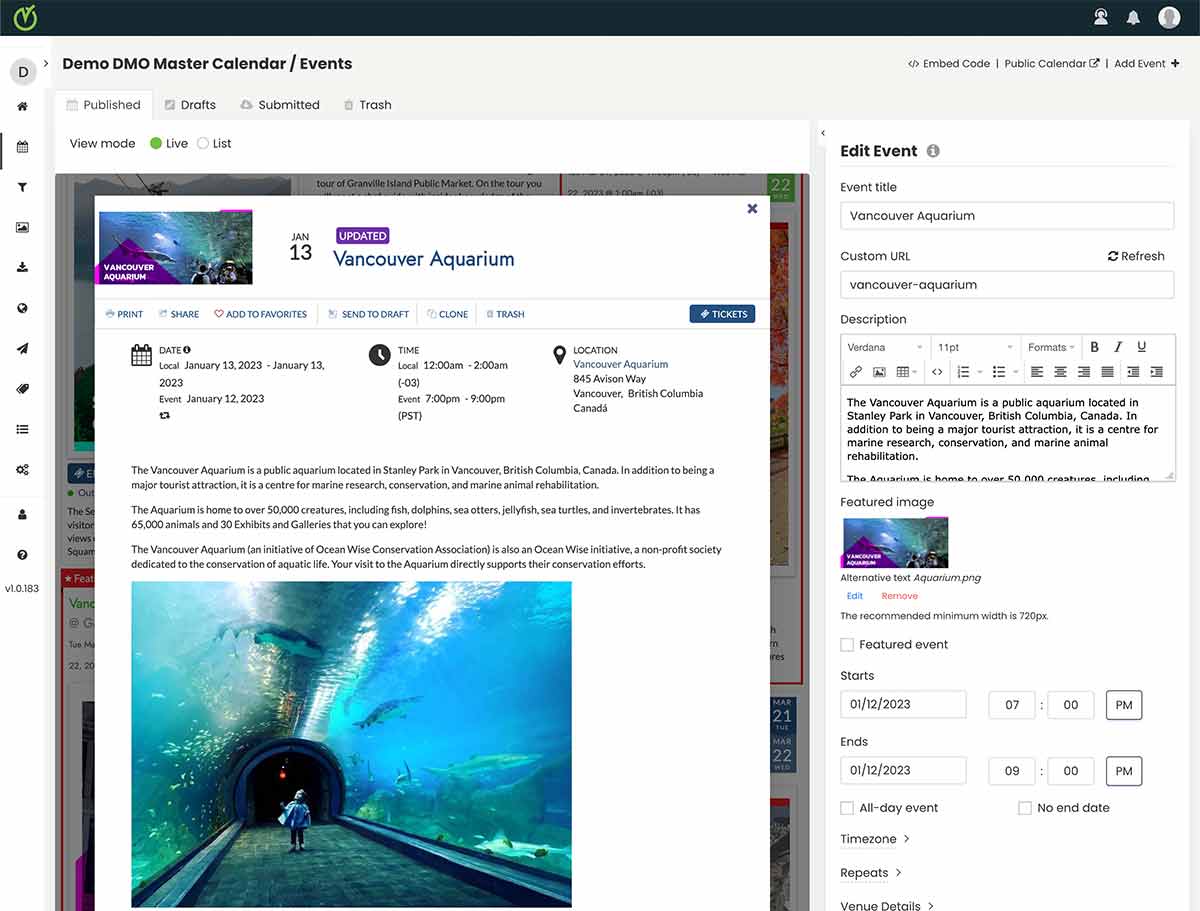
With Timely, you can create, edit, publish, and save events as draft, as well as schedule them to be posted in the future. Once published, your events will appear on your calendar automatically.
You can add details to your event, such as a description, pictures, videos, and addresses. You can also create recurring events and clone events, saving you plenty of time in the process!
Set Up Online Registration and Ticketing
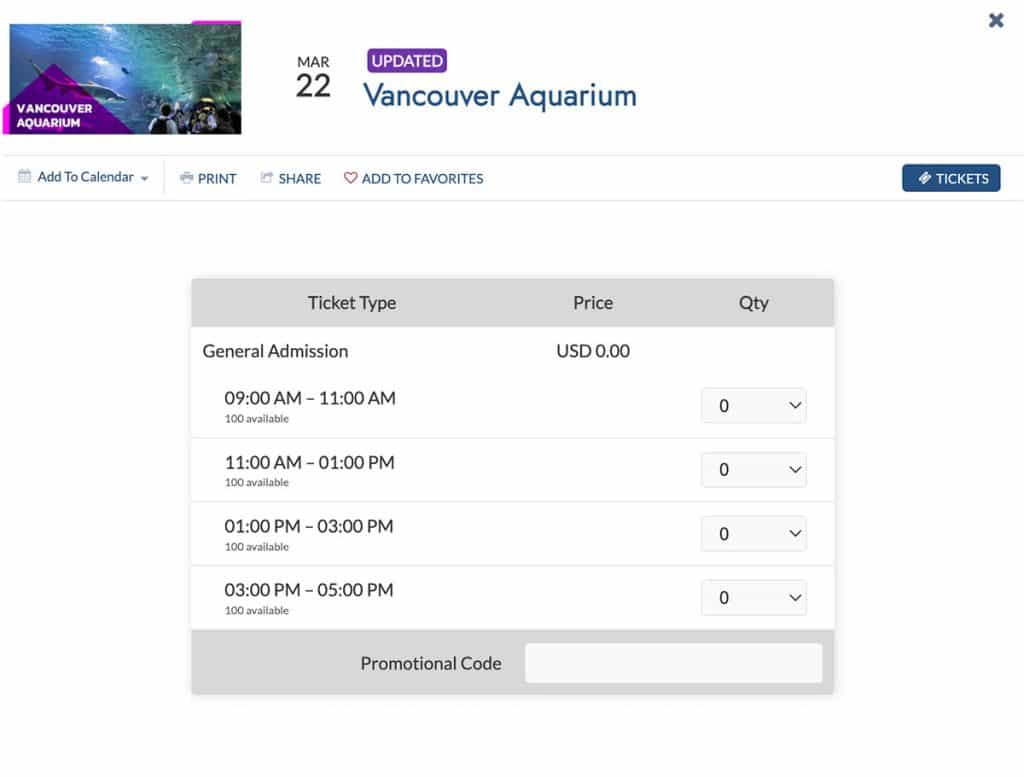
Give your guests the convenience of reserving and purchasing their event tickets online. Simply enable the RSVP/Ticketing add-on and connect your favorite payment gateway.
You will be able to collect registrations and sell tickets online for both free and paid events. From general admission and VIP, to time-sensitive and early bird tickets, the possibilities are endless.
Create custom registration forms, and automated notifications to attendees. With Timely, your events are guaranteed to be a success!
Install Timely on your Website
After completing the previous steps, go ahead and install Timely software to display it live on your website or mobile app.
Whether it’s WordPress, HTML, Squarespace, or Drupal, Timely event management platform seamlessly integrates with the most popular content management systems.
Adding Timely to your website is super simple! Just log in to your Timely account and copy the embed code provided. Then, paste it into the backend of your website. No technical know-how required!
What Else Can Timely Event Management Software Do For You?
Timely is a powerful event management system to publish, promote, manage and monetize events more efficiently. It is perfect for organizations that host numerous events per year, and are looking for advanced features to manage events in bulk with a customizable public interface that can be installed on their own websites.
Want to learn all Timely can do? Check our comprehensive event management software knowledge base.


