With Timely event software, you can easily accept payments online by connecting your account to your favorite payment gateway. This feature is very useful if you want to sell event tickets from your own events calendar, or services and fees through an integrated event submission form. Keep reading to learn how to add a payment gateway to your Timely account and create an additional stream of revenue for your event business.
1. What are Payment Gateways?
A payment gateway is a technology service provided by an e-commerce application, and used by merchants to accept credit or debit card purchases from customers. Payment gateways act as in-between facilitators for secure payments. They encrypt and transmit payment details from the point of entry to payment processors, as well as communicate the approval or decline of the charge back to the merchant or customer.
Most payment gateways accept both online and offline transactions, and work across all sales channels and devices. Some of them support multi-currency payments, so you can securely accept payments from global customers. These service providers are essential to help online businesses grow while receiving secure electronic payments for goods and services sold.
2. Choosing a Payment Gateway and Opening an Account
At Timely, we know how important it is to feel comfortable with your payment gateway provider. That’s why we don’t require our clients to use a specific gateway with their accounts. On the contrary, we encourage them to explore and use the one that best suits their needs. Depending on the payment gateway you choose, you may have different benefits. Thus, we recommend doing your own research before choosing a payment gateway for your event business.
Currently, we have native integrations with PayPal, Stripe, Square and Authorize.net. However, if you use a different payment gateway, we may be able to accommodate your needs by customizing a solution for you. Just contact us. We will be happy to help you.
IMPORTANT: Please note that every payment gateway will require different information from you while opening your account. Generally, they will also ask you to confirm personal information in order to activate your account. Only after activating your account, you will be able to receive online payments.
2.1 Creating an Activating a PayPal account
PayPal is one of the largest payment networks in the world. That means they can offer extra benefits linked with their brand, like flexible shopping, no account number needed to make payments, and rewards. You can find more details about those services on their website.
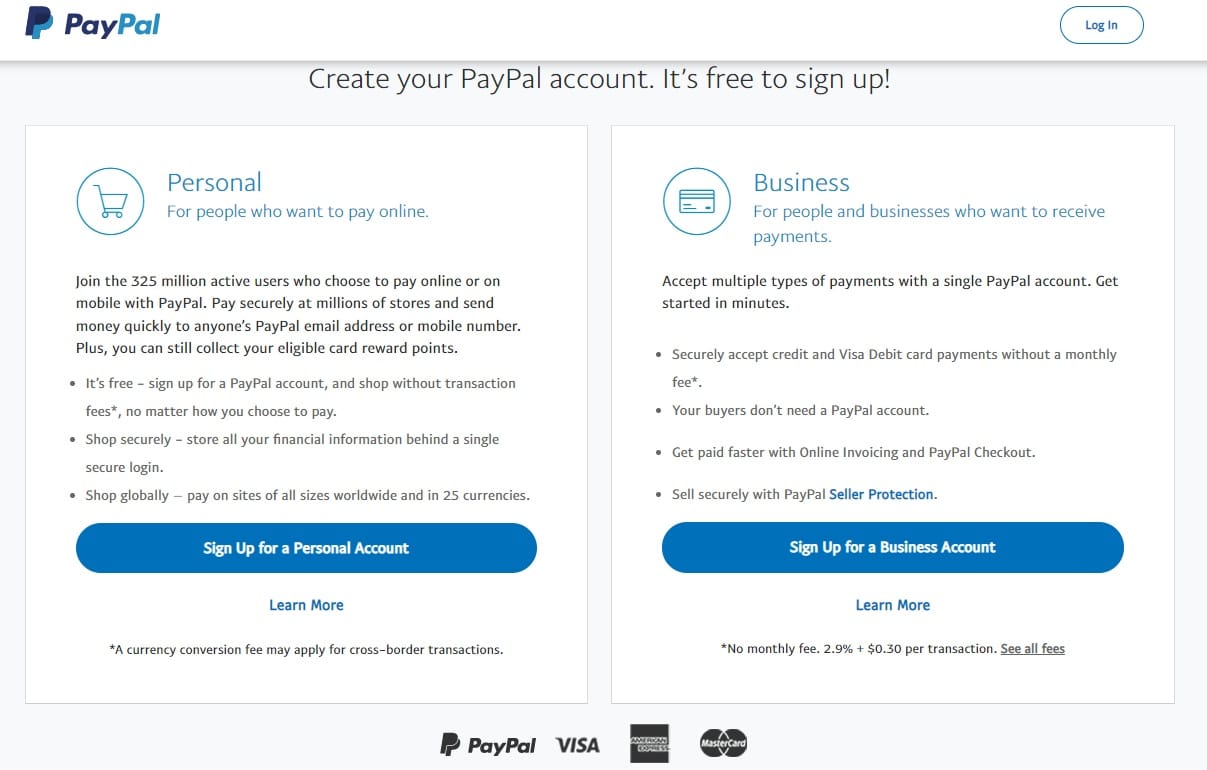
You can create a PayPal account by clicking here. First, you will need to choose between a personal or business accounts. Then, you just need to follow the steps on the screen to create and activate your account.
2.2 Creating and Activating a Stripe account
Unlike PayPal, Stripe is aimed at business accounts only. No matter if you’re a solo entrepreneur, a small business or a famous brand, they have different tools to assist you. From invoices to card issuing and business operations. You can see all the benefits on their website.
To create an account, you just need to register with Stripe and fill in the information requested.

2.3 Creating and Activating a Square Account
Square is also perfect for entrepreneurs and business owners. You can even register your staff and control payrolls using their system, managing all your business data from one place. Access their website to know all their products in detail.
To create an account with Square, go to their sign up page and fill in the information requested.

2.4 Creating and Activating an Authorize.net Account
Authorize.net stands as a trusted and renowned payment gateway, enabling businesses to securely accept online payments. With a remarkable track record spanning over 20 years, Authorize.net has become a leader in the payment processing industry, catering to businesses of all sizes.
To create an account with Authorize.net, go to their pricing page, select the desired plan, and then fill in the information requested.

IMPORTANT: No matter the payment gateway you choose, they will all ask you to confirm your account. It’s important to remember that you can’t receive online payments until your account is confirmed. Check the confirmation method on your preferred gateway and follow the instructions to start receiving payments.
3. Connecting your Payment Gateway to your Timely Account
After creating and activating an account with your preferred payment gateway, you will need to register the payments receivable account on your Timely dashboard. Just follow the steps below:
- Log in to your Timely account.
- On the main navigation menu, click on Settings. A new page will appear where you will see all the General Settings.
- Choose the option Payments Receivable, and click on the + add account button.

- A form will pop up. Add your payment gateway account information to proceed.

- Click on Save billing account to finalize the process. Now, the accounts are connect, and you can start accepting electronic payments from your Timely events calendar.
4. Default Billing Account for Event Tickets, Services and Fees
When selling event tickets with Timely event ticketing platform, or services and fees through Timely integrated event submission form, the system will recognize the connected payment gateway account as your default billing account.
Thus, whenever you sell an event ticket or charge for a service or fee from your Timely event calendar, you will receive payments on that payment gateway account. This means that no additional set up is required from your end.
5. Multi-Billing Accounts for Event Tickets
Depending on your plan with Timely, you might be able to have multiple billing accounts. This feature can give you more flexibility when choosing the payment gateway account to receive online payments for specific events.
In this case, you will need to select the applicable billing account when creating your event tickets. Simply follow the steps below:
- After login into your Timely app account, choose an already existing event or create a new event.
- On the Costs and Tickets section, select your ticket type. If you are using Timely Event Ticketing Software or Ticketing Add-on, you will see the options Event Ticket and/or Time Slot Ticket. Select the applicable one.
- On Billing Account, click on the dropdown menu and choose the applicable billing account.

IMPORTANT: Regardless of how many billing accounts you have connected with your Timely account, you can only add one billing account per event.
- After setting up your ticket information, click Publish or Save draft to save your event billing account settings.
Need Additional Help?
For further guidance and support, please visit our Help Center. If you have any inquiries or need assistance, don’t hesitate to contact our customer success team by opening a support ticket from your Timely account’s dashboard.
In case you require additional assistance in implementing and using Timely event management system, we are pleased to assist. Explore all the professional services we can offer you, and get in touch with us today!