With a Timely account, you can change your account general settings in many ways. For example, you can change your events calendar’s name, language, timezone and more. In this post, you will learn all the steps to set up your Timely account general settings.
Watch the instructions on video format, for a quick and easy walkthrough of the content:
.1. Customizations to the Account General Settings
You can start by accessing the Settings menu on the left main navigation bar of your Timely dashboard. You will the General submenu, where you can edit the following settings:
- Calendar Name
- Calendar Logo
- Calendar Language
- Calendar Emails
- Calendar Date & Time
- Payments Receivable
- Relabelling
- SEO Options
- Miscellaneous
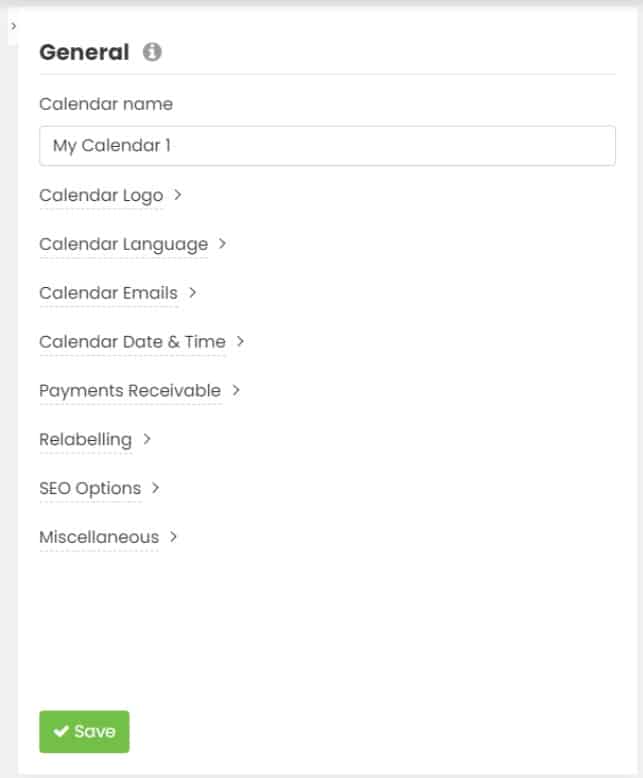
2. Calendar Name
If you want to organize your events calendar and make it look more professional, you can give it a name that reflects its purpose. Also, if you manage several calendars under your account, naming your calendars makes it easier for you to find them in your Timely dashboard.

You can change the Calendar Name anytime. Just keep it under 1000 characters.
3. Calendar Logo
You can choose an image for your dashboard icon, your calendar logo, and your sign in logo.
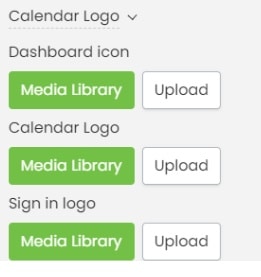
You can use the images already uploaded to your media gallery or you can add new ones by clicking on the “Upload” button. If you need detailed instructions, check our user guide post on how to add a brand logo to your events calendar.
4. Calendar Language
You can change the default language that is used in your public calendar. At the moment, the available languages are the following:
- Arabic
- Chinese
- Danish
- Dutch
- English (UK)
- English (US)
- French
- German
- Italian
- Japanese
- Korean
- Polish
- Portuguese
- Spanish
- Turkish
- Swedish.
If you need additional instructions, you can check our user guide post to learn more how to change the language of your public calendar. Also, if you have the custom translations feature in your plan, you can always change Timely’s default translations with your own custom translations, personalizing your public calendar even more.
5. Calendar Emails
If you wish, you can add a custom “reply-to” email for all email messages that are sent from your Timely calendar to your audience. When this feature is enabled and a custom email address is added, when your audience replies to your messages they go straight to the custom email. This way you can respond to your customers questions and continue engaging with them directly.
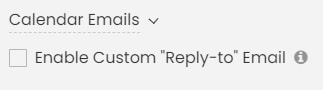
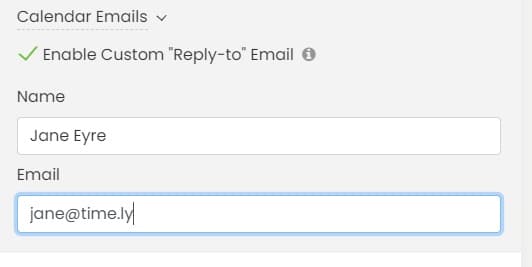
Once you click on the box Enable Custom “Reply-to” Email, additional fields will appear on the screen. In the fields Name and Email, add the name and email address of the person who should receive emails from your audience. Don’t forget to save the changes.
Please note that this feature works together with your email templates, which you can configure for both Community Events and Ticketing / RSVP. Learn more about how to customize your event submission email templates and event RSVP and ticket email templates.
6. Calendar Date & Time
If you need to adjust the date and time of your Timely calendar, simply navigate to the Calendar Date & Time section in your account’s General Settings.
By clicking on Date, you can customize the date format, delimiter, and starting day of the week. You can also decide if you want to include the year when dates are displayed on the calendar public view.

By clicking on Time, you have the option to modify the time format and timezone settings to ensure accurate event scheduling. Additionally, you can decide if the timezone will be shown on the calendar public view. Use the Load calendar setting to set the calendar to load on your website visitors’ local timezone, the calendar’s timezone, or to not apply any timezone conversion.

For additional instructions, please check our user guide post How to Set Up Multiple Time Zones for your Calendar and Events.
7. Payments Receivable
You can set up an account for receiving payments through your calendar. Currently we accept Paypal, Stripe, Authorize.net, and Square accounts.

For additional instructions, please check how to add a payment gateway to your Timely account.
8. Relabelling
With a Timely account, you can relabel any word seen on your public calendar. You just need to choose the word you want to display with a different name and write the word to replace it.

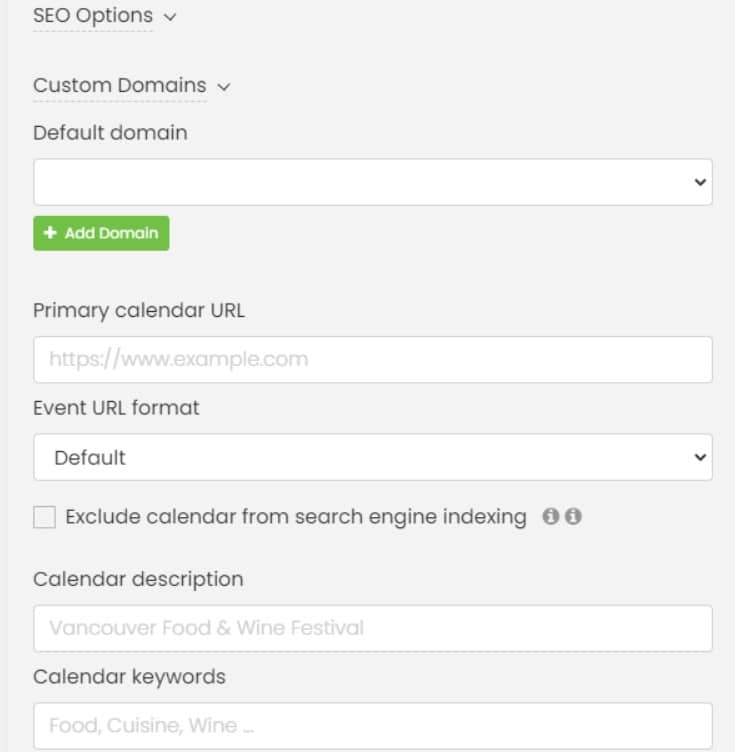
9. Search Engine Optimization (SEO) Options
Timely event management software is optimized for SEO making it easier for people to find your online calendar and events when they search online. If you wish, you can personalize your SEO settings by adding a custom subdomain and calendar URL, as well as setting up your event URL format, calendar description and keywords.
For more information on SEO Optimization, please refer to our Event SEO Guides below:
- Event SEO for Events, Calendars and Listings
- SEO Keyword Research for Events, Calendars and Listings
- Custom URL Best Practices for Event Pages
- Key Elements of a Foolproof Event Landing Page
- How to Add a Custom Subdomain for your Calendar
Moreover, if you do not want your events calendar to be found online, you can exclude it from search engines indexing, making your events and calendar private.
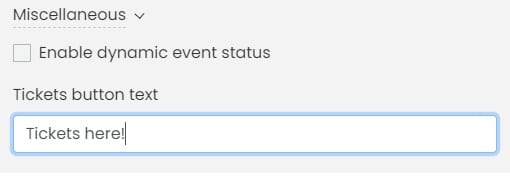
10. Miscellaneous
The Miscellaneous submenu was designed to be easy and intuitive with features that do not fit in any of the categories above. Here you can edit the following settings:
- Enable dynamic event status
- Change the name of the “Tickets” button
You can learn more about dynamic event status on the user guide post how to set up and change the event status of your events.
11. Save your Account General Settings
Once you are done editing your website calendar general settings, don’t forget to save your changes by clicking on the Save button at the bottom of the page.
For more user guidance, please go to our Help Center. If you have any questions or need additional assistance, do not hesitate to contact us. Alternatively, you can open a support ticket from your Timely account’s dashboard.