Timely is the answer to elevate your MicroSoft SharePoint and Power Pages website with dynamic event calendars and widgets. In this guide, we’ll walk you through the seamless integration of Timely on your SharePoint and Power Pages website, allowing you to showcase events, manage schedules, and captivate your audience. Let’s dive into the easy steps to embed Timely content into SharePoint and Power Pages.
1. What is SharePoint? What is Power Pages?
SharePoint is a robust collaboration platform developed by Microsoft. It allows organizations to create, share, and manage content and applications. With its flexibility and integration capabilities, SharePoint is widely used for secure intranets, document and file management, and collaboration platforms. The platform offers rich integration capabilities, particularly with the Microsoft 365 suite, making it a comprehensive solution for organizations looking to enhance productivity, ensure data security, and foster a collaborative workplace culture.
On the other hand, Microsoft Power Pages stands out as a newer, dynamic solution aimed at simplifying the creation of both public-facing and internal websites. Power Pages excels in its ease of use, enabling users with varying technical expertise to design, develop, and deploy sophisticated websites with minimal coding. Its strengths lie in its rich set of templates and design tools, which are intuitive yet powerful, allowing for the quick launch of professional-looking sites. The platform supports a wide array of functionalities, including data integration and advanced security features, making it suitable for building interactive and data-driven web applications.
2. Full Calendar vs Widgets Embedding
When it comes to showcasing events, Timely offers over a dozen calendar views, which can be as full-scale calendars or mini calendars adapted as smaller widgets. Slider and carousel widgets can also be employed to enhance the design and presentation of events on your SharePoint and Power Pages websites.
A full-scale calendar usually spans an entire page. Being an expansive calendar version, it allows room for several calendar functions, such as date and keyword search, calendar subscription, and filters.
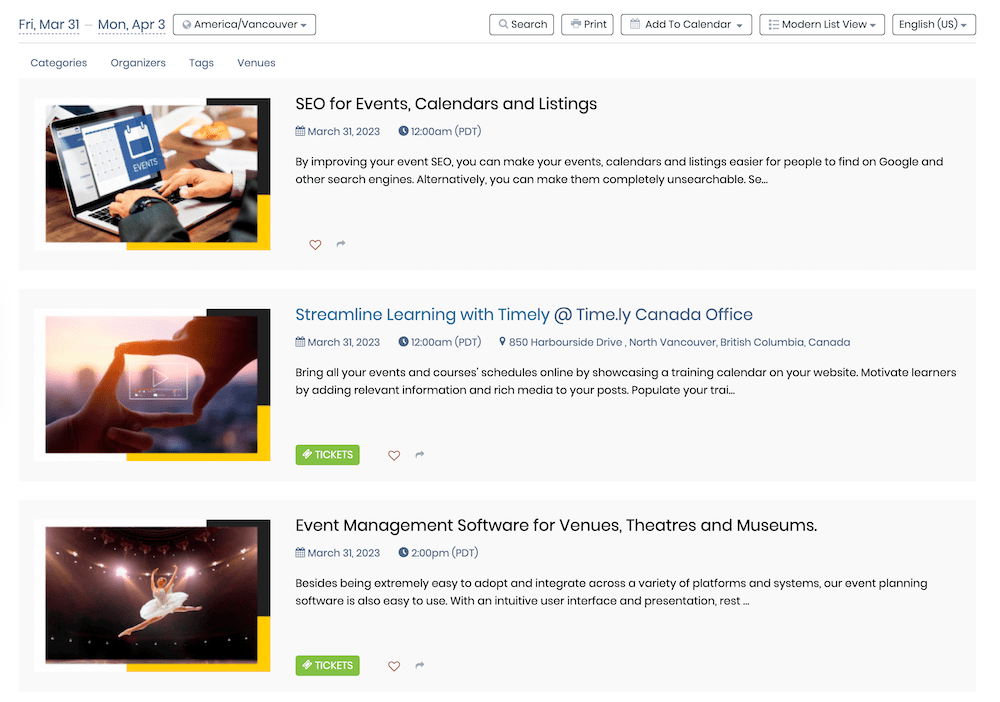
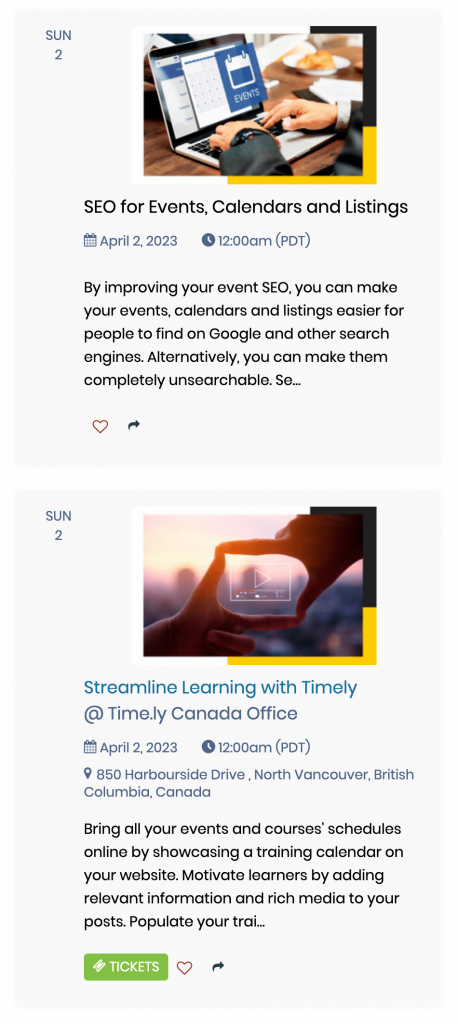
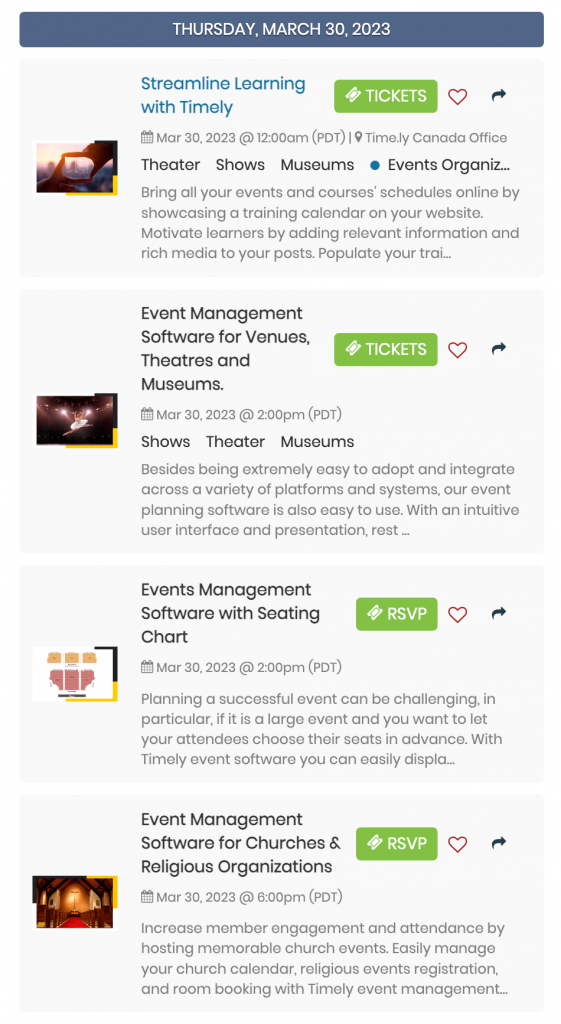
The mini calendar widget views are smaller and require less space. Usually they only display a limited number of upcoming events, and have no search or filtering functions.
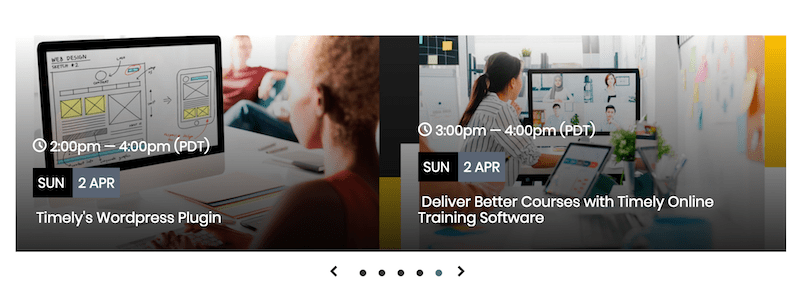
Additionally, you can use Timely slider and carousel widgets to further spruce up the design. These widgets can definitely help you showcase your events in an attractive way.
All options can be used individually or together to create a seamless experience for your website visitors.
3. How to Add Full Calendar Views to SharePoint and Power Pages
When it comes to integrating Timely, using a javascript embed code is a breeze. However, this type of integration is not currently supported by SharePoint. Fortunately, Power Pages provides the solution you need. By installing your Timely Calendar on a private Power Pages webpage and linking it to your desired SharePoint page, you can easily showcase it to your intranet users.
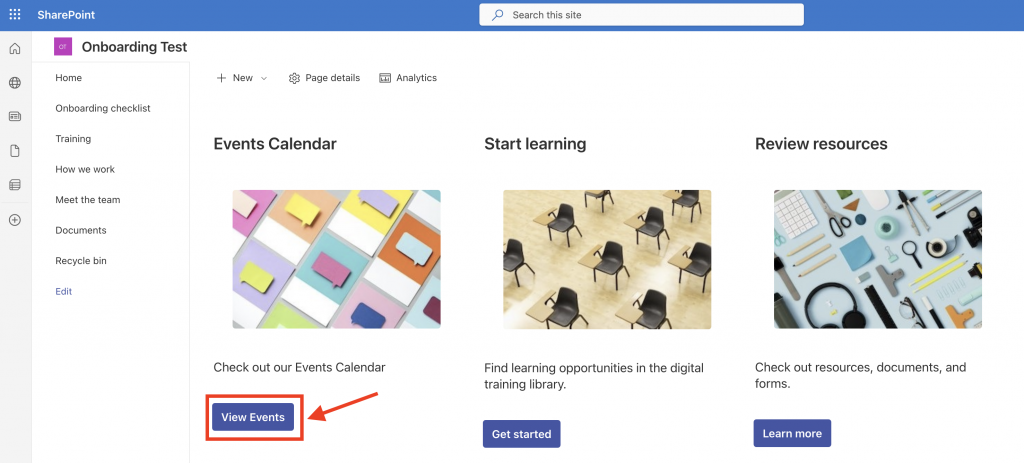
Since both solutions are part of the Microsoft suite of products, SharePoint logged users will seamlessly access the Power Pages page without any disruption. Moreover, this option may come at no additional cost to your organization depending on your subscription plan with Microsoft.
3.1 Install Timely Code into your Power Pages Website
Before installing Timely calendar on your Power Pages website, we recommend having your Timely calendar URL handy. You can find your Timely calendar URL by clicking on the Public Calendar shortcut on the right corder of your dashboard. It looks like this: https://events.timely.fun/xxxxxxx/posterboard.

Once you have your Timely calendar URL, follow the instructions below to install it into your Power Pages website:
- Log into your Microsoft 365 account.
- Next, find and select the Power Pages app.

- On the Power Pages app home screen, select the desired website and click Edit. Alternatively, you can create a new website from a template or a blank canva.

- Select your desired page, and then click on Add a Section. Then, select the section layout.
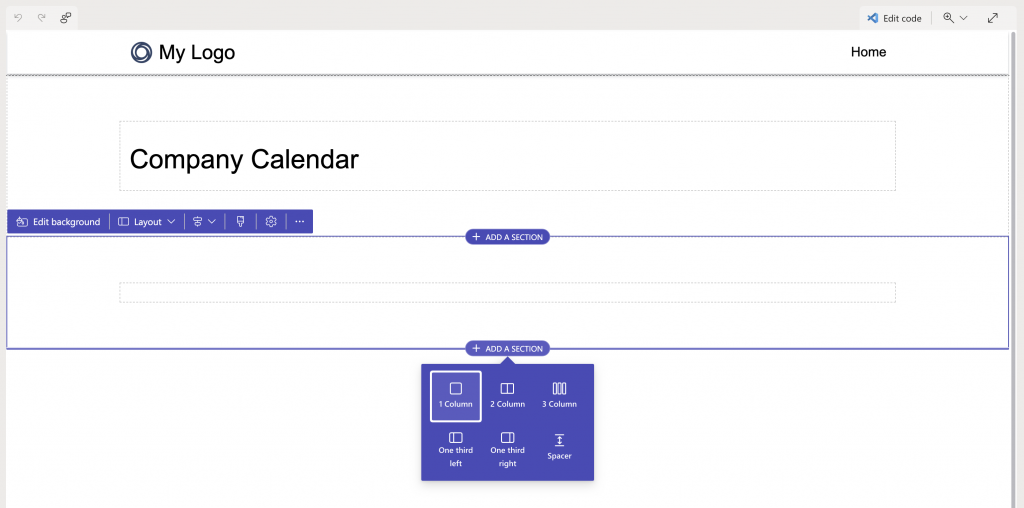
- Next, you will see a list of components to add to your section. Select the iframe component.

- Click on iframe URL to edit the iframe. Add your Timely calendar URL to the Embed URL field, then press the OK button.
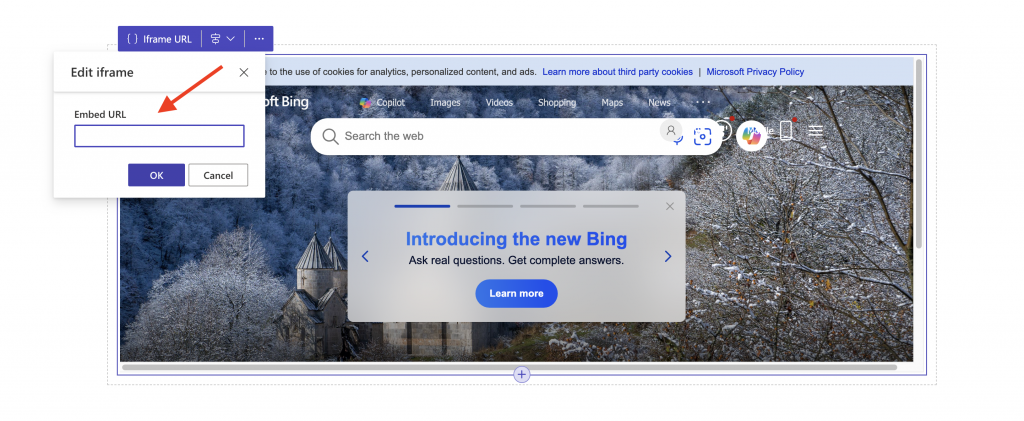
- To better accommodate the calendar content on the page, you can use the arrows around the section to increase or decrease the embeddable area.
- Next, click on Sync on the top right corner of the screen to sync your site configuration manually.
- Lastly, click on Preview also on the top right corner of the screen. You will then be redirected to the live version of your page with your Timely calendar on it.
4. How to Add Widgets to a Power Pages Website
In order to feature a mini calendar widget on your Power Pages website, you must first customize your Timely calendar URL by replacing the last section of the URL with the name of desired calendar view. For example, if you want to create a Stream View calendar widget, the applicable calendar URL is https://events.timely.fun/xxxxxxx/stream.
For slider and carousel, although Power Pages websites work with link embedding and not code embedding, first you will need to set up the necessary embed codes for these widgets. If you are unsure how to do so, refer to the instructions outlined on the following user guide posts:
Once the embed codes are ready, just modify your calendar URL by replacing the view name to either carousel or slider. For instance, https://events.timely.fun/xxxxxxx/slider and https://events.timely.fun/xxxxxxx/carousel.
With your widgets URL on hand, follow the same instructions provided in this post above to add them to the desired web page. The only difference is that, when creating the page, you will have to limit the dimensions of the embeddable area in advance. In doing so, you will ensure the widget appears in the correct place on the page.
We hope that this user guide has helped you learn how to add an events calendar to SharePoint and Power Pages websites. If you wish, you can even use a Timely calendar to accept bookings and sell tickets to your events.
Need Additional Help?
For further guidance and support, please visit our Help Center. If you have any inquiries or need assistance, don’t hesitate to contact our customer success team. You can easily open a support ticket directly from your Timely account’s dashboard.
In case you require additional assistance in implementing and using Timely event management system, we are happy to assist. Explore all the professional services we can offer you, and get in touch with us today!