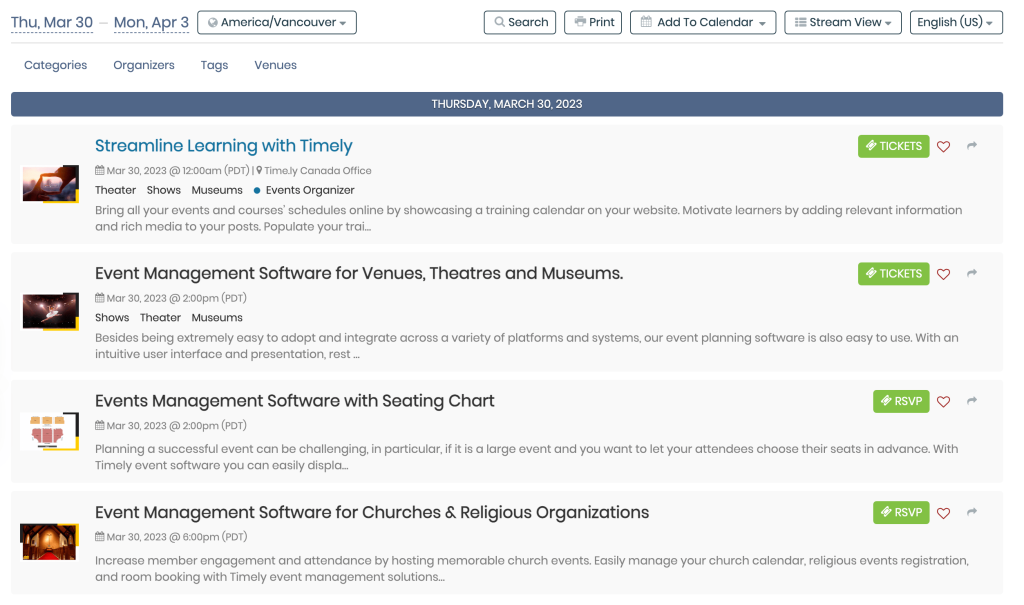
With a Timely account, you can easily incorporate an event calendar and widgets onto your Shopify web page. You only have to copy a code snippet and add it to the back end of your site. Additionally, any modifications or updates you make to your calendar and events will display immediately. You can even use the calendar to collect registrations and sell tickets to your events, if you wish. This article will provide you with step-by-step guidance on how to add an events calendar and widgets to your Shopify website.
1. What is Shopify?
Shopify is an e-commerce platform that enables people and companies to build and manage their digital stores. It provides a selection of tools and services that makes it simple for any individual to create an online store, offer goods and services, and control orders, payments, and distribution.
This platform presents a variety of functions while building a customizable website. You can also rely on a secure shopping cart system, a payment gateway, shipment and taxation organization, stock management, marketing and SEO tools, and customer assistance.
Shopify is a popular choice for enterprises of all sizes, from little startups to large businesses. It’s user-friendly and requires no technical expertise, making it accessible to anyone looking to sell products online. Additionally, Shopify also offers a diversity of payment plans to accommodate various budgets and requirements, ranging from basic plans for little businesses to advanced plans for large enterprises.
2. Full Calendar vs Widgets Embedding
When it comes to organizing and promoting events on your Shopify website, Timely event calendar software is the best option. With over a dozen calendar views available, you can create a full-scale calendar or use smaller calendar widgets to showcase your events. Moreover, slider and carousel widgets can be employed to enhance the design of your Shopify website and better display your events to your audience.
A full-scale calendar, which may span an entire Shopify page, is distinguishable from a widget view, as the latter is usually smaller and requires less space. Both options can be embedded individually or together to create an engaging experience for your visitors.

3. How to Add Full Calendar Views to a Shopify Page
Shopify allows you to add external widgets to your site. Before you begin, make sure you have setup your calendar embed code, and have generated your personalized code. With this information at hand, you can go ahead and follow the instructions below to add your calendar Embed code to a Shopify website:
- Log in to your Shopify website account, and go to your Shopify admin panel.
- Go to Sales Channels, then Online Store, then Pages.
- Select the page you want the calendar to be added to, or create a new one. A common scenario is adding the calendar to an “Events” or “Events Calendar” page.
- On the text editor component, click the Show HTML button.

- Paste your personalized Timely calendar embed code on the text editor.
- Next, click on the Save button on the bottom right corner. Your Timely events calendar should now be visible on the Shopify page.
4. How to Add Widgets to a Shopify Website
Shopify also allows you to add calendar widgets, including mini calendar views, sliders and carousels, to your website. Before adding widgets, you need to generate the embed codes for each widget. Follow these instructions to create the embed codes:
- How to Set Up the Embed Code for Calendar Widget Views,
- How to Set Up the Embed Code for Event Sliders
- How to Set Up the Embed Code for Event Carousel.
Once you have the embed codes set up, you can go ahead and follow the same instructions above to insert the codes into the chosen web page. Keep in mind that when adding widgets, you may have limited space.
We hope that this user guide provided all the relevant instructions on how to effectively use the Timely Calendar on your Shopify Website. If you wish, you can even use a Timely calendar to accept bookings, and sell tickets to your events, directly from your own website.
Need Additional Help?
For further guidance and support, please visit our Help Center. If you have any inquiries or need assistance, don’t hesitate to contact our customer success team by opening a support ticket from your Timely account’s dashboard.
In case you require additional assistance in implementing and using Timely event management system, we are pleased to assist. Explore all the professional services we can offer you, and get in touch with us today!