With a Timely account, you have the ability to block specific RSVP and ticket offerings, and avoid having to delete your event post in case circumstances change. This will enable you to stop registration and ticket sales for an event for any reason during a particular time frame. In this post, you will learn how to block RSVP and Ticket availability for your events.
1. When to Use the Block Availability Feature?
Timely Block Availability feature allows you to block event ticket sales or RSVPs for a specific period of time. This feature is particularly useful for recurring events and time-slot appointment type events.
When you schedule a recurring event, tickets for that event become available for each occurrence. The same is true for events with time slots. However, if you need to cancel an instance or slot of your event, you can use the Block Availability feature to block tickets for that single recurrence or slot.
Using the Block Availability feature ensures that your event remains visible on your calendar, but the blocked dates and times are unavailable for booking.
The Block Availability feature only works with Timely Event Registration and Event Ticketing Systems under a plan or as an add-on. These are the types of tickets you can use this feature:
- Event Registration / RSVP
- Time Slot Registration / RSVP
- Event Ticket
- Time Slot Ticket
As a result, if your event has an Entry Fee or External Ticket, this feature is not applicable.
2. How to Set Up Block Availability for RSVP and Tickets
Setting up Block Availability for your events is a simple process:
- First, login into your Timely account.
- Then, go to the Events menu, and click on the Published option.
- On the Published events list, find the event you want to block ticket availability.
- Click on the event to edit it. Then, select the Costs and Tickets section.
- Scroll down to the end of that section to find the Block availability option. Then, click on it to show the full settings.
- You will see a mini calendar where you can select the dates to block ticket availability. If the event is time-slot based, you will also be able to select timeframes to block.
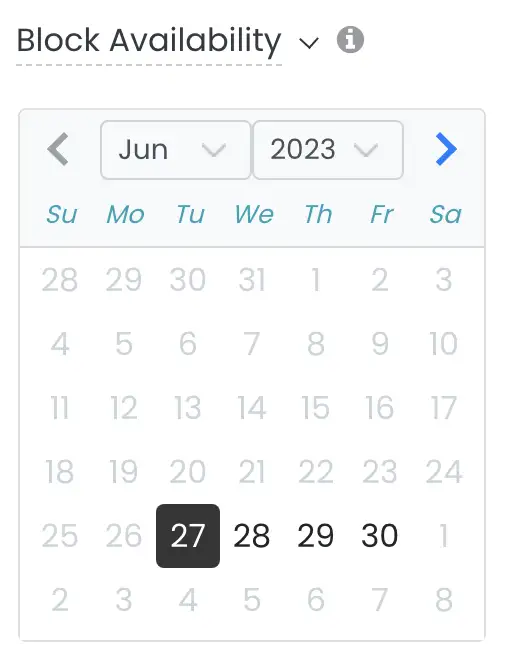
- Click on the specific dates you want to block. If the event is a time-slot appointment, click on the +Add date button to add dates and their respective slots.

Please note that blocking availability will not affect tickets that have already been sold. If you need to cancel any sold tickets, you will need to do so manually and, for paid tickets, issue a refund.
Please also note that it is not possible to enable the Block Availability option for multiple ticket types simultaneously. In other words, this feature must be activated individually for each ticket type.
3. How to Remove Block Availability From a Ticket Type
If you want to cancel the Block Availability action, simply click the “x” next to the date you have selected for blocking. This will instantly make the blocked tickets available again. Remember to save your changes to apply them.

Need Additional Help?
For further guidance and support, please visit our Help Center. If you have any questions, contact our customer success team by opening a support ticket from your Timely account’s dashboard.
In case you require additional assistance in implementing and using Timely event management system, we are pleased to assist. Explore all the professional and managed event services we can offer you, and get in touch with us today!