With a Timely account, you can easily add social share buttons to your online calendar and event pages. Social share buttons make it easy for anyone to spread the word about your event, increase brand awareness, and ultimately boost attendance. Learn in this post how to set up social share buttons for your calendar and events.
Watch the instructions on video format, for a quick and easy walkthrough of the content:
.1. What are Social Share Buttons?
Social share buttons are small clickable icons that appear on various web pages and allow users to easily share content with their social media networks. They usually feature the logos of popular social media platforms like Facebook, Twitter, Instagram, and LinkedIn.
When a user clicks on a social share button, a pop-up window usually appears that allows them to customize the content they want to share and add a personal message or comment. Once they click “Share” or “Post,” the content is then posted on their social media profile for their friends and followers to see.
Social share buttons can help promote event information by providing a quick and easy way for people to share and spread the word about events they are interested in attending. When people share event information on social media, it not only reaches their own followers but can also reach their followers’ followers, creating a ripple effect of visibility and interest.
With social share buttons, event organizers can leverage their attendees and social media followers to help promote their event for free. This is especially valuable for small or new events that may not have a large advertising budget.
2. How to Set Up the Share Button on your Timely Calendar
The Share Button is a feature that allows your calendar users to share your events on social media platforms. Setting up a share button for your calendar and event pages is easy. Just follow the steps below:
- Log in to your Timely account.
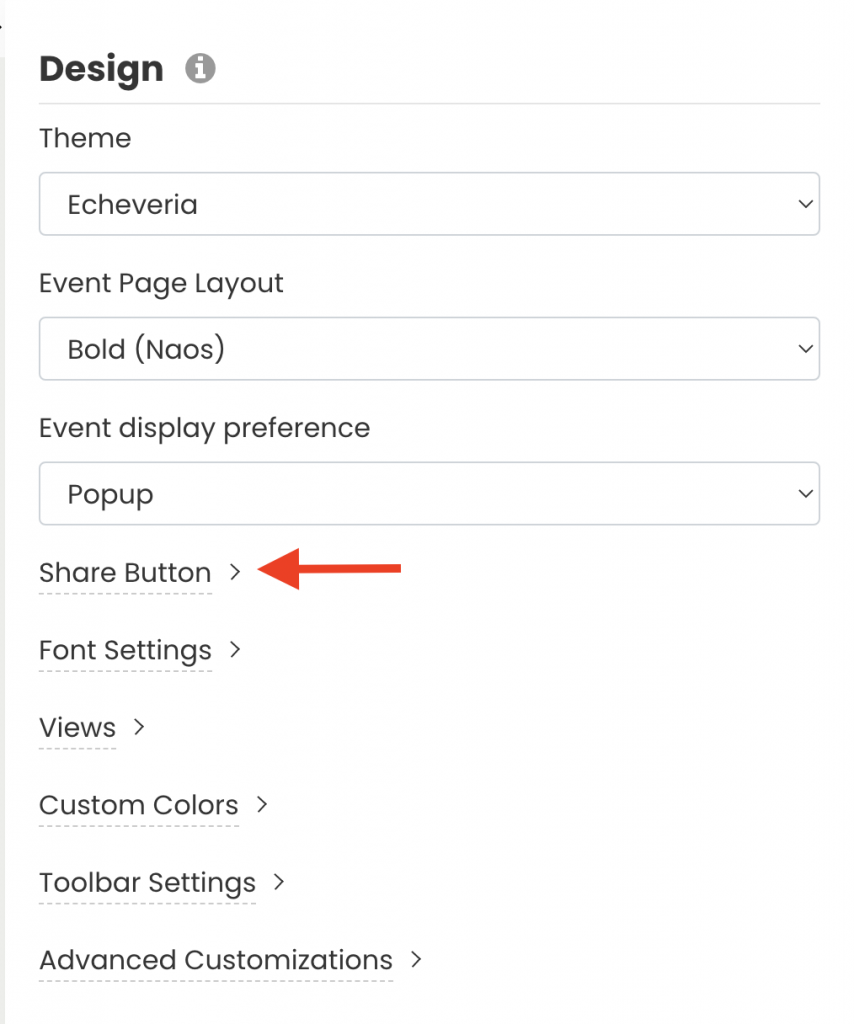
- On the left side menu, click on Settings. Then, choose the Design Settings.
- A new page will open on the screen. Click on the option Share Button.

- A new section will open on the screen allowing you to personalize your social share buttons.

There, you will be able to choose where the share button will appear, whether on the calendar view or the event details page. You can choose one of them, none or both.
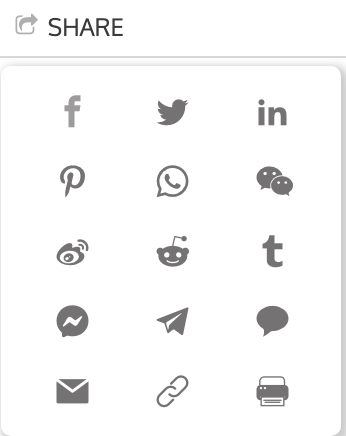
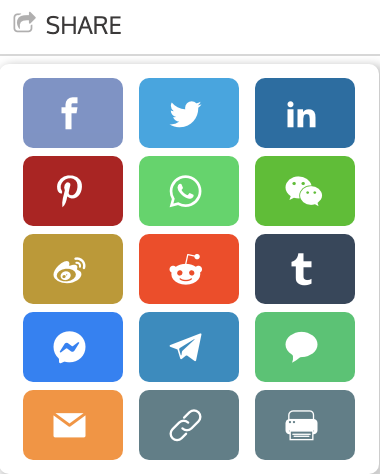
- Make your selection by clicking on the checkbox. You will then be able to choose your share button theme: neutral or colourful.


- After selecting the theme for your social share button, you can then choose the social media platforms you want allow your audience to use to share your events. Just click on the corresponding checkbox. The options available are the following:
- Tumblr
- Messenger
- Telegram
- Messages
- Copy Link
- When you are done setting up your social share buttons, do not forget to click the Save button at the end of the Design section to save your new settings.
For more user guidance, please go to our Help Center. If you have any questions or need additional assistance, do not hesitate to contact us. Alternatively, you can open a support ticket from your Timely account’s dashboard.