With a Timely account, you can easily add your company or brand logo to your events calendar. Adding your logo to your Timely account allows your calendar and website to match each other. Moreover, it gives people an additional chance to see and remember your logo mark, providing brand recognition. In this post, you will learn how to add a brand logo to your Timely Events Calendar.
1. Why Use a Brand Logo in your Timely Calendar?
Company logos are important for numerous reasons. Most people can remember a famous company just by looking at their logomarks. Great examples are Nike, Coca-Cola, Pepsi, Google, and Apple. Indeed, many people want to own Apple products just because of the authority that was built around its logo.
Moreover, logos are the foundation of a company’s visual identity. Just by looking at the fonts, colors and shapes chosen for the logo, you can figure out what a company stands for. In addition, when your audience shares your company’s beliefs and missions, purchasing products with your logo becomes a great way to show that they share the same values as you.
If you’re looking to establish yourself as a brand and promote your products or services, having your logo in your events calendar can be extremely beneficial.
2. How to Add Your Brand Logo to Your Timely Events Calendar
To add your company or brand logo to your Timely calendar software, just follow these steps:
- Login into your Timely account.
- On the main navigation menu, click on Settings. It will open the General settings submenu.
- Next, click on Calendar logo to open all the available options: dashboard icon, calendar logo and sign in logo.
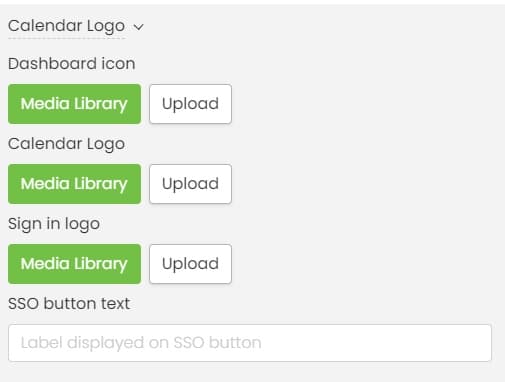
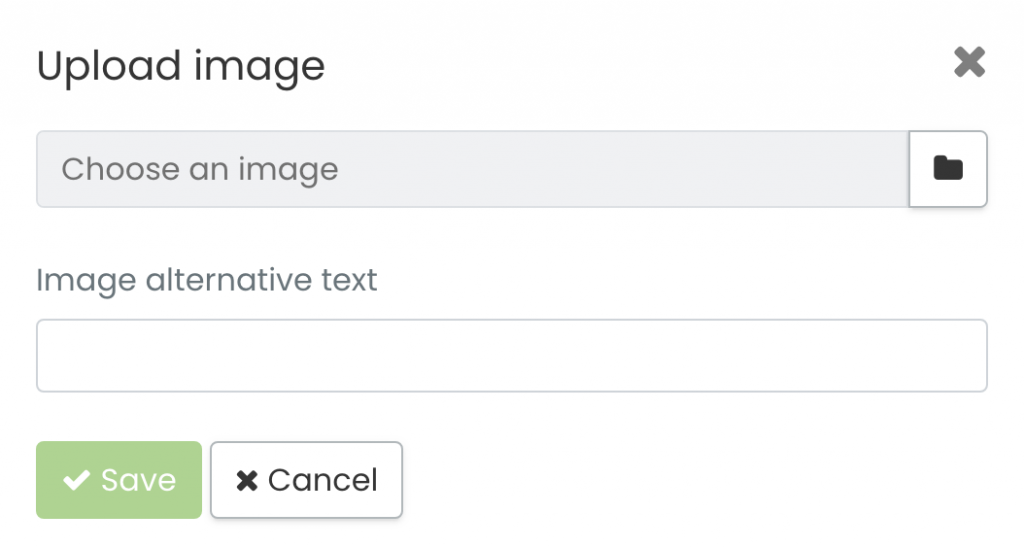
- Select one of the options, then click on the Upload button. A pop-up will appear on the screen for you to choose an image from your computer. After selecting the file, you can add an alternative text describing the image, and then click on the Save button.
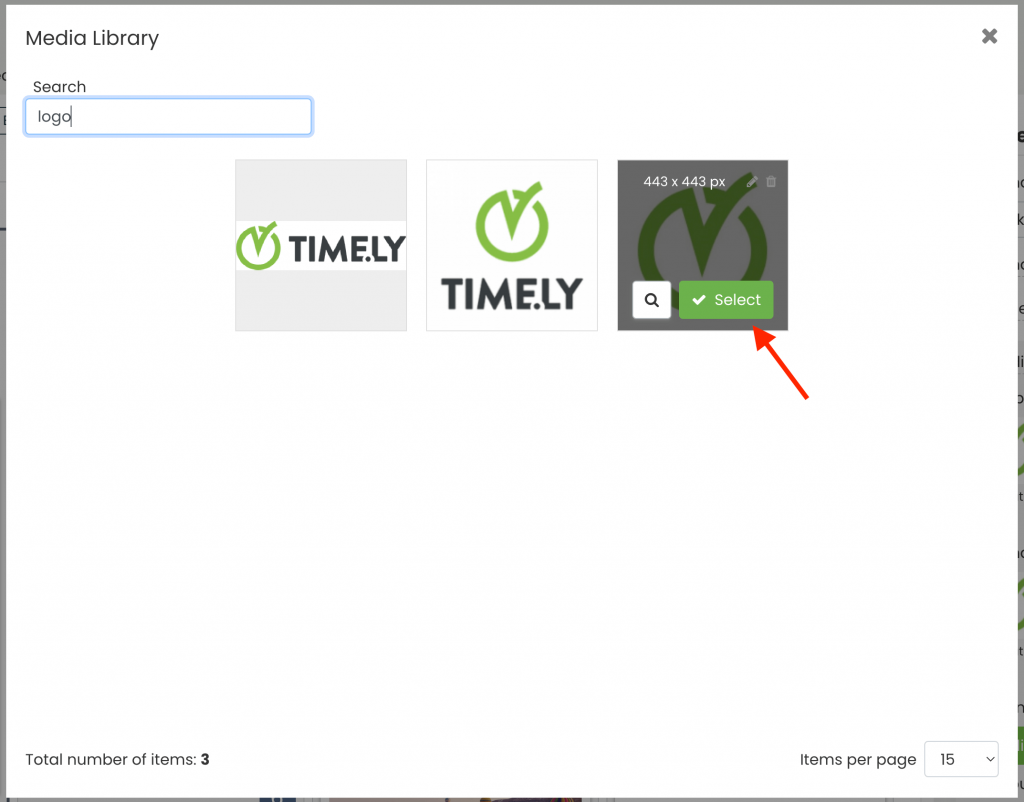
- If you have already uploaded your logo to your Timely account for another reason, you can click on the Media Library button. Your Media Library will pop-up on the screen. You can then, search for your logo there, and select the appropriate file.
If you need to change these Calendar Logo settings, you can always edit or remove the logo file. You will then be able to upload a new one.
3. How Your Logo Will Look Like on Your Calendar
After setting all the brand logos, you may want to know how they will look like in your calendar. Check it out below.
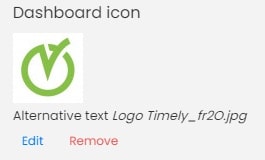
Calendar Icon
This is how your logo will look like as your Timely’s account dashboard icon:
Calendar logo
The calendar logo will appear every time someone publishes an event without a featured image. This function is useful when you need to post an event quickly, but do not have an image for it. Your chosen logo will be set as the event image in order to prevent event posts without featured images.
This is how it will look like once you publish the event:
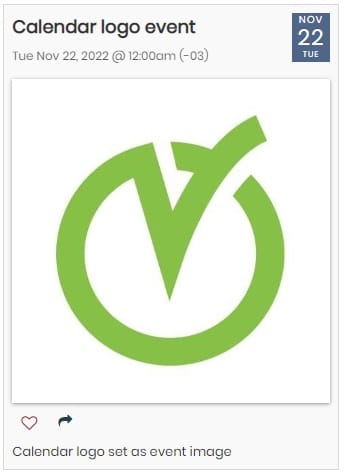
And don’t worry, you can always change the featured image by editing your event later on.
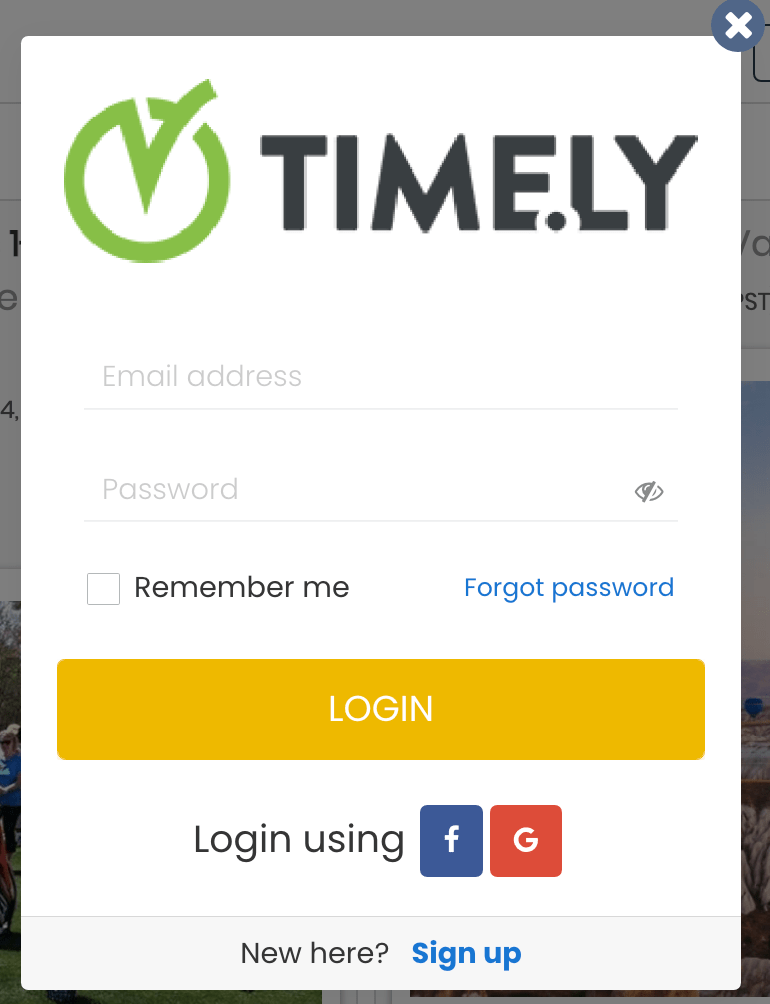
Sign in image
The sign in image is useful to clients who require users to login to interact with their event content. If you add a logo as a sign in image, it will show on your calendar signup form, as follows:
For more user guidance, please go to our Help Center. If you have any questions, do not hesitate to contact us. Alternatively, you can open a support ticket from your Timely account’s dashboard.