With a Timely account, you can highlight certain events as featured events in the public interface of your calendar. This will give an event a more prominent appearance in your events listing. Learn how to create featured events in your Timely calendar in this post.
1. Creating Featured Events
In your Timely dashboard, you can “feature” an event when creating or editing it. The option Featured event will show as a checkbox between the event status options and internal notes.
Once you click on that checkbox, Publish or Save your event. The event selected will show as a “featured event” in the public view of your calendar, automatically.
Your highlighted event will always be inside a lined box, with a tag in the top left corner. The tag will have the “star” symbol and /or the word “featured”, as shown in the image below.

There is no limit on how many events can be marked as featured. If you wish, you can set up all your events as featured events.
2. Customizing the Design
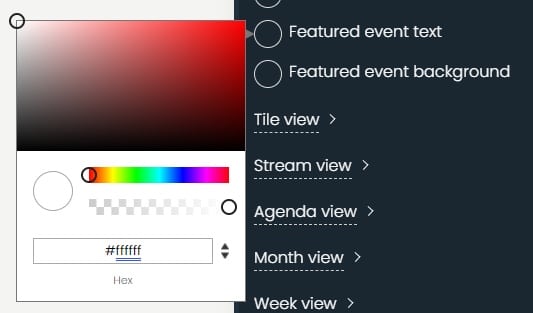
Enhance the appearance of featured events by customizing their text and background colors. Navigate to Settings > Design > Custom Colors in your dashboard. Expand the Custom Colors option to reveal all editable views. Select the appropriate view you wish to modify and click on the circle for Featured event text or Featured event background.
Below you find an example of how to change these settings for the posterboard view:

When clicking over the circle, the color picker will open and you can choose a new color for the text or the background. After you are done choosing the new colors, scroll the page to the bottom and hit the Save button.
See a customization example in the image below.

3. Display Selected Featured Events at the Top
When an event is assigned as “Featured”, there will be an additional option to “Display featured event at the top of the calendar. If this second option is disabled, the behavior remains the same, with the highlighted event maintaining its border but following the chronological order in the calendar view.

Enabling this setting changes the behavior, positioning the featured event at the top of the calendar, while maintaining chronological order for other events. All filters, including date range, search, organizer, tags, venues, etc., are considered. If applied filters exclude the highlighted event, it will not be displayed.
In the case of multiple featured events, they will be listed at the top of the calendar in chronological order.
For recurring events, all instances will be displayed at the top of the calendar, or only the next recurrence if the Display recurring event only once setting is enabled.
Need Additional Help?
For further guidance and support, please visit our Help Center. If you have any inquiries or need assistance, don’t hesitate to contact our customer success team by opening a support ticket from your Timely account’s dashboard.
In case you require additional assistance in implementing and using Timely event management system, we are pleased to assist. Explore all the professional services we can offer you, and get in touch with us today!