
When it comes to making it easier for visitors to quickly find events to attend on your online calendar, effective organization is key. One powerful method to achieve this is by properly setting up and utilizing filters within Timely software.
In this guide, we will walk you through the process of organizing your calendar using filters and taxonomies.From adding categories and tags to managing venues and organizers, we’ve got you covered. Let’s dive in and optimize your calendar!
1. Why Use Event Filters and Taxonomies?
When it comes to creating a user-friendly and easily navigable calendar, effective organization is key. One of the most powerful ways to achieve this is by setting up and using filters and taxonomies.
By categorizing events with tags such as category, organizer, or venue, you give users quick ways to search, browse, and personalize their experience.
This not only improves navigation but also boosts engagement, since people can easily discover relevant events without scrolling through the entire calendar. Moreover, filters serve as clickable links within the calendar, enabling users to effectively search for similar events based on their preferences.
For event organizers, filters also bring structure and consistency to your calendar, ensuring that all events are displayed in a clear, professional way. From adding categories and tags to managing venues and organizers, filters give you the tools to optimize your calendar and make it as intuitive as possible.
2. How to Add Filters?
To access the filters in your calendar, follow these simple steps:
- Log in to your Timely account and navigate on the left side menu.
- Within the options, locate and click on the Filters option.
A new section will open, displaying all the filter options, including Categories, Tags, Venues, and Organizers. Let’s take a closer look at each of these taxonomies.
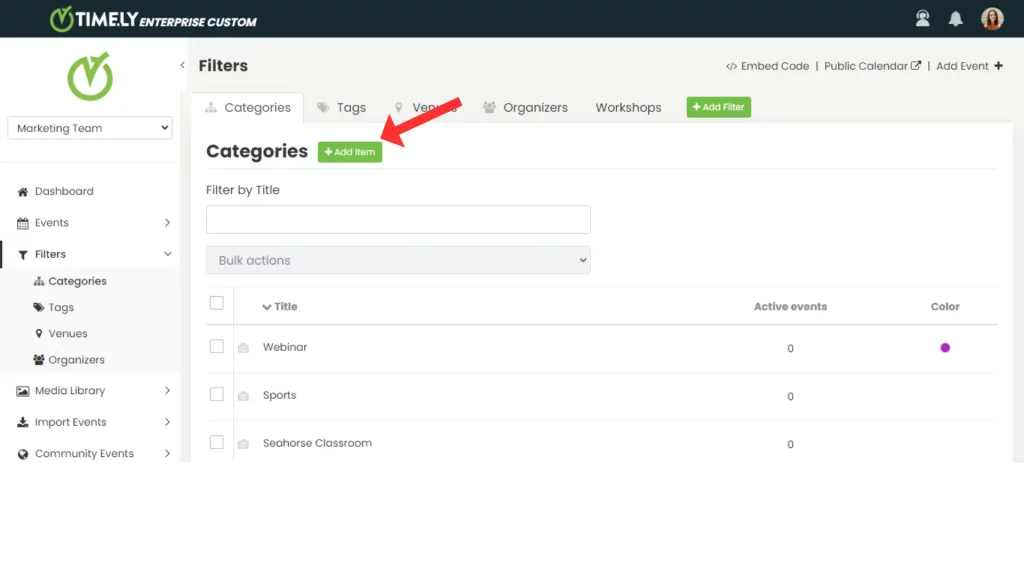
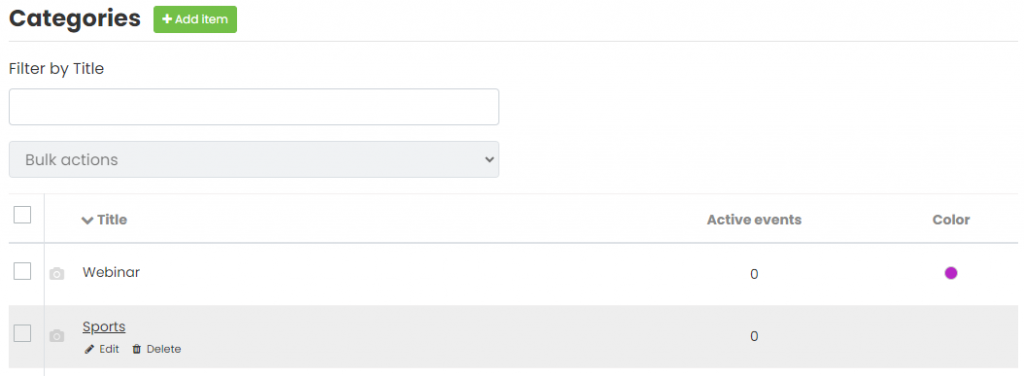
2.1 Categories
Streamline your calendar browsing experience by implementing appropriate categories that help people find events quickly.
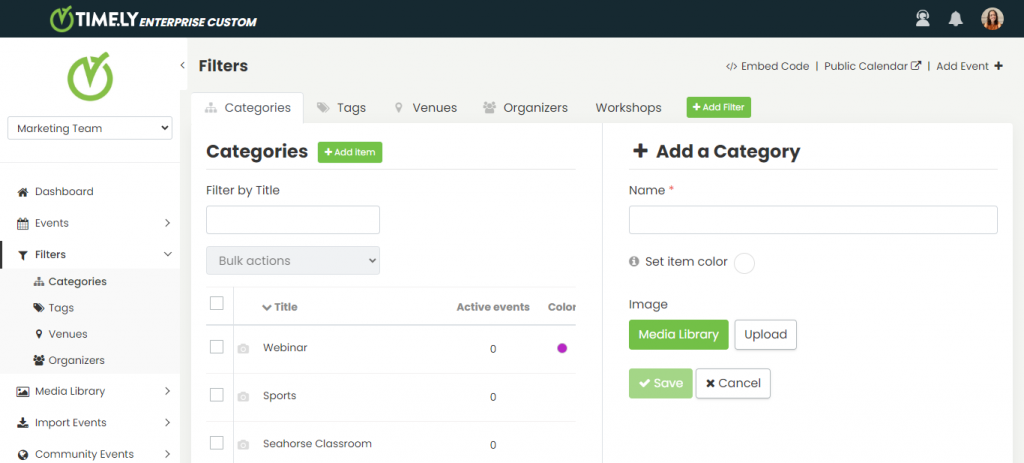
To add a category, simply click the green +Add Item button. A new section will appear in the right panel, allowing you to create a new category.
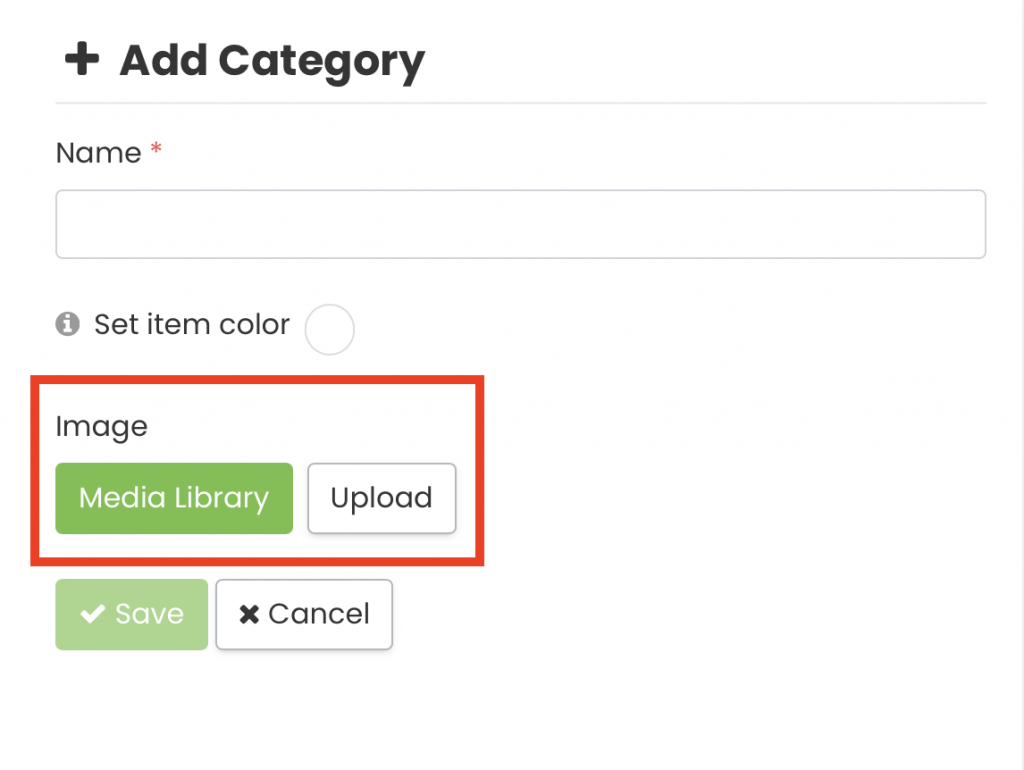
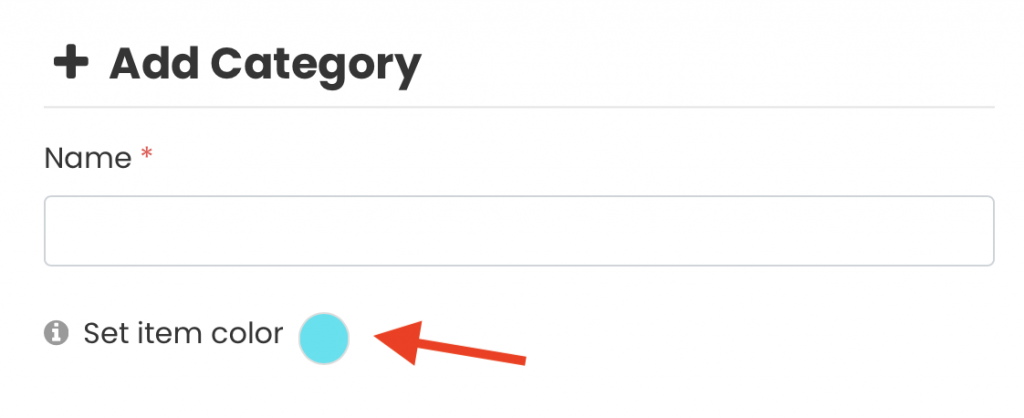
Begin by providing a category name. You can also customize the category by adding a relevant image and selecting a unique color.
When you add an image to your categories, you maximize the impact of this taxonomy. The selected image will serve as a default image for events in that category when no featured event image is available.
Furthermore, selecting a category color ensures that your event titles display in a visually appealing manner, making your public calendar stand out.
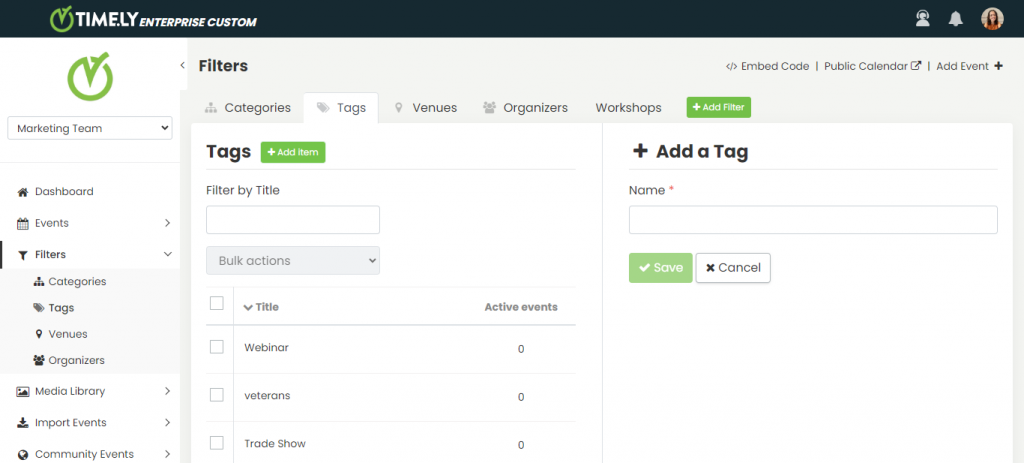
2.2. Tags
Enhance the organization and searchability of your events by adding tags with your Timely account. To add a new tag, click on the green +Add item button.
A new section will appear in the right panel, allowing you to create a tag. Enter descriptive keywords that represent your event. Click Save to add the new tag to your filters.
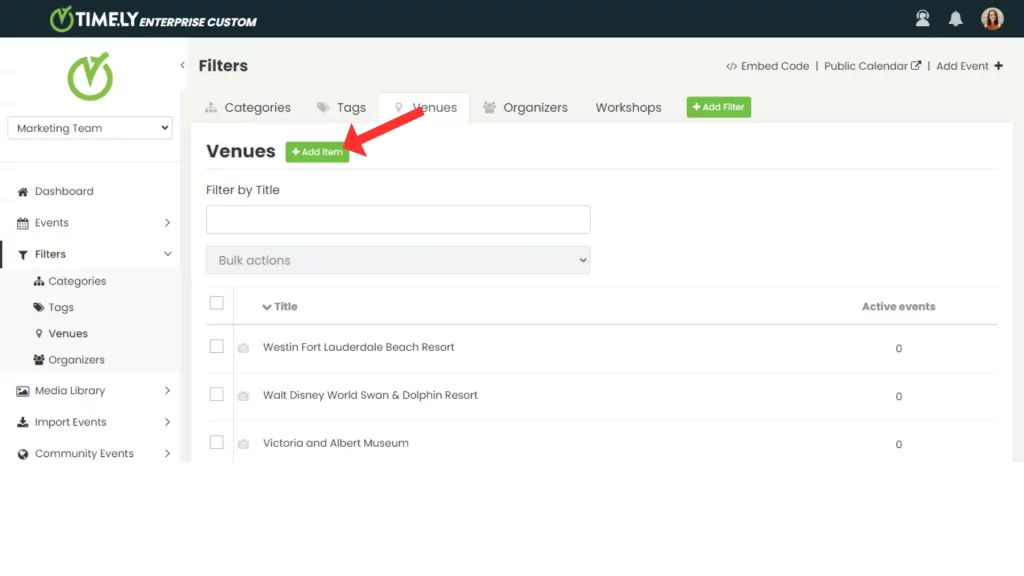
2.3 Venues
With a Timely account, you can also add Venues to your events, making it easy for people to see where each event is taking place.
To simplify the event creation process and save time, you can create venues directly within the Filters menu. Just click on the green +Add item button.
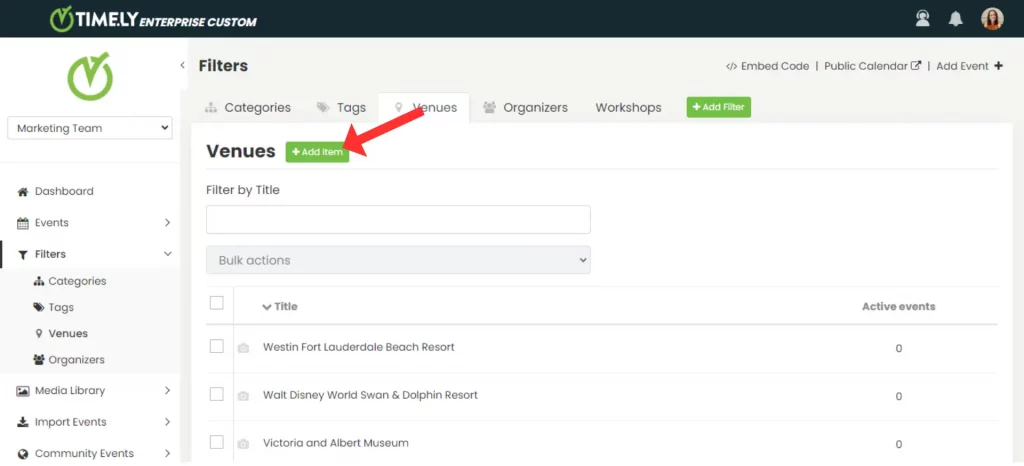
A new section will appear in the right panel, allowing you to add a new venue. Fill in the necessary details for the venue and click Save to add it to your filters.
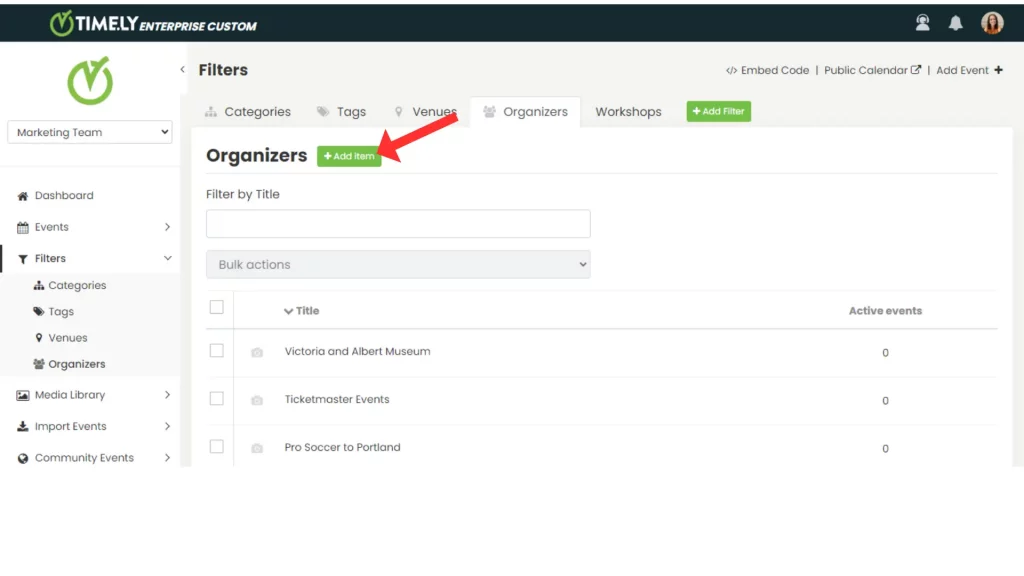
2.4 Organizers
With a Timely account, you have the ability to include organizers for your events. These organizers can be identified by their name and contact information, providing attendees with valuable details.
To add a new organizer, locate the green +Add item button and click on it. This will reveal a new section in the right panel, allowing you to input the necessary information for the organizer. Fill in the required details and click Save to add the new organizer to your filters.
3. How to Create Custom Filters
Adding custom filters allow visitors to broaden their search beyond the standard categories, tags, venues and organizers. . This feature is available only on certain modules and subscription plans, please contact us to learn more.
Depending on your subscription plan, you can create and assign custom filter groups in several areas of your account:
- Spaces – Showcase rooms and event venues with tailored filters, making it simple to manage availability and help visitors choose the right location for their needs.
- Events – Organize and highlight programs with filters that make it easy for both staff and the public to browse your calendar.
- Contacts – Segment and categorize people in your system for smoother internal management and targeted communications.
- Resources – Classify equipment, materials, and other assets, helping users find exactly what they need when making requests.
To add a custom filter:
- Click the green + Add Item at the end of the filter tabs.

- Enter a name (e.g., Workshops).
- Select where the filter group should be assigned
- Click Save.
4. How to Edit or Delete Filters?
To modify any existing filter, hover your mouse over the item and click Edit. The information will appear in the right panel, enabling you to make necessary modifications according to your requirements.
Deleting a filter is equally simple. Hover over the item you want to remove and click Delete. Confirm the action by selecting Delete in the popup prompt.
Need Additional Help?
For further guidance and support, please visit our Help Center. If you have any inquiries or need assistance, don’t hesitate to contact our customer success team by opening a support ticket from your Timely account’s dashboard.
Moreover, in case you require additional assistance in implementing and using Timely event management system, we are happy to assist. Explore all the professional services we can offer you, and get in touch with us today!