With a Timely account, you can easily refund or cancel an invoice or order related to event tickets and RSVPs. It is a simple process that automatically updates your attendee list and ticket inventory, as well as notifies your customers regarding the refund or cancellation. Learn all the steps in this article.
1. Introduction
For invoices related to Event Tickets, you should use the Refund feature when you want to refund the customer for the ticket purchased or the fee paid. If, for any reason, you do not want to return the money to the customer, you should use the Cancel feature instead.
For orders related to Event Registration / RSVPs, you will only use the Cancel feature. Usually, RSVPs are used to confirm attendance to free events, thus there is no fee involved. Therefore, if the attendee decides not to go to the event, there is no amount to refund. The only action required from you is to cancel the RSVP invoice.
Please note that an invoice or order can contain one or more tickets or RSVPs. When you refund an invoice, the system automatically refunds all the tickets linked to the invoice. If you want to refund or cancel an individual ticket or RSVP, please check How to Refund or Cancel Event Tickets and RSVPs.
2. Locating Invoices and Orders
The first step to refund or cancel an invoice is to locate it on your Timely dashboard. Simply follow the steps below:
- First, login into your Timely account.
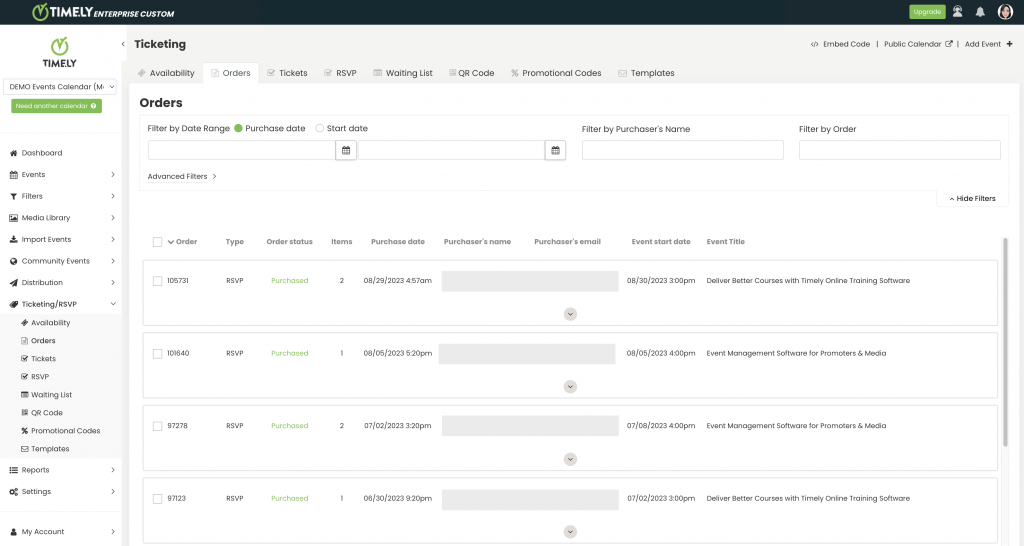
- On the main navigation menu, go to Ticketing, and then click on Orders.
- A new page will load where you can see a list of all your event invoices and orders. The list starts from the most recent invoice issued.

To facilitate the search, you can use the filters located at the top of the screen. The filtering options are:
- date range, either purchase date or event start date;
- purchaser’s name;
- order ID;
- event title;
- order status; and
- order type.

In the Orders tab you can view all the registrations and purchases from a ticket holder in a single order. If a customer buys one or more tickets in the same transaction, the system will generate an invoice that will show up in the Orders tab.
3. Refunding an Invoice
Once you’ve identified the invoice you wish to refund, hover the mouse over it and locate the Refund option.

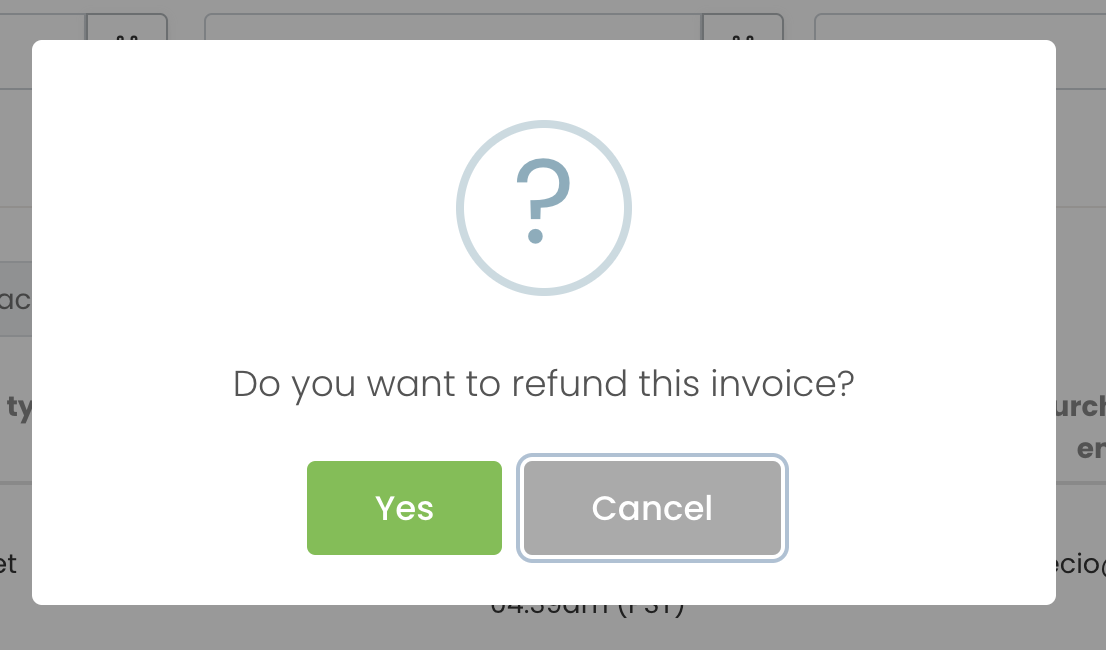
Upon selecting the Refund option, a confirmation popup will appear on your screen. Click Yes to proceed with the refund. Please be aware that once an invoice is refunded, it cannot be undone.

4. Canceling Invoices
After locating the invoice you want to cancel, click over it and find the Cancel option.

A popup message will appear on your screen, asking you to confirm. If you click “Yes”, the system will process the cancellation. Note that if you cancel an invoice, you can still refund it later.
5. Invoice Refund and Cancellation Automations
With Timely event ticketing plan, the whole refund and cancellation process is performed automatically. Once you confirm the refund or cancellation action, the system will:
- Cancel the invoice;
- Refund the customer, if you chose the Refund option;
- Notify the customer regarding the refund or cancellation;
- Remove the canceled attendee from the attendees’ list, so he/she cannot use the canceled ticket or RSVP to check in at your event; and
- Put the canceled ticket or RSVP back in your ticket inventory, so it becomes available to other potential buyers.
Since no additional manual process is required from you, this feature saves you time and increases your productivity!
Need Additional Help?
For further guidance and support, please visit our Help Center. If you have any inquiries or need assistance, don’t hesitate to contact our customer success team by opening a support ticket from your Timely account’s dashboard.
In case you require additional assistance in implementing and using Timely event management system, we are pleased to assist. Explore all the professional services we can offer you, and get in touch with us today!