
With a Timely account and Timely Ticketing Add-on, you can easily offer your event attendees the ability to register for free events, or purchase tickets to paid events. In this post, we will explain how to register or buy tickets for events on the attendee’s perspective, as well as how they can register for events on behalf of someone else.
1. How to Register for Free Events
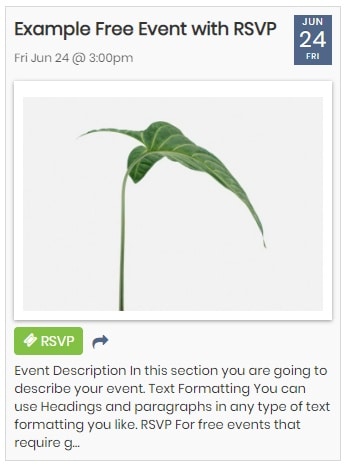
To register for a free event on an event calendar that uses Timely event software is super easy. Event attendees can find events organically using the available search tools, such as the keyword search bar, the date search bar, and the built-in filters. Free events that require pre-registration will have the appropriate button. Usually the button reads RSVP (Répondez s’il vous plaît), Register or Book.
Steps to Register for Events
Here are the steps to register for a free event:
- After selecting the desired free event, attendees can click on the event. They will be redirected to a dedicated event page, where they can see the event details, including location, date, time and description, as well as the RSVP button.
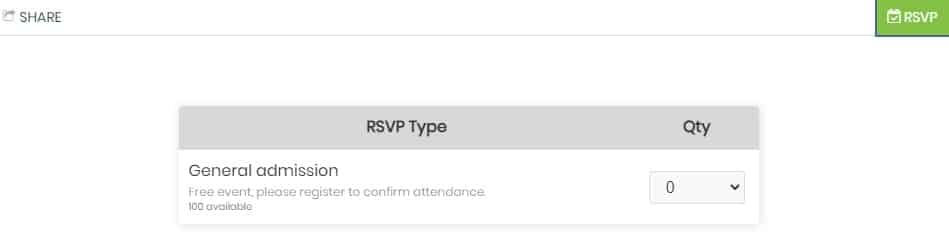
- Once attendees click on the RSVP button, they can select the type of RSVP and the quantity of spots they want to book.
- Next, attendees must complete the information required to register. Every order requires the name and email address of the registrant. Some events may require additional information, if organizers had created their own customized event booking questionnaire.
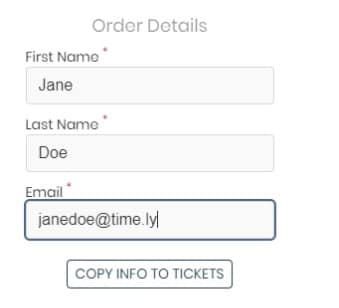
- By clicking “copy info to tickets”, the attendee’s information will be added to the RSVP ticket automatically. This functionality can help your attendees save time when filling up the required information during checkout.
- After completing the information, attendees just need to click the Complete reservation button..
- Attendees will receive the event voucher together with their registration confirmation email.
Registering for Events on Behalf of Others
Attendees may also want to register for events on behalf of friends or family members. It’s a nice idea to help gather people to attend an event together and to guarantee tickets for everyone. In this case, we recommend not clicking the “copy info to tickets”, but instead filling out the information individually, so each registrant has their own individual ticket.
2. How to Buy Tickets for Paid Events
It is also easy to purchase tickets for a paid event on an event calendar that uses Timely event software. Paid events that require attendees to purchase tickets in advance will have the appropriate button. The button usually reads Tickets, Register, or Book.
Steps to Purchase Tickets for Events
Here are the steps to buy tickets for events:
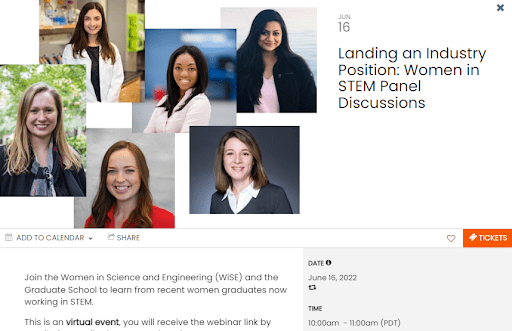
- After finding the desired paid event on the event listing, attendees can click on the event post. The event landing page will open on the screen, displaying the event details, such as description, date, location, and the Tickets button.
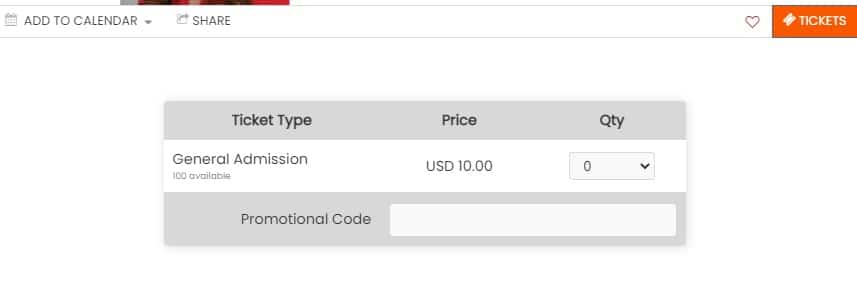
- After clicking on the Tickets button, attendees can select the type and quantity of tickets they want to purchase. This is also where attendees enter promotional codes that give them discounts.
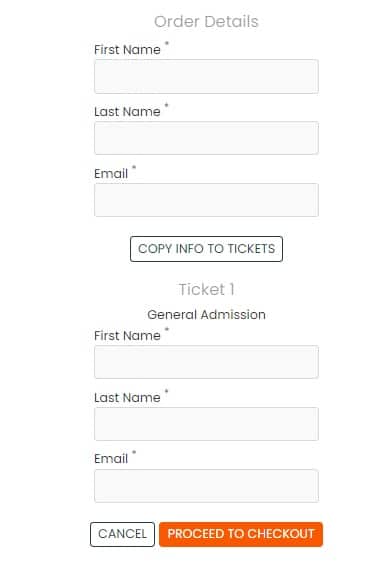
- Attendees will have to complete the order details with their name, email address, and any other additional registration question set up by the event organizer. By clicking “copy info to tickets”, the attendee’s information will be added to the event ticket. After filling out the registration information, the next step is to click on “proceed to checkout”.
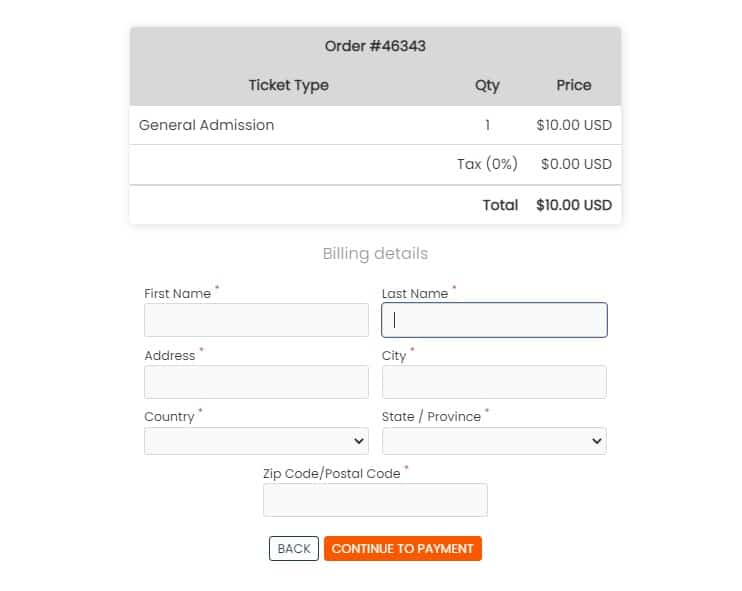
- Then, attendees will have to complete their billing details and click on “continue to payment” in order to buy the event tickets.
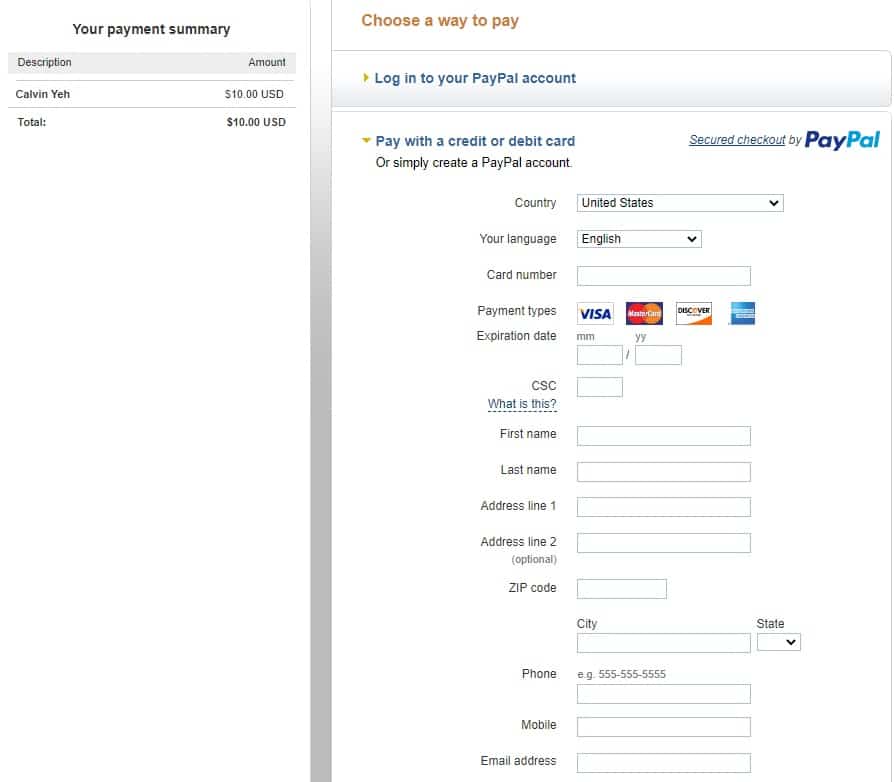
- If the event organizer uses PayPal, Stripe or Square for payment processing, a new page will open on the screen redirecting attendees to the appropriate payment gateway website to complete their payment.
- After completing the order, attendees will receive their event tickets together with their ticket purchase confirmation email.
Buying Event Tickets for Others
If attendees want to buy tickets for events on behalf of others, we recommend not clicking the “copy info to tickets”. Instead, they should type the registration information for each registrant. This way, each one will receive a confirmation email with their own individual event ticket.
3. How Purchasers Use the My Tickets Area
If the Contacts module is enabled for the calendar, purchasers will see the My Tickets area in the public view header when they are logged in. After a visitor purchases a ticket or registers for a free event, their order will also appear in a private section of the calendar, named My Tickets. There, purchasers can view their orders and access their tickets.
Steps to Access My Tickets area:
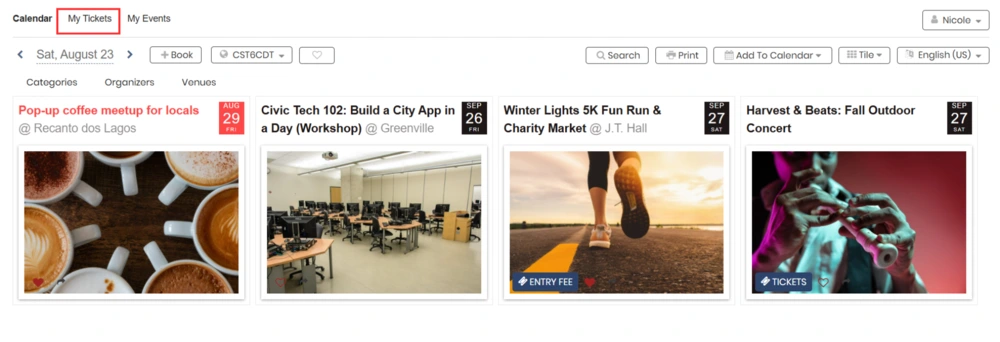
- Access the event calendar and sign in.
- Click My Tickets in the header.
- On the orders list, select the event and expand Order Details to view your order number, purchase date, items, and totals.
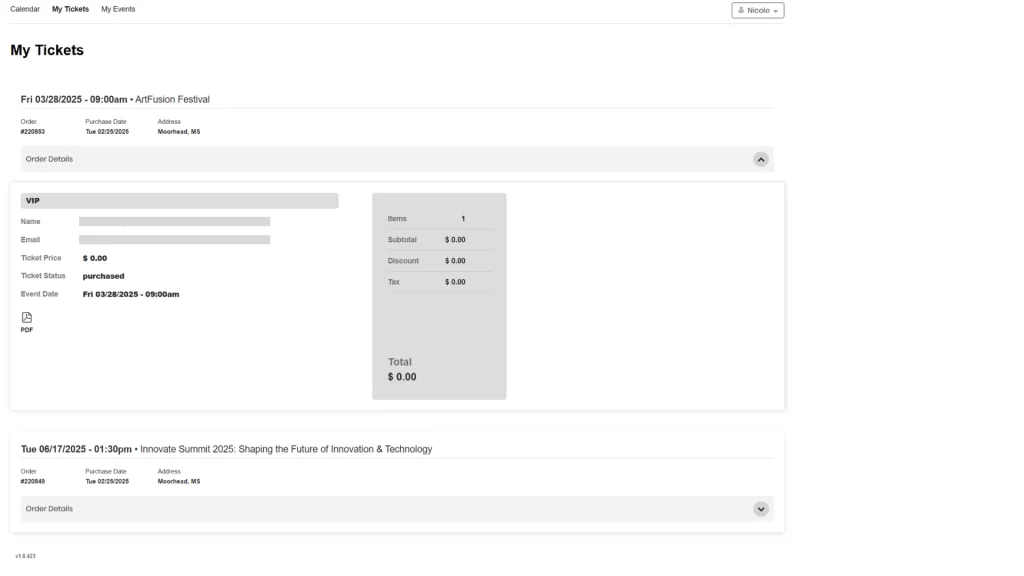
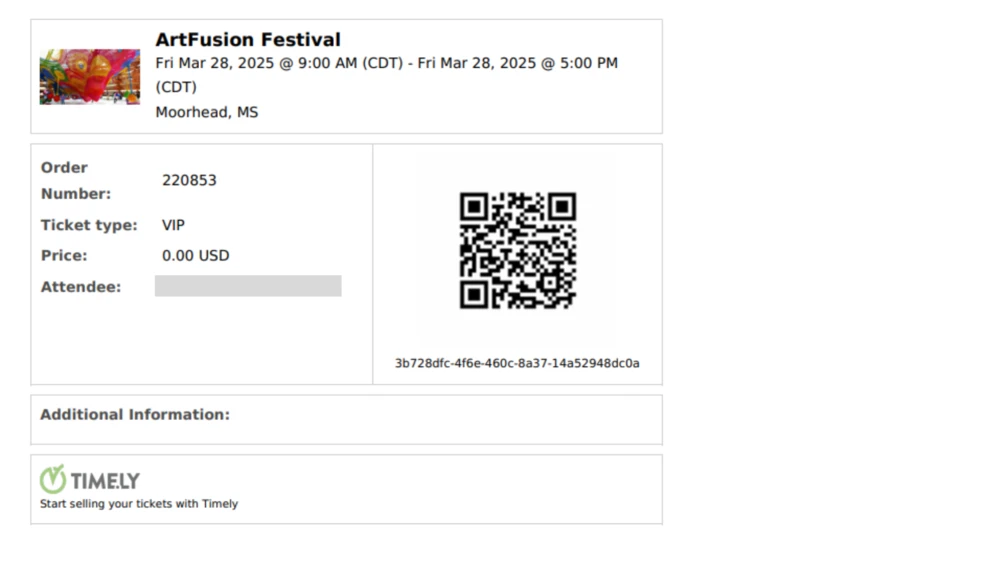
- Click the PDF icon to open or download the tickets. Each PDF includes a QR code for fast entry.
Notes: Free RSVPs also appear in My Tickets area. To see past orders, make sure you sign in with the same email used at checkout.
Need Additional Help?
For further guidance and support, please visit our Help Center. If you have any inquiries or need assistance, don’t hesitate to contact our customer success team by opening a support ticket from your Timely account’s dashboard.
Moreover, in case you require additional assistance in implementing and using Timely venue management system, we are happy to assist. Explore all the professional services we can offer you, and get in touch with us today!