Integrating your Timely Event Management Software with MailChimp allows you to send event newsletters, event updates, and collect email addresses from users interested in your events. Learn all the steps in this user guide. This guide will walk you through the steps to seamlessly connect Timely with MailChimp and efficiently manage your event communications.
1. Benefits of Sending Event Newsletters with MailChimp
Sending event newsletters through MailChimp offers numerous benefits, such as:
- Enhanced Communication: Keep your audience informed about upcoming events, changes, and important updates.
- Increased Engagement: Regular newsletters help maintain a connection with your audience, increasing engagement and attendance.
- Efficient Management: Automate the process of sending newsletters, saving time and ensuring timely delivery of information.
- Personalization: Customize newsletters to cater to specific audience segments, making your communication more relevant and effective.
2. How to Send MailChimp Newsletters with Timely
2.1 Create a MailChimp Account
To send automated event-related newsletters to your audience, you first need a MailChimp account. MailChimp offers free accounts, with fees applicable only when you exceed certain thresholds of emails sent and subscribers.
- Complete the full account information, including your address. This is required by most countries’ anti-spam laws.
- Familiarize yourself with MailChimp’s Lists and Campaigns. If these are new concepts, review MailChimp documentation on setting up lists and campaigns. Start by creating a test list and adding your own email address to it.
2.2 Connect your MailChimp Account to Timely
Once you have created your MailChimp account, you will need to authorize Timely to connect to your account by following these steps:
- Login into your Timely account.
- Go to the Distribution menu, and then MailChimp.
- Click on the Connect to MailChimp button.

- Sign into your MailChimp account and click Allow.
2.3 Setting up an Event Newsletter
Event newsletters are regular emails sent to your audience with a list of upcoming events. You can create an event newsletter within your Timely calendar by following these steps:
- Select either Newsletter or Single Email.
- Choose the list you would like the event newsletter or email to be sent out to.
- Choose the frequency: daily, weekly, or monthly, and set the time the event newsletter will be sent.
- Filter the events to be sent out in your newsletter by selecting categories, tags, organizers, and venues.
- Create the email subject.
- Add in the content of the email.

2.4 Preview your Event Newsletters
To preview what the event newsletter looks like before your subscribers receive it:
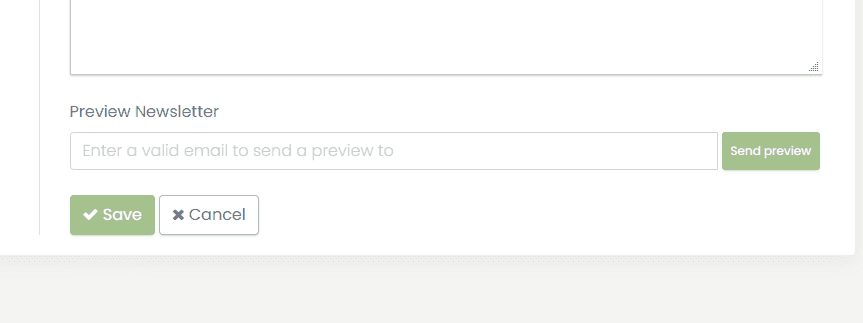
- Enter your email address in the preview section.
- Click Send Preview.

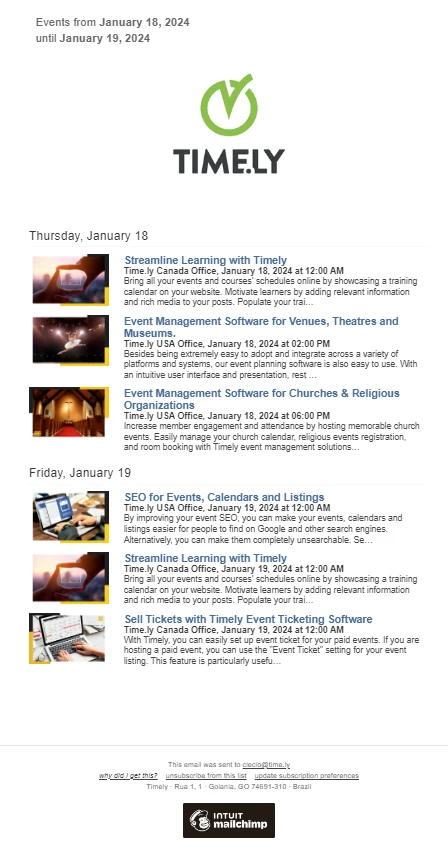
3. You will receive an automated email containing a preview of your event newsletter.

Integrating Timely with MailChimp for sending event newsletters streamlines your communication process, ensuring your audience stays informed and engaged. By following these steps, you can effortlessly set up and manage your event newsletters, enhancing your event management capabilities with Timely’s powerful features.
Need Additional Help?
For further guidance and support, please visit our Help Center. If you have any inquiries or need assistance, don’t hesitate to contact our customer success team by opening a support ticket from your Timely account’s dashboard.
In case you require additional assistance in implementing and using Timely event management system, we are pleased to assist. Explore all the professional services we can offer you, and get in touch with us today!