
You want a calendar that’s easy for your visitors to understand and navigate through. One very effective way to achieve this is to properly set up and organize your calendar with filters.
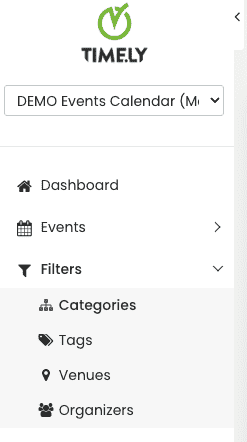
Add Categories
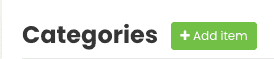
Help people sort through your calendar faster by making appropriate categories. You can also add images to better illustrate your categories.

You can add a category by clicking on the green “+” button.
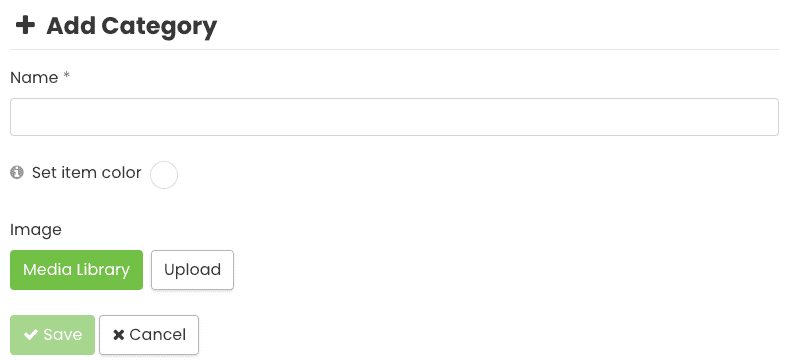
A new area will show in the right panel, letting you add a new category. Start by adding the category name. You can also set the category color and add images to it.
Get the most out of your categories by choosing a default category image, this will show up as a thumbnail for your events on the public view when there is no featured image for the event.
You can also choose a category color, your event titles will display in the category color helping to make your calendar standout.
To edit an existing category, simply place the mouse over the category you want to modify and click “Edit”. The information will open in the right panel and you can modify the category according to your needs.

To delete a category, simply place the mouse over the category you want and click “Delete”. To confirm, click the “Delete” in the popup that will open to confirm the action.

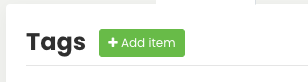
Add Tags
With a Timely account, you can also add tags to your events. If you already have tags you will see a list with all your tags where you can edit and manage them.

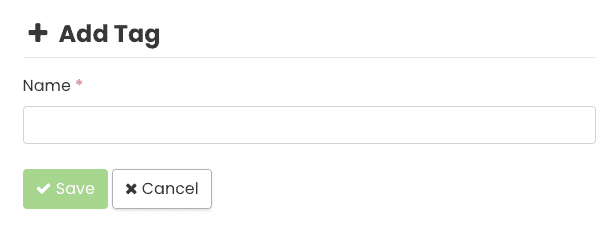
You can add a new tag by clicking on the green “+” button.
A new area will show in the right panel, letting you add a new tag. Type in the keywords that describe your event and click Save to add the new tag to your filters. These tags will function as links within the Calendar so users can search for and filter events effectively.
To edit an existing tag, simply place the mouse over the tag you want to modify and click “Edit”. The information will open in the right panel and you can modify the tag according to your needs.
Add Venue
With a Timely account, you can also add Venues to your events. People can easily see what is happening at a specific location. If you already have Venues you will see a list with all your venues where you can edit and manage them.

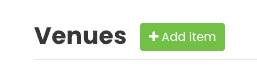
You can create venues in your calendar to simplify the process and help save you time when you are creating events. You can add a new venue by clicking on the green “+” button.
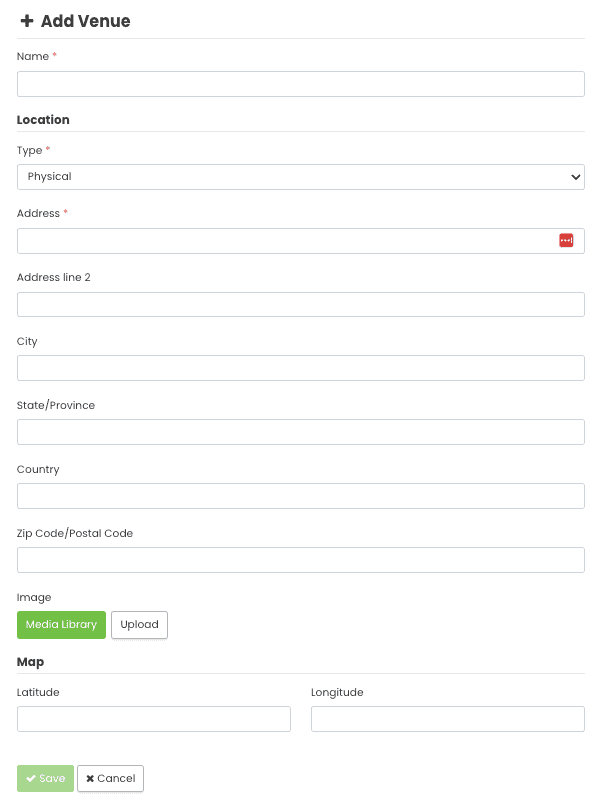
A new area will show in the right panel, letting you add a new Venue. Fill out the required information for the venue and click Save to add the new venues to your filters. When you are creating a new event, your venues will be displayed in the drop down list so you can easily choose the desired ones.
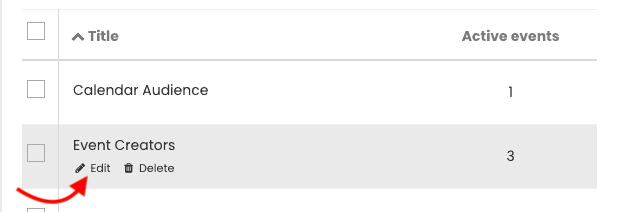
To edit an existing venue, simply place the mouse over the venue you want to modify and click “Edit”. The information will open in the right panel and you can modify the venue according to your needs.

Add Organizer
With a Timely account, you can also add organizers to your events. You may provide the name and contact information for the event organizer.When you are creating a new event the organizers will be displayed in the drop down list. If you already have organizers you will see a list with all your organizers where you can edit and manage them.

You can add a new organizer by clicking on the green “+” button.
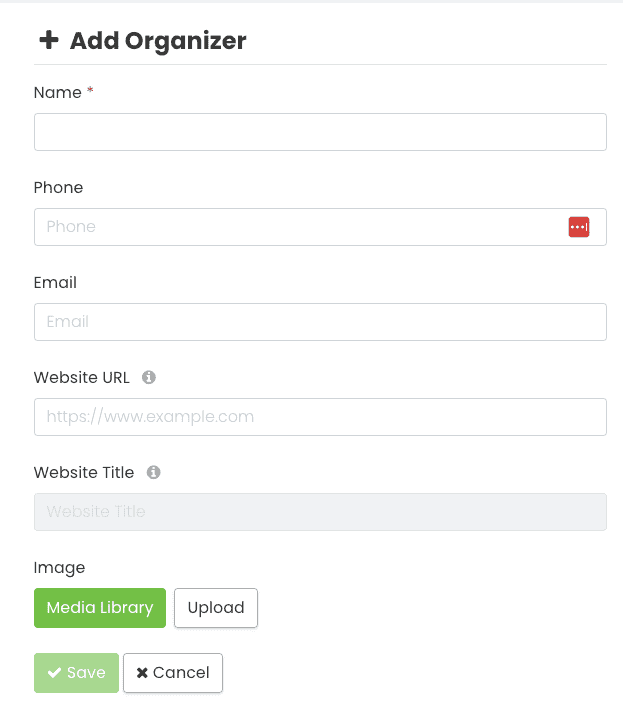
A new area will show in the right panel, letting you add a new organizer. Fill in the required information for the Organizer and click Save to add the new organizer to your filters. These tags will function as links within the Calendar so users can search for and filter events effectively.
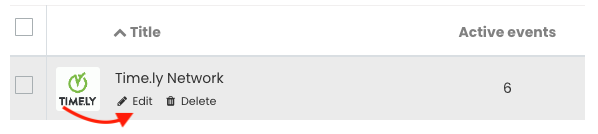
To edit an existing organizer, simply place the mouse over the organizer you want to modify and click “Edit”. The information will open in the right panel and you can modify the organizer according to your needs.
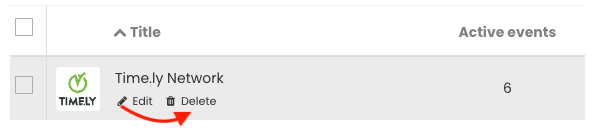
To delete an organizer, simply place the mouse over the organizer you want and click “Delete”. To confirm the action, click the “Delete” in the popup that will open to confirm the action.
Add Custom Filter Groups
Adding custom filter groups allow visitors to broaden their search beyond categories and tags. Custom filter groups are available only in advanced plans. To add this feature to your calendar contact us by opening a support ticket from your Timely account’s dashboard.

You can add a new filter group by clicking on the green “+” button by the end of the filter’s tabs.

A new area will show in the right panel, letting you add the new filter group. Type in the name for it (i.e. Workshops, Band, Actor) and click Save to add to your filters.

To edit an existing filter group, simply click the blue “Edit” button. The information will open in the right panel and you can modify the tag according to your needs. To delete a filter group, simply click the red “Delete” button. To confirm, click the “Delete” in the popup that will open to confirm the action.

For the Posterboard, Stream and Tile views if you do not have a featured image assigned to the event it will take photos from the following in this order:
- Event description;
- Event taxonomies – categories and custom filter groups.
For more user guidance, please go to our Help Center. If you have any questions or need additional assistance, do not hesitate to contact us by opening a support ticket from your Timely account’s dashboard.
Once you got your event Calendar settled and organized with filters, start selling tickets right way.