What is a custom subdomain?
Custom subdomain is a unique branded domain name that identifies a separate page or section of a website. It is an extension of your main domain, but with its own unique content. Custom subdomains are mostly used when you already have a website and want to separate your site’s content into distinct sections.
Watch the instructions on video format, for a quick and easy walkthrough of the content:
Why should I use a subdomain for my calendar of events?
Having a custom subdomain for your Timely event calendar is a great way to add SEO (search engine optimization) value to your site and receive credited site traffic from your events back to your root domain.
Instead of embedding a javascript code into your page, you will simply link to your custom subdomain (ie. events.mydomain.com). Thus, all your event URLs will be based on this subdomain. This means that search engines will index your calendar’s subdomain URL and every single event URL as well, giving you increased search engine back-links and increased SEO value.
How to set up a subdomain?
Step 1: Add the Custom Subdomain to your Timely Settings
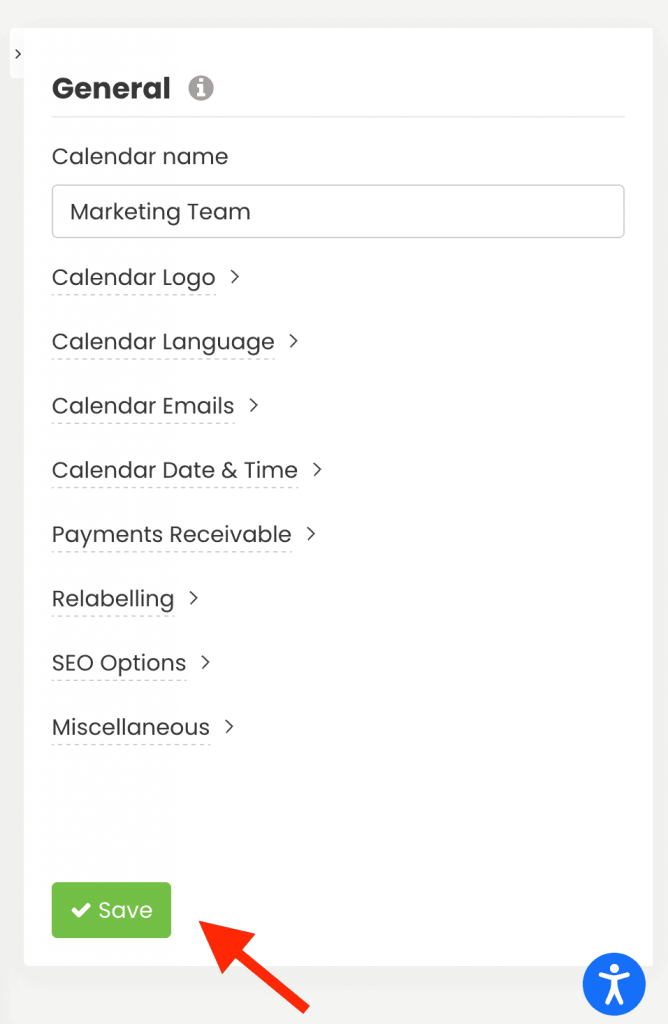
At your Timely’s account dashboard, navigate to Calendar Settings > General > SEO Options > Custom Domains. Then, click on “+Add Domain.”
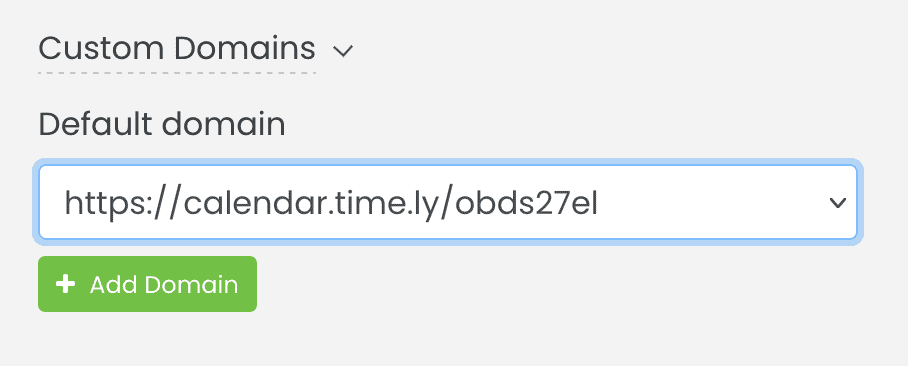
A new text box will open, where you can enter the desired custom domain:
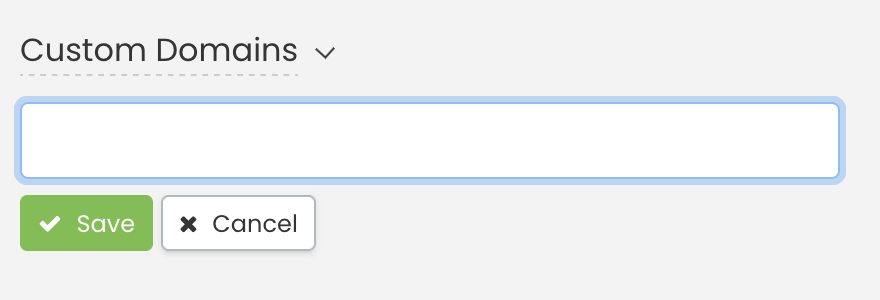
Enter the custom domain, and click “Save.“
Step 2: Copy Information and Create the DNS Entries on your Website
Once you click “Save,” the system will then prompt the DNS configuration pop-up screen, containing the “Record type CNAME” and the “Record type TXT.”
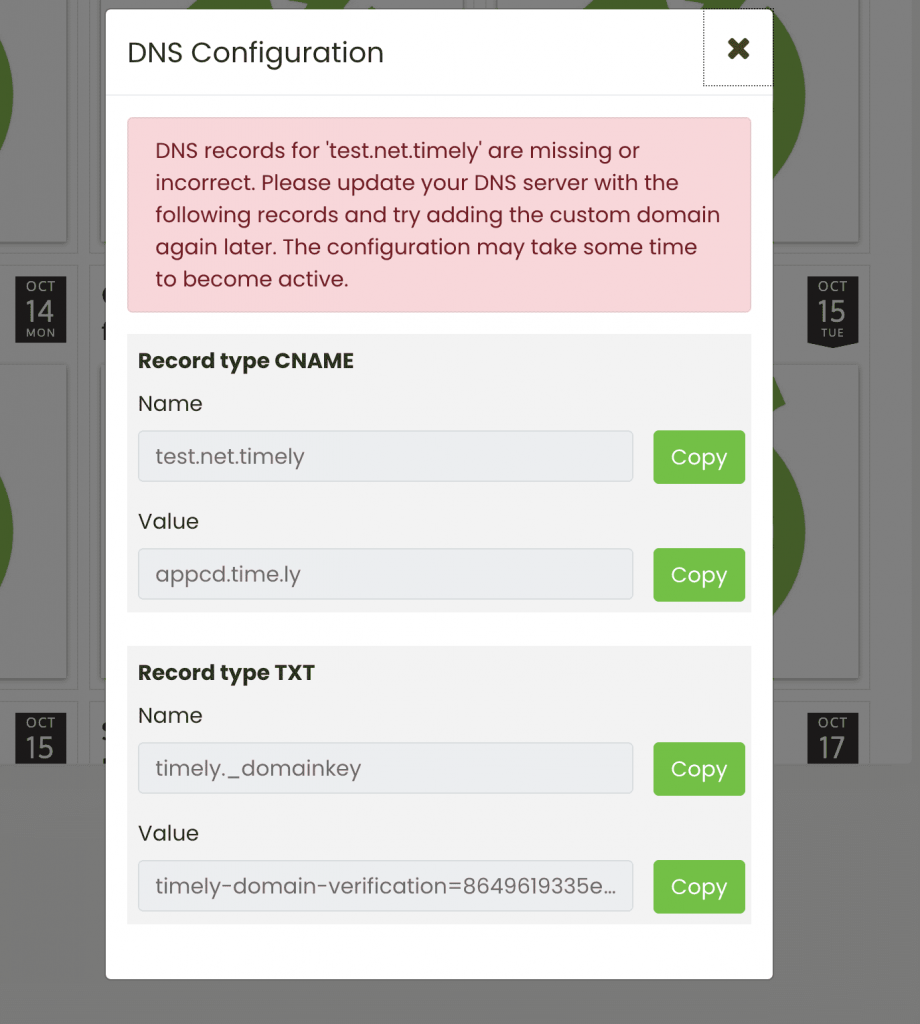
The next step is to copy all four items, and create four new DNS entries within your domain name registrar’s control panel. This is required to authenticate your custom domain.
Here is a generic example:
Let’s say your domain name is mydomain.com, and you want to use the subdomain “events” to display your calendar. The DNS entries would look like:
events.mydomain.com 3600 IN CNAME appcd.time.ly.
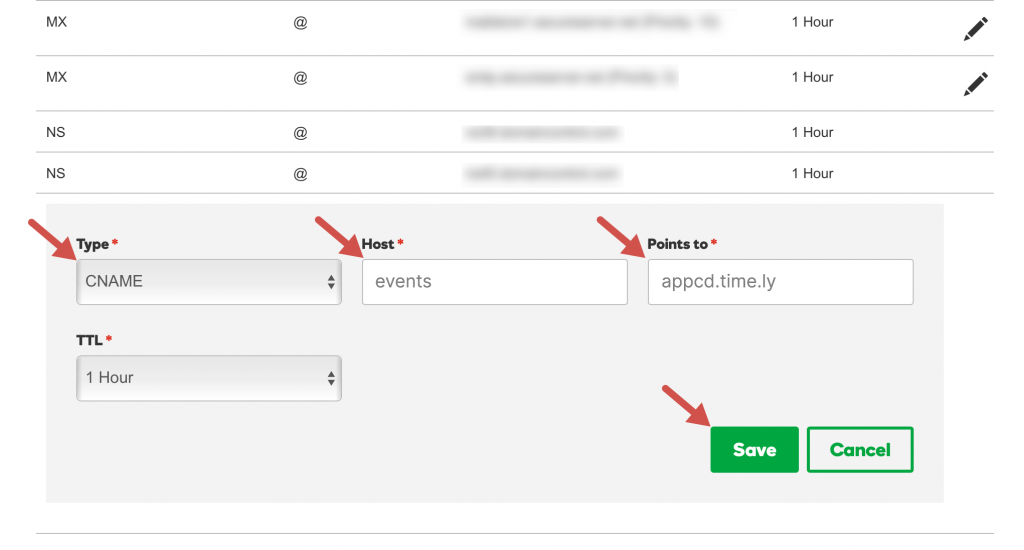
_timely-verification.mydomain.com 3600 IN TXT “timely-verification-code-12345”
Here is a general example of what it might look like at your domain name registrar:
Godaddy Example:

Specific Instructions:
Step 3: Save and implement the New Custom Domain Within Timely
After you have created the four DNS entries within your website, head back to your Timely dashboard. Navigate to Calendar Settings > General > SEO Options > Custom Domains. Then, click on “+Add Domain” again.

Enter the new custom domain, and click “Save.” The system will load for a few seconds until it accepts your request.
Then go to the bottom of the page and click “Save” to apply the changes to your Timely calendar.
NOTE: It takes a while for the DNS record to be published. You will have to wait a few minutes or hours, depending on your DNS server.
Need Additional Help?
For further guidance and support, please visit our Help Center. Additionally, if you have any inquiries or need assistance, don’t hesitate to contact our customer success team by opening a support ticket from your Timely account’s dashboard.
Moreover, in case you require additional assistance in implementing and using Timely event management system, we are happy to assist. Explore all the professional services we offer, and feel free to get in touch with us today!