
With a Timely account, you can receive event submissions from your community by setting up an event submission form. In this post, you will learn all the steps to reject, edit or approve event submissions, managing all the events submitted to your Timely events calendar.
1. Viewing New Event Submissions
Every time a submitter submits a new event, you will receive an automated email notification. The purpose of this notification is to inform you about the new submission, and prompts you to take action.
To see all event submissions, first you need to log in into your Timely account. There you have two options to view submissions:
1.1 Community Events Menu
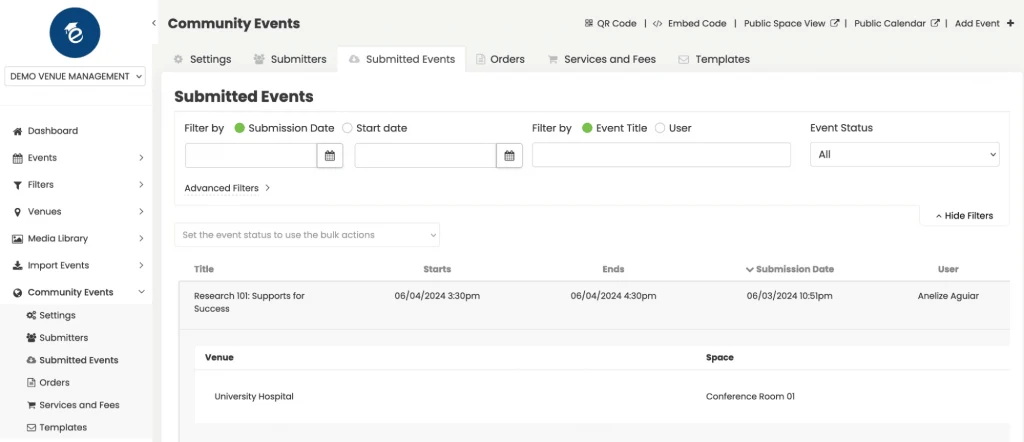
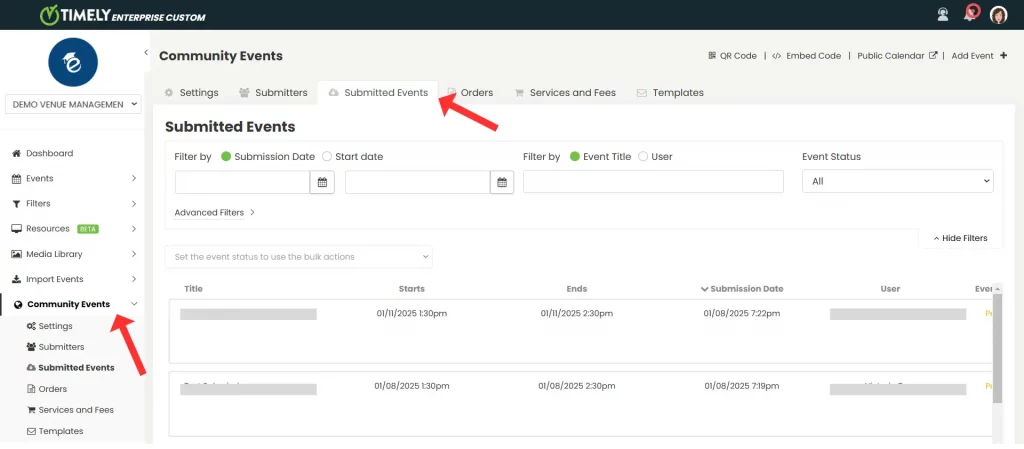
Go to the menu Community Events, and choose the submenu Submitted Events. There you will see a list of all submissions received, regardless of their status.
1.2 Events Menu
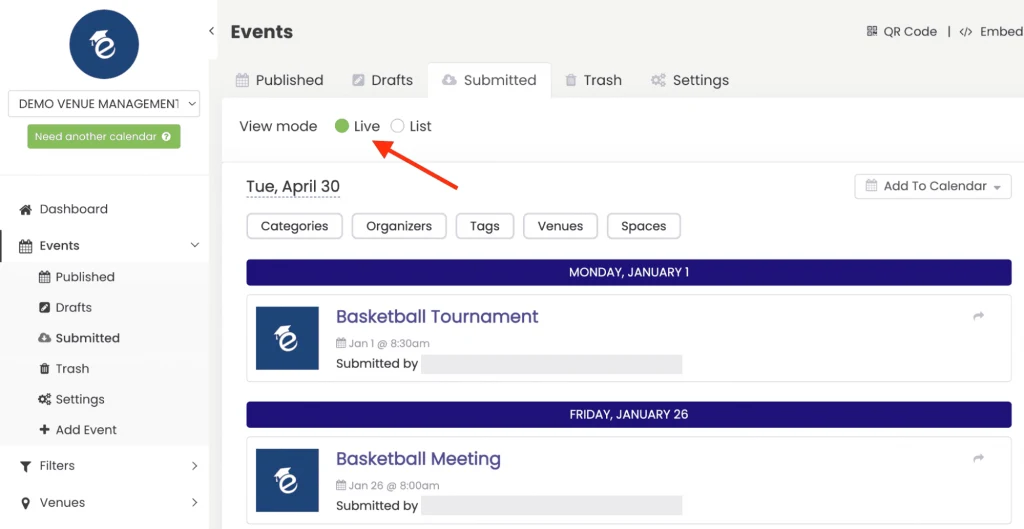
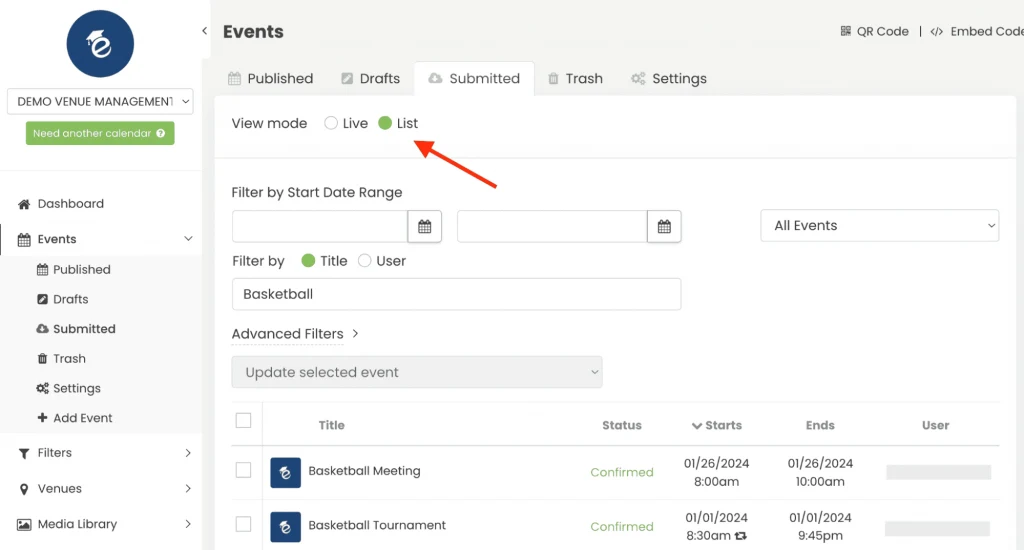
Alternatively, you can use the Events menu, Submitted submenu, to see only the submissions that are pending, and as an event format. There, you can choose between the live view or the list view.
2. Managing User-Submitted Events
To efficiently manage submitted events within Timely, you will have to either approve, accept as draft, edit or reject them.
2.1 Accept Event As Is
To approve a request as-is, you can do that either through the Community Events > Submitted Events menu or the Events > Submitted menu.
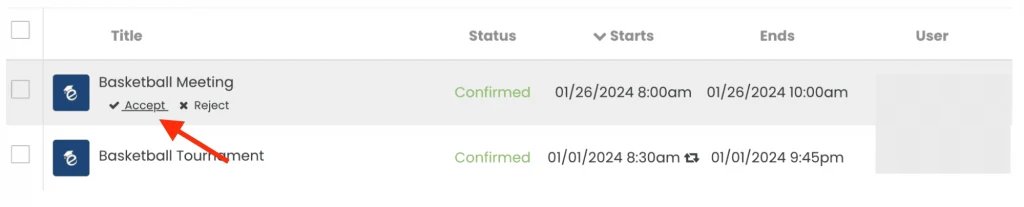
Simply go to your preferred menu, find the submitted event, and then click the “Accept” button.
Consequently, the system will automatically publish the event to your events calendar, as submitted.

2.2 Accept Event as Draft
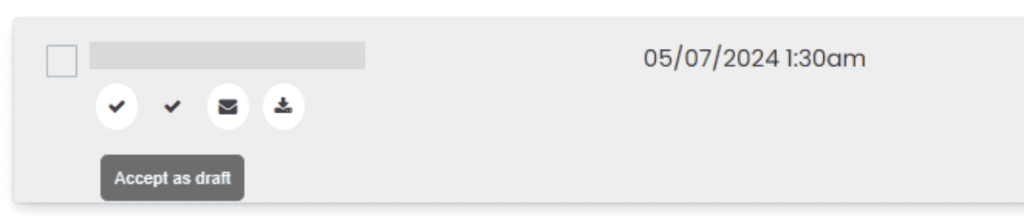
If there’s still some information missing or you want to review the submission further before accepting it, use the “Accept as Draft” option. You can accept requests as drafts from both the Community Events > Submitted Events menu and the Events > Submitted menu.
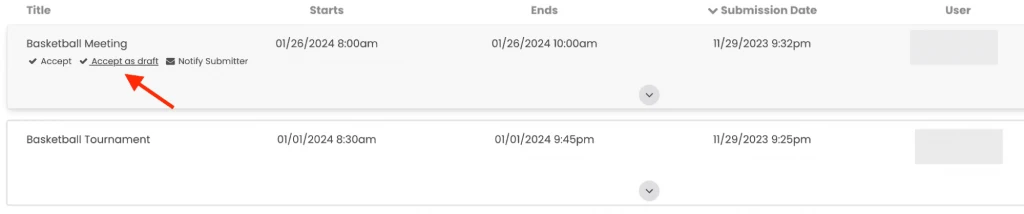
However, if you are accepting event submissions from the Events > Submitted menu, you will need to click on the event submitted and then click on the “Accept as draft” button on the Edit Event section.
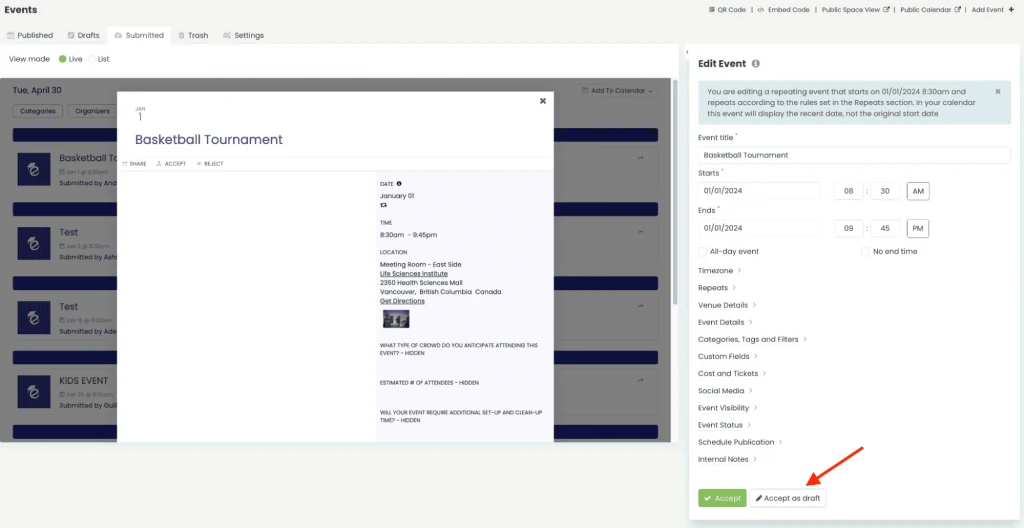
This moves the request from the Submitted events tab to the Draft events tab, giving you more time to finalize the details.
2.3 Edit Events
Sometimes, you might need to make modifications to a submitted event before approval. Please note that you can only do that using the Events > Submitted menu. The Community Events > Submitted Events menu does not allow you to edit requests.
While on the Events > Submitted menu, click on the selected event submission. The event preview and the Edit Event section will open on the screen. If you wish you can use the collapse / expand button to hide the preview and expand your workable area.
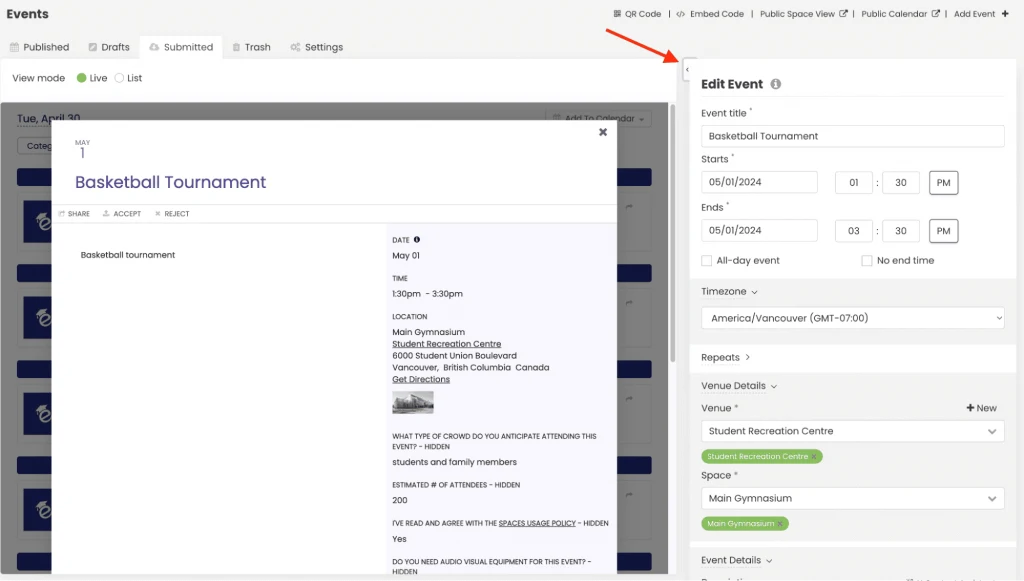
You will then be able to change the event details as needed. For instance, you can update the event title, date, time, venue, description, filters, etc. Once you’re satisfied with the changes, click “Accept“. The event will be published on your events calendar, with your edits.
To make changes after the submission has been approved, simply go to the Events > Published menu. Then, find the desired event and follow the instructions above to edit the event. Do not forget to click on Publish to save your changes.
2.4 Reject Events
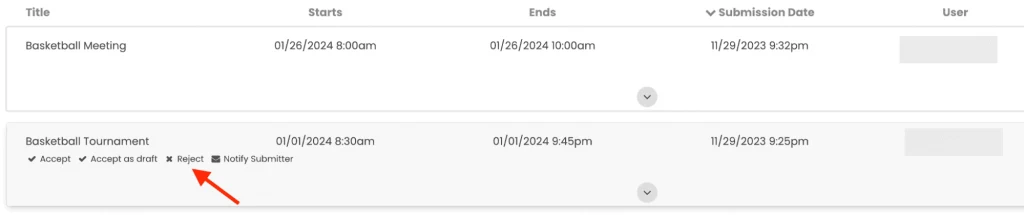
If an event submission doesn’t meet your criteria, you can easily reject it. You can do that either through the Community Events > Submitted Events menu or the Events > Submitted menu.
Click the “Reject” button next to the submission. The event status will change to Rejected, and the submission will be removed from the list of pending requests.

2.5 Recover Rejected Events
If you accidentally reject an event, you can recover it by following these steps:
- Log in to your Timely account.
- Navigate to the Community Events menu.
- Select the Submitted Events tab.
- Use the Event Status filter and select Rejected from the dropdown options.
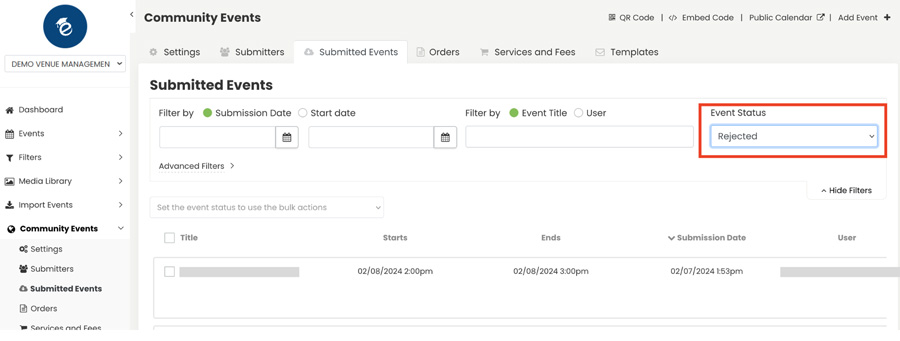
- Use the additional filters to locate the event you want to reinstate.
- Hover over the event and click either Accept to publish it immediately or Accept as Draft to move it to the Draft list for further editing.
This ensures that rejected events can be easily recovered and prevents confusion.
3. Reviewing Answers to your Custom Intake Questionnaire
If you’ve created a custom intake questionnaire, submitters will need to provide specific information during the submission process. In this situation, probably, you will want to review the responses before approving your space booking requests. You can do that either through the Community Events > Submitted Events menu or the Events > Submitted menu.
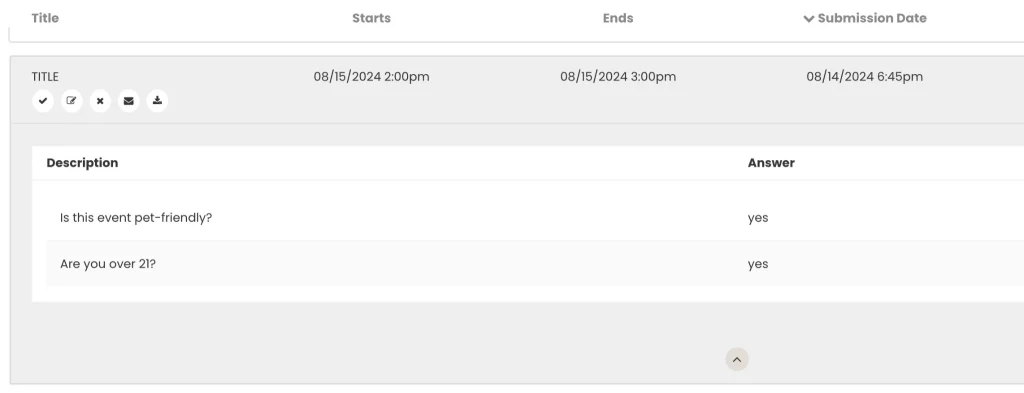
If reviewing custom field answers from the Community Events > Submitted Events menu, go to the desired submission, then click on the downwards arrow in the middle of the screen.
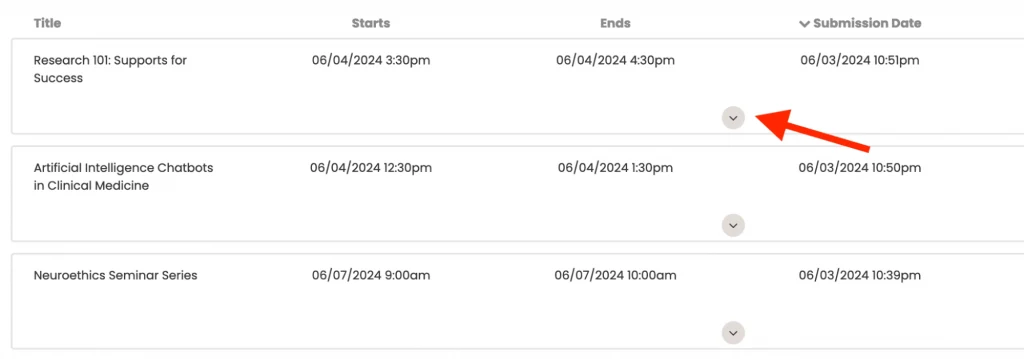
A new section will open underneath listing all your custom questions and the answers provided by the submitter. You can then review the answers before approving or rejecting the request.
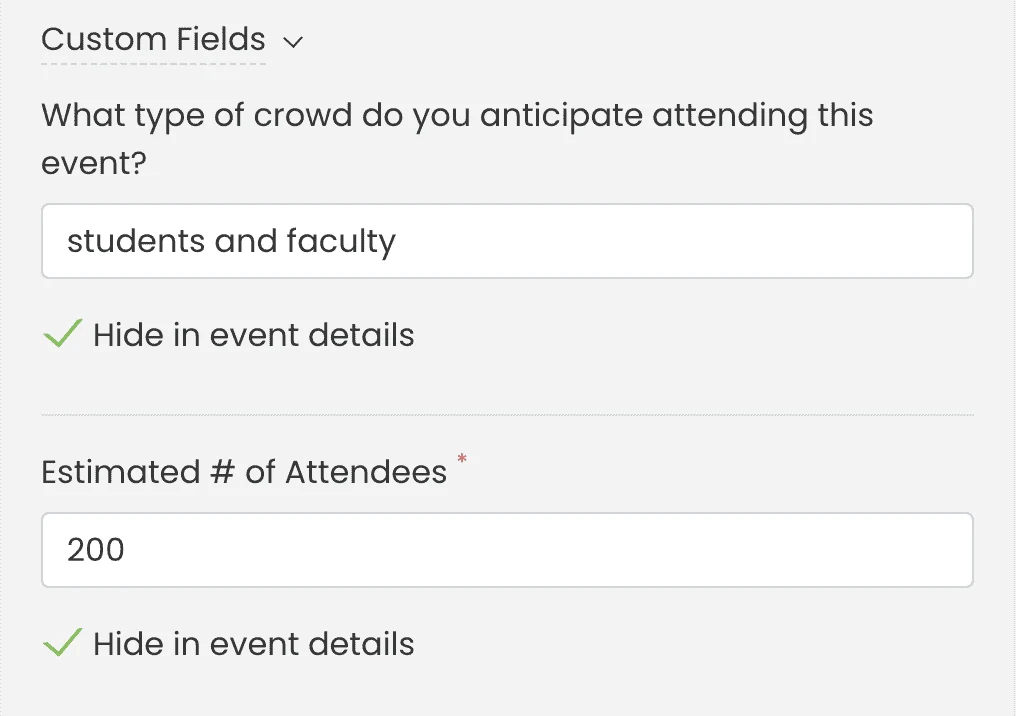
Another option is to review the custom field answers from the Events > Submitted menu. Simply click on the desired event. Then, in the Edit Event section, find the Custom Fields option. All the data collected through the questionnaire will also be accessible there.
4. Automating Event Submission Approvals
Instead of managing each event separately, if you prefer, you can automate the event submission approval process by automatically approving all events submitted by a particular user-submitter. To learn how to do that, please read How to Approve and Manage Event Submitters.
Need Additional Help?
For further guidance and support, please visit our Help Center. If you have any inquiries or need assistance, don’t hesitate to contact our customer success team by opening a support ticket from your Timely account’s dashboard.
Moreover, in case you require additional assistance in implementing and using Timely event management system, we are happy to assist. Explore all the professional services we can offer you, and get in touch with us today!