With a Timely account, you can customize your event RSVP, booking request and ticket email templates. This is a way to personalize the emails your customers receive when they RSVP, request to book, or buy an event ticket from you. You may want to do that to elevate your brand and improve your customer experience.
1. Customizable Event Notifications, RSVP, Booking Request & Ticket Email Templates
In your account dashboard, click on Ticketing / RSVP > Templates. There, you will have the option to customize all the notifications and email templates that related to event registration, booking request and event ticketing. The customizable templates are the following:
- Notifications
- Event Update
- Event Reminder
- Attendee List
- Waitlist Enrollment
- Waitlist Availability Notice
- RSVP / Registration
- RSVP Requested
- RSVPAccepted
- RSVPRejected
- RSVP Cancellation
- RSVP PDF
- RSVP Event Details
- Ticket
- Order Summary
- Ticket Confirmation
- Ticket PDF
- Ticket Cancellation
- Ticket Refund
- Dynamic Fields Template
- Custom Invoice Items
- Custom Organizer Information
- Custom Ticket / RSVP Notification Template
This user guide post talks about email templates. For PDF templates, please check this other helpful guide How to Customize Event RSVP and Ticket PDF Templates.
2. How to Edit RSVP / Ticketing Email Templates?
To customize an email template, hover the mouse over the template you want to edit. Then, click on the Edit button. A box will open on the right side of the screen, and you will be able to customize your email template.

3. Customize your Email Subject Line
Timely allows you to customize your email template subject. To change the default fields, simply click on the Email Subject Line field and change the text accordingly.
You can use all available dynamic fields in the subject line. However, keep in mind that subject lines have a word limit, so ensure your text remains concise.

4. Customize your Email Content
Timely allows you to customize your email template content in a variety of ways, from changing the default fields to adding your own custom text.
You can change the following sections of the email template:
- Header
- Body
- Footer
You can also insert or edit a hyperlink using the Insert/edit link button, next to the underline button, in the editing toolbar.

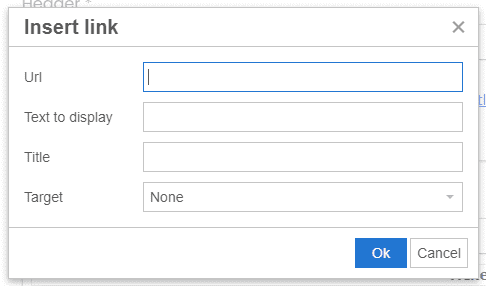
When you click the button, a box will appear, and you can add the following properties:
- URL
- Text to display
- Title
- Target
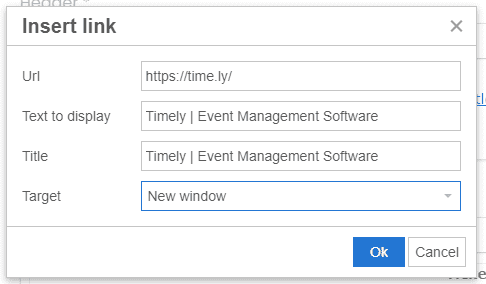
For example, to add a link to Timely’s Event Management Software web page in a new window, you can set the properties to:
- URL: https://time.ly/
- Text to display: Timely | Event Management Software
- Title: Timely | Event Management Software
- Target: new window
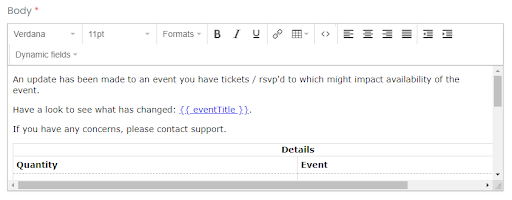
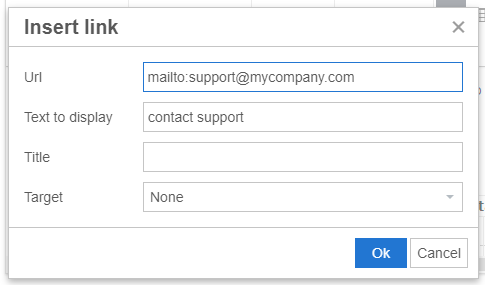
You can also add your own email, so your client can contact your support directly. For example, let’s use the Event Changes Notification Template. In the body section, in the default template, there is a sentence “If you have any concerns, please contact support”.
To add your own email to this sentence, you can select the “contact support” part of the sentence and click on the hyperlink button.
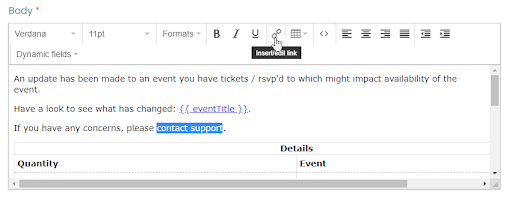
Fill the URL field with “mailto:” and your support email. For example “mailto:support@mycompany.com”.
You can send a preview and check if the email is correct and working.
5. RSVP and Ticket Email Templates Dynamic Fields
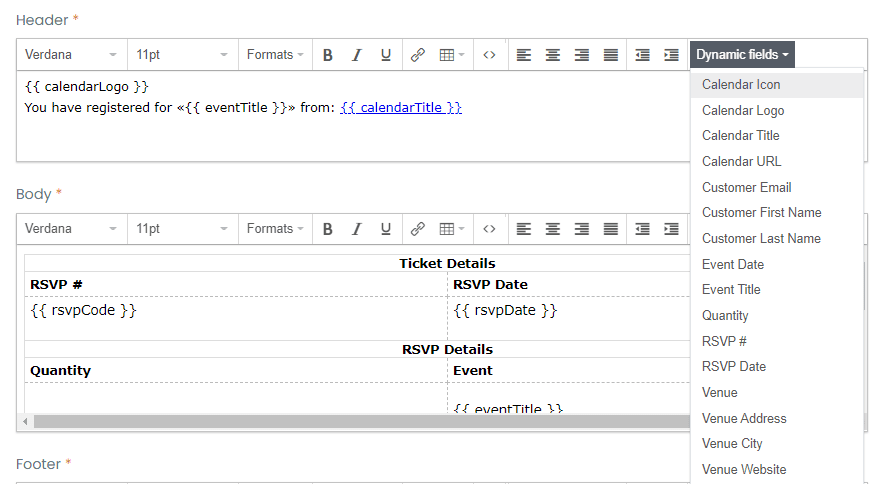
To change default fields, simply click on the Dynamic fields dropdown menu in the area you want to edit.
Dynamic fields are a feature that pulls information directly from your database and populates your email template automatically instead of typing them out every time.
You may want to use dynamic fields to quickly pull in your clients’ contact details, such as name and email address, or your event details, like event title, date, and location. Usually, dynamic fields are used to personalize standard messages.
The example below shows the Content Header Dynamic fields options:
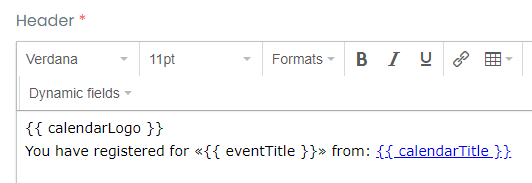
And here is how the dynamic fields look like after being added to the content area:
6. Dynamic Fields Description
Dynamic fields allow you to automatically populate your email templates with relevant information, ensuring accurate and efficient communication with your attendees. Below is a detailed breakdown of the dynamic fields available:
6.1 General information
| Field Code | Field Name | Description |
addToCalendar | Add to Calendar | When clicked, it adds the event to the user’s personal calendar. |
| attendeeEmail | Attendee Email | Displays the attendee’s email address. |
| attendeeFullName | Attendee Full Name | Displays the full name of the attendee. |
| calendarIcon | Calendar Icon | The image icon for the calendar where the tickets were purchased or RSVP’d. |
| calendarLogo | Calendar Logo | The image logo for the calendar where the tickets were purchased or RSVP’d. |
| calendarTitle | Calendar Title | The title of the calendar where the tickets were purchased or RSVP’d. |
| calendarUrl | Calendar URL | The website address of the calendar where the tickets were purchased or RSVP’d. |
| customerEmail | Customer Email | The email of the customer who purchased or RSVP’d. |
| customerFirstName | Customer First Name | The first name of the customer who purchased or RSVP’d. |
| customerLastName | Customer Last Name | The last name of the customer who purchased or RSVP’d |
| eventDate | Event Date | The date of the event where the tickets were purchased or RSVP’d. |
| eventStatus | Event Status | Displays the current status of the event (e.g., Confirmed, Postponed). |
| eventTitle | Event Title | The title of the event where the tickets were purchased or RSVP’d. |
| eventURL | Event URL | The event URL or link where individuals can RSVP or purchase tickets to the event. |
| extraInformation | Extra Information | This field lets the user add additional information to an event that can be added in the Event Details page for each specific event. |
| organizersInformation | Organizer’s Information | |
| quantity | Quantity | The total number of tickets purchased or RSVP’d. |
| ticketInformation | Ticket Information | Displays ticket-specific details. |
| ticketInformationWithLinktoCancel | Ticket Information with link to cancel tickets | Includes cancellation details and relevant ticket data. |
| venueAddress | Venue Address | The address of the Venue where the event will take place. |
| venueCity | Venue City | The City of the Venue where the event will take place. |
| venueName | Venue Name | The name of the Venue where the event will take place. |
| venueWebsite | Venue Website | The URL of the Venue where the event will take place if it is an online event, or the URL where you can find information online about an event. |
6.2 RSVP only
| Field Code | Field Name | Description |
| rsvpCode | RSVP Number | The unique number generated by the system regarding the RSVP of the event. |
| rsvpDate | RSVP Date | The date when the customer RSVP’d to the event. |
| rsvpName | RSVP Name | Displays the RSVP name. |
6.3 Ticket only
| Field Code | Field Name | Description |
| orderNumber | Order Number | The unique order number generated by the system regarding the purchase of the event. |
| orderDate | Order Date | The date when the customer purchased the event. |
7. Customize and Manually Send Email Templates
To save you time and help you increase productivity, most email templates in your Timely template library are part of an automated workflow. This means that Timely event management system sends them automatically to your customers based on the performed booking actions (e.g. ticket purchase, ticket cancellation, etc.).
However, some event organizers have special internal workflows and may need additional customization options when communicating with their customers. If deciding the content and when to send the template is relevant for you, check out our guide How to Manually Send Custom Emails to Purchasers and Attendees.
8. RSVP & Ticket Email Templates Test and Preview
After editing your event confirmation email template, you can send a test email to see how your edits look. Type a valid email address in the box and then click on the Preview Newsletter button.

9. Saving, Cancelling or Restoring your Event Email Template
After you’ve made the appropriate changes to your rsvp or ticket email template, click the Save button to save your work.

If you decide to discard the changes you’ve made to the template, just click on the cancel button and none of the last changes will be recorded.
While you are editing an email template, you can click the Restore Default button. This command will erase all the changes made and return the email to the original template provided by Timely. Caution: this option will erase all the content previously modified.
Need Additional Help?
For further guidance and support, please visit our Help Center. Additionally, if you have any inquiries or need assistance, don’t hesitate to contact our customer success team by opening a support ticket from your Timely account’s dashboard.
Moreover, in case you require additional assistance in implementing and using Timely event management system, we are happy to assist. Explore all the professional services we offer, and get in touch with us today!