
With Timely event platform, you can offer advertisement placements and transform your events calendar in a revenue generating machine. By enabling an integrated event submission form and creating your own services and fees offerings, you can charge people a fee to perform specific event advertisement actions. In this post, you will learn how to sell advertisement placements with Timely’s Services and Fees feature and monetize your audience.
1. Steps Prior to Activating Timely’s Services and Fees Feature
Timely Services and Fees allows you to sell advertisement services directly from an event submission form integrated with your calendar of events. You can offer many types of event advertisement packages, from free to paid services. For example, you can charge people to display their events on your online calendar, highlight them as featured events, or post them on your social media channels.
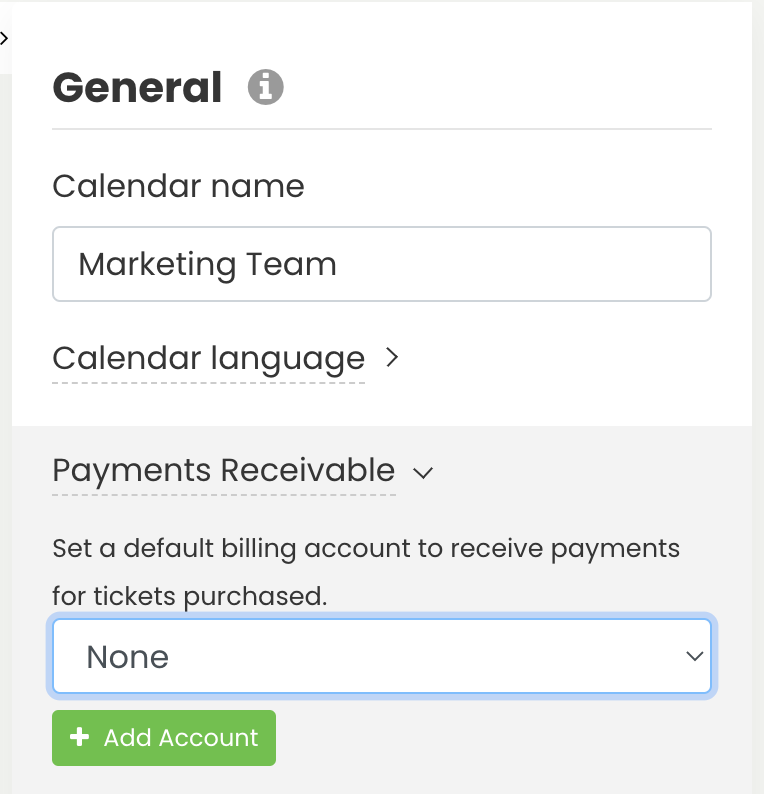
Before activating the Services and Fees feature, since you will be using Timely event management software to receive online payments for your event advertisement services, you will need to connect a payment gateway to your Timely account. To do so, go to Settings>General>Payments Receivable, and add your PayPal, Stripe or Square account.
In addition, you will need to set up your event submission form, allowing others to submit their events for publication in your online calendar. Simply go to Community Events then Settings. Then check the box to enable event submissions form, and click on the Save button. This form will be used to promote your event advertisement services.

2. Setting Up Your Services and Fees
After the initial steps described above are completed, you can go ahead and create your Services and Fees offerings, as follows:
- Log in to your Timely dashboard.
- On the main navigation menu on the left, click on Community Events.
- Click on the Services and Fees tab, and you will see a new page where you can create your event advertisement services.
- Click on the +Add item button to add new Services and Fees.

- A new section will open on the right side of the screen with fields for you to fill out. Add all the information about the advertisement service you’re offering. You can add a title, description, product type, quantity of upcoming events, price and tax options.
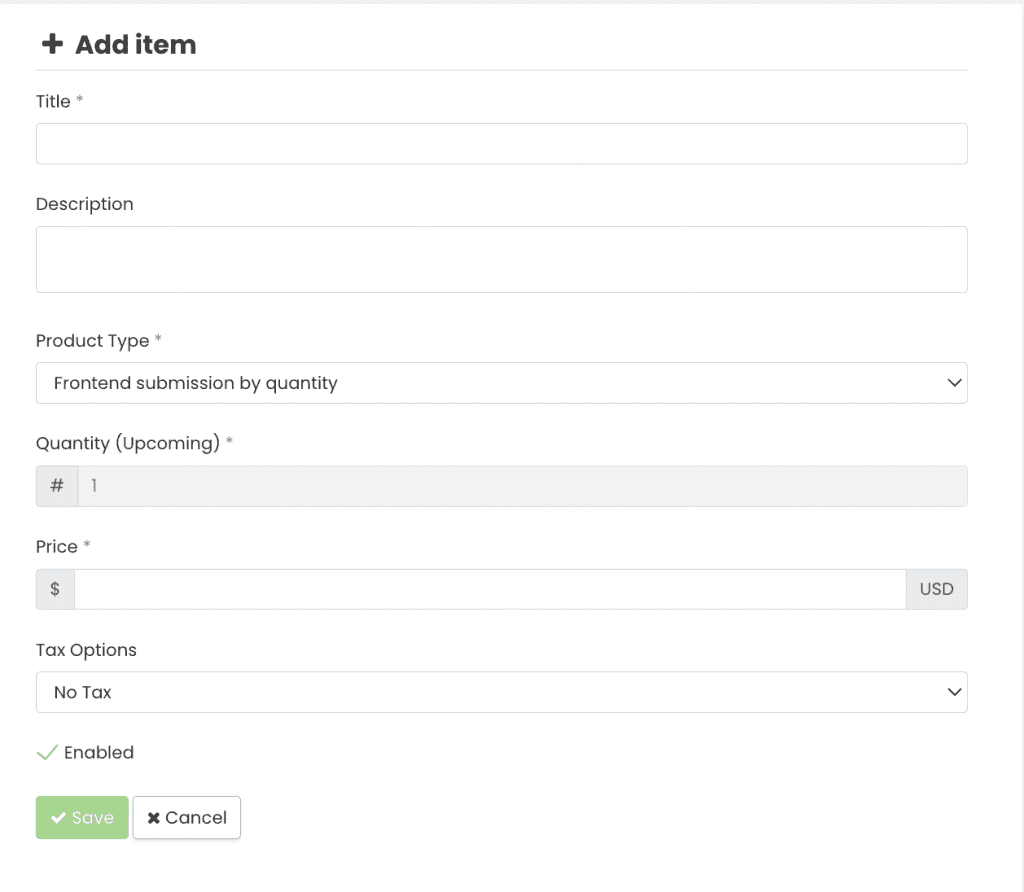
- Once you complete all the information, check the enabled box and save your Services and Fees product.
You can edit these options at any time. Also, there are no limitations to the quantity of event advertisement services you can offer.
3. Promoting your Offerings to your Audience
Once you have created and enabled your Services and Fees, every time someone goes to your online calendar to submit an event for publication they will see all your services and fees options at the end of the submission form. All your submitters need to do is choose which option they want.

If the option chosen is a paid one, they will be redirected to the checkout page to complete their transaction.
4. Managing your Services and Fees Payments and Invoices
In addition to selling event advertisement placements in your events calendar, Timely event management system also generates professional invoices for each payment received, automatically.
Managing your services invoices is easy. Just head to the Orders tab on the Community Events menu. Then, filter by order type to see all your Services and Fees invoices by choosing that option.

Need Additional Help?
For further guidance and support, please visit our Help Center. If you have any inquiries or need assistance, don’t hesitate to contact our customer success team by opening a support ticket from your Timely account’s dashboard.
In case you require additional assistance in implementing and using Timely event management system, we are pleased to assist. Explore all the professional services we can offer you, and get in touch with us today!