With a Timely account, you can easily add images to your calendar, filters and event posts. All uploaded images are stored in a searchable media library, in case you want to reuse them in the future. If you have more than one event calendar under your account, you can share your Media Library across calendars. You can also delete images you no longer use to better manage your data. In this post, you will learn how to upload, search, share and delete images from your Timely media library.
1. Timely Media Library
Timely Media Library is a place where all your logos, photos and pictures are stored in your Timely event management software account. It enables you to upload media files and use them on your calendar and event posts, making them more appealing to your audience. You can also use it to quickly search and find images previously used, to be reused for another purpose.
Certainly, Timely Media Library can save you time when posting new events or customizing your calendar and account. You can find your Media Library on the left main menu, after logging into your Timely account.
2. How to Upload Images to your Media Library
Adding content to your Timely media library is very easy. In most cases, you can submit them directly through your general settings, event posts, filters and templates. See below how to add images to specific sections of your account, according to your needs:
- How to Add a Brand Logo to your Events Calendar
- How to Add Images to your Event Posts
- How to Add Images to your Event Calendar Filters
- How to Add Images to your Templates
Alternatively, you can add images directly into your Media Library, as follows:
- Log into your Timely account.
- On the main navigation menu on the left, click on the Media Library menu. Then, click on Images.
- Click on the button +Add item. You will see a new tab where you can upload images from your computer.
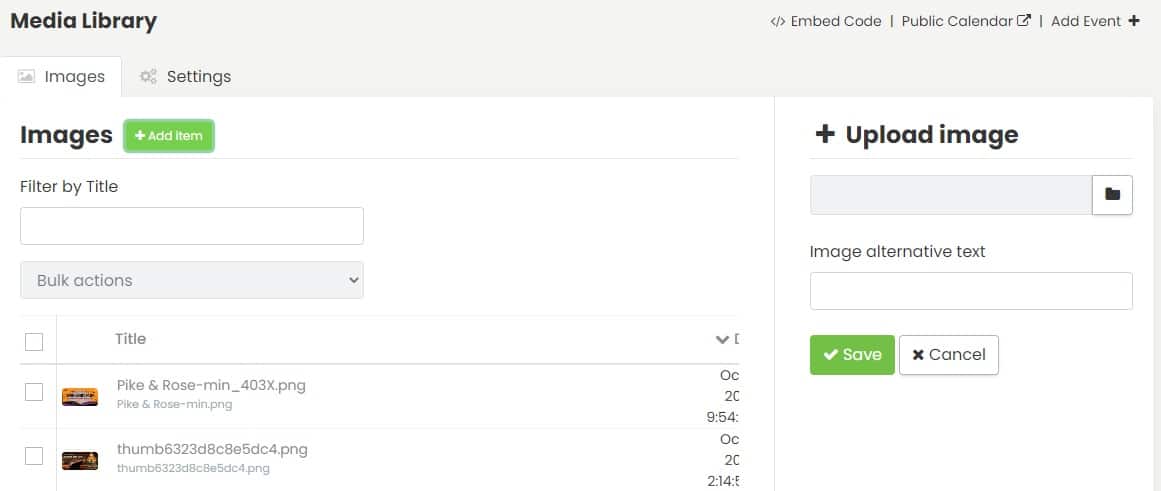
- Upload the chosen image and give it a descriptive alternative text (for SEO and accessibility purposes).
- Click on the Save button to save your image to the Media Library.
IMPORTANT: When uploading images to your Timely account, we recommend following our Images Best Practices in terms of file format, size, quality and image alternative text.
3. How to Search for Images on your Image Gallery
To search for images, follow these steps:
- Log into your Timely account.
- On the main navigation menu on the left, click on the Media Library menu. Then, click on Images.
- On the Filter by Title box on the top of the screen, type your image keywords.
- The system will pull all images that contain that keyword on the images’ file names or alternative texts.

4. How to Share Image Content Among Multiple Calendars under your Account
If you have several calendars under your Timely account, you can easily share the Media Library across all your calendars. You will be able to reuse images without uploading them again for each of the event calendars you manage. This will certainly optimize your team’s time and increase their efficiency!
To activate this option, follow these simple steps:
- Log into your Timely account.
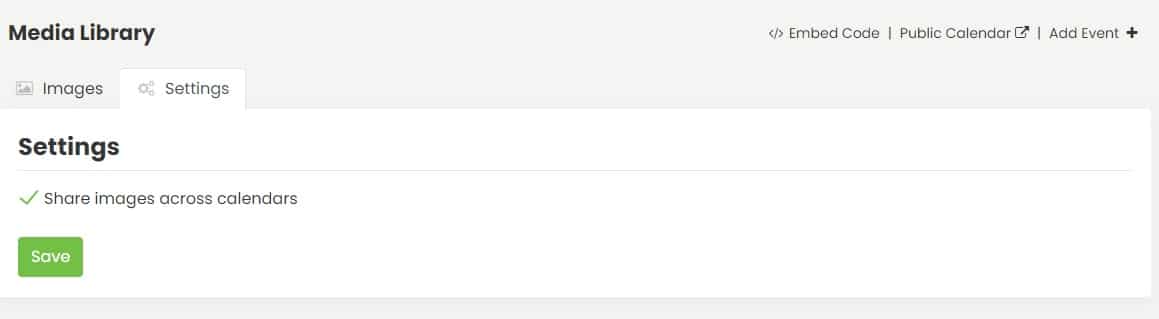
- On the main menu on the left, click on the Media Library menu. Next, click on Settings.
- Check the box Share images across calendars to activate this option.
- Lastly, click on the Save button to save your new settings.
5. How to Delete Images from your Media Library
If you like to keep your workspace organized, you might want to delete files you no longer need or were uploaded by mistake. Using Timely Media Library, you can delete individual images or several images in bulk.
Deleting Individual Images
Here are the steps to delete individual images from your media library.
- Log into your Timely account.
- On the main menu on the left, click on the Media Library menu. Next, click on Images.
- Hover the mouse over the media you want to delete. You will see the Edit and Trash buttons.
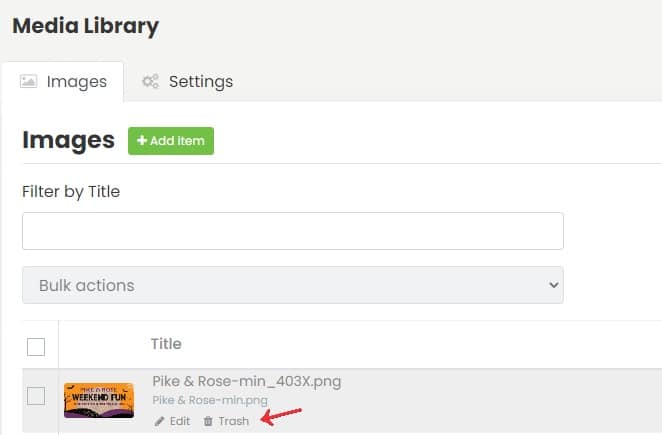
- Click on the Trash button to delete the image.
- A pop-up message will appear on the screen. Confirm that you want to delete the image by clicking on the Delete button.
Deleting Images in Bulk
Alternatively, you can delete several images at once by following the steps below:
- Log into your Timely account.
- On the main menu on the left, click on the Media Library menu. Next, click on Images.
- Use the checkboxes on the left side of the screen to select the images you would like to delete. You can select them one by one, or click on the first checkbox to select all images that are visible on the list on the screen. To increase the number of visible images on the list, just change the items per page on the dropdown menu on the bottom right of the screen.
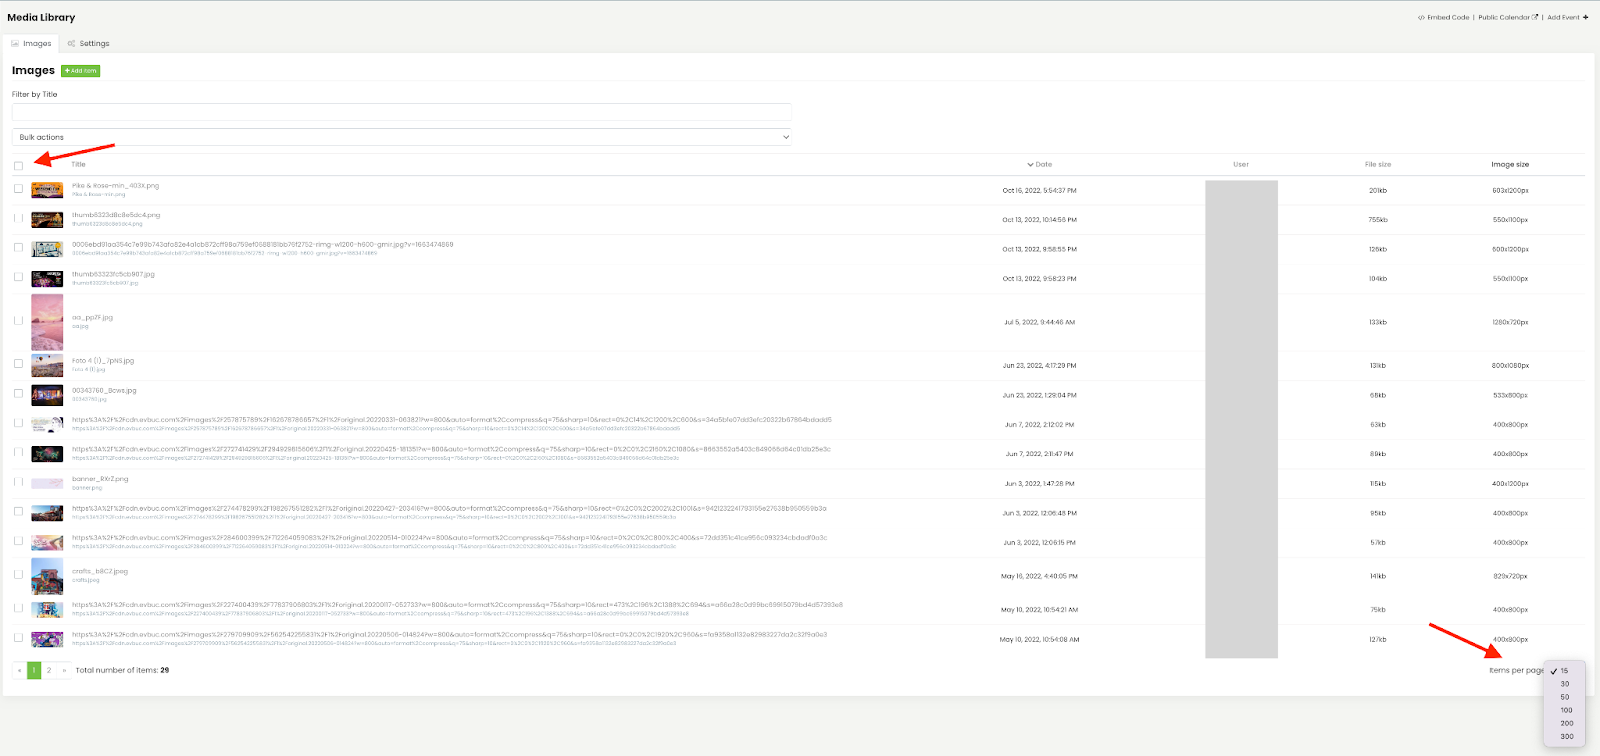
- Next, go to Bulk actions on the top of the list, and select Delete permanently.

- A pop-up message will appear on the screen. Confirm that you want to delete the selected images by clicking on the Delete button.
For more user guidance, please go to our Help Center. If you have any questions or need additional assistance, do not hesitate to contact us. Alternatively, you can open a support ticket from your Timely account’s dashboard.